Overview
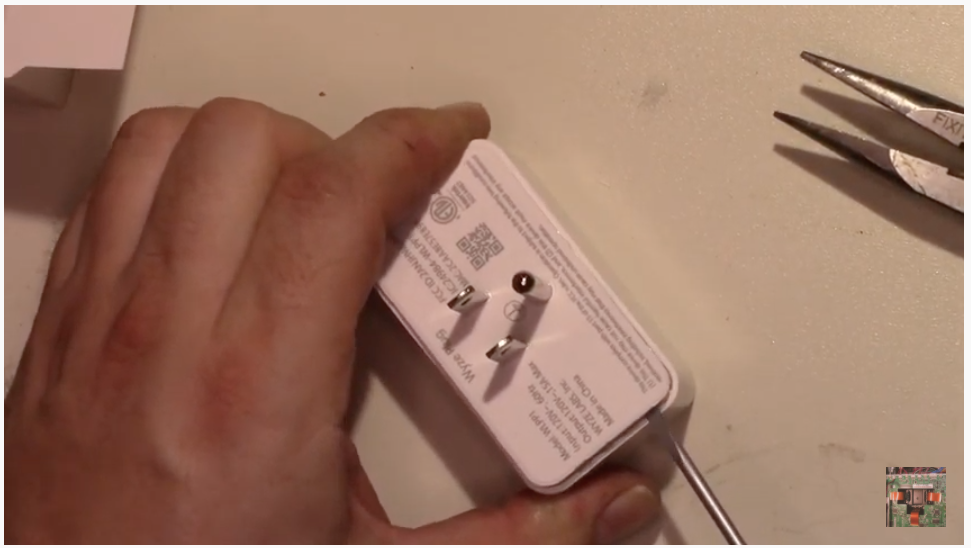
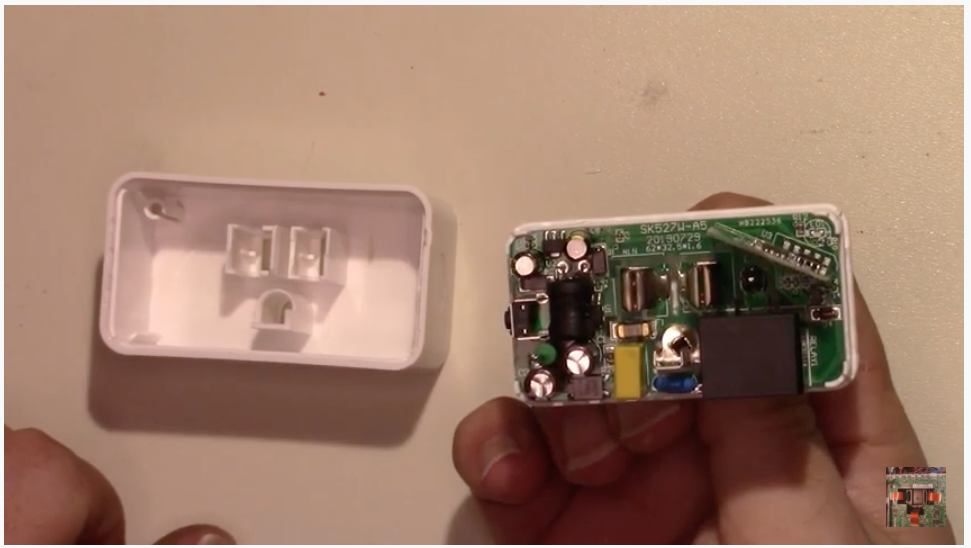
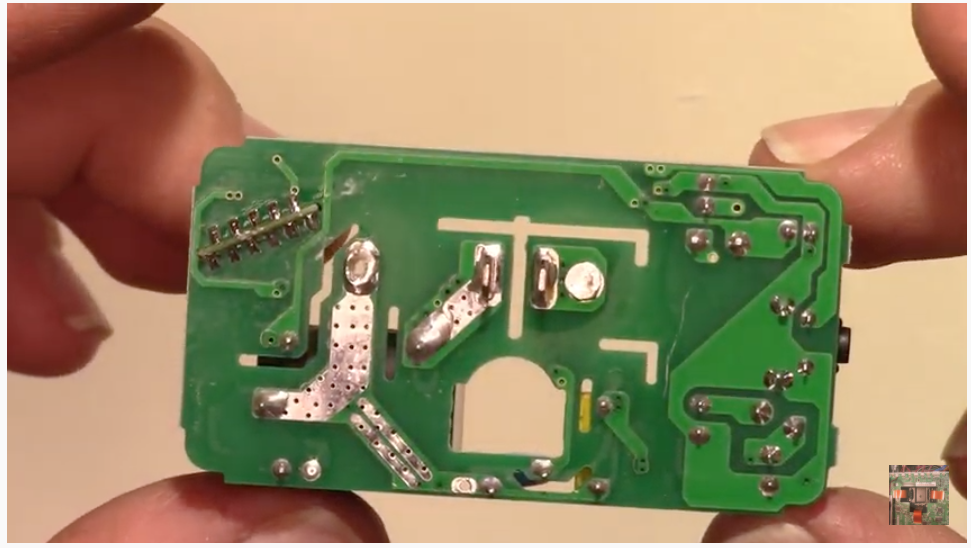
Uses 15 amp relay. Awkward to open. Flat plastic back pops into plastic shell but is glued. Power prongs are also lightly glued to the flat plastic back.
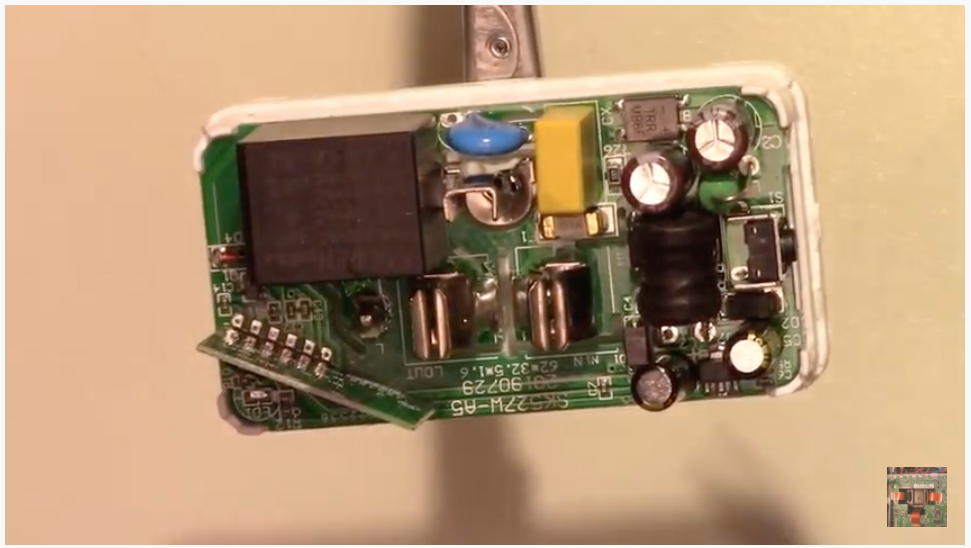
Uses an edge mounted daughter board for the ESP8266EX. Flashing leads for 3.3V, GND, RX and TX can be soldered to the edge mounting. Used the test point landing for GPIO0 on the daughter board test points side.
LED will light when relay is engaged. Side button will toggle the relay state.
GPIOs
| GPIO | Component |
|---|---|
| GPIO05 | Led1i |
| GPIO12 | Relay1 |
| GPIO14 | Button1 |
Teardown Pictures
Not required if flashing using the OTA (Over the Air) method.
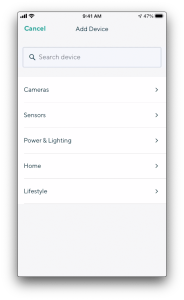
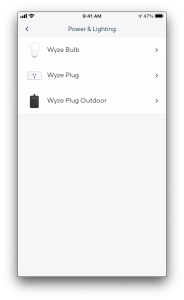
Register the Wyze Device
Before you can perform an over the air upgrade of the Wyze device, you will need to register it with Wyze. Download the Wyze app from the App store and connect the wyze device.
Screen captures of the setup:
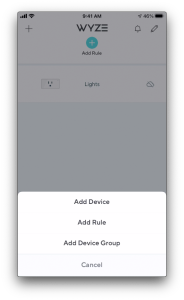
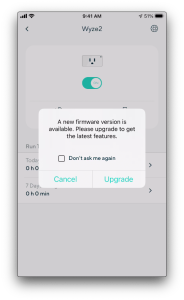
Make sure to hit Cancel and not Upgrade.
OTA Hacking
Based on https://github.com/elahd/wyze_plug_flasher
mkdir ~/wpf
cd ~/wpf
pip install requests
Clone the repo:
git clone https://github.com/HclX/WyzeUpdater.git
Get the flasher:
wget https://github.com/elahd/wyze_plug_flasher/releases/download/v0.1-alpha/wyze_plug_flasher.bin
Get Tasmota binary v9.2.0
wget https://github.com/arendst/Tasmota/releases/download/v9.2.0/tasmota.bin
mv tasmota.bin thirdparty.bin
Use WyzeUpdater to get a list of your Wyze devices. You will have an account
cd WyzeUpdater
python3 wyze_updater.py list
INFO:root:No saved credentials found, logging in with username/password...
Please enter the account name:xxxxx
Please enter the password:xxxxx
INFO:root:Credentials saved to .tokens
Device Type:       Plug (WLPP1)
Device MAC:        2CAA8E7BC5BB
Firmware Version:  1.2.0.59
Device Name:       Lights
sudo python3 wyze_updater.py update -s -d 2CAA8E7BC5BB -f ../wyze_plug_flasher.bin
INFO:root:Using saved credentials from .tokens...
INFO:root:Checking device, mac=2CAA8E7B302B

Device type:      Plug (WLPP1)
Device name:      Wyze2
Firmware version: 1.2.0.59
IP Address:       192.168.1.223

Pushing firmware to this device? [y/N]:y
INFO:root:Serving firmware file '../wyze_plug_flasher.bin' as 'https://192.168.1.103/firmware.bin', md5=c1cd336c04a3c74e315edac00afd117c
192.168.1.223 - - [31/Jan/2021 21:38:33] "GET /firmware.bin HTTP/1.1" 200 -
Press Ctrl+C when all the updates are done...
....
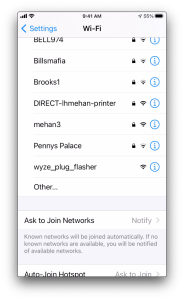
Check for wyze_plug_flasher wifi network. Once it is active, you can hit CTRL-C.
cd ~/wpf
sudo python3 -m http.server 8080
Serving HTTP on 0.0.0.0 port 8080 (http://0.0.0.0:8080/) ...
On your Mac, connect to the wyze_plug_flasher Wi-Fi network.
Navigate to http://10.0.0.1
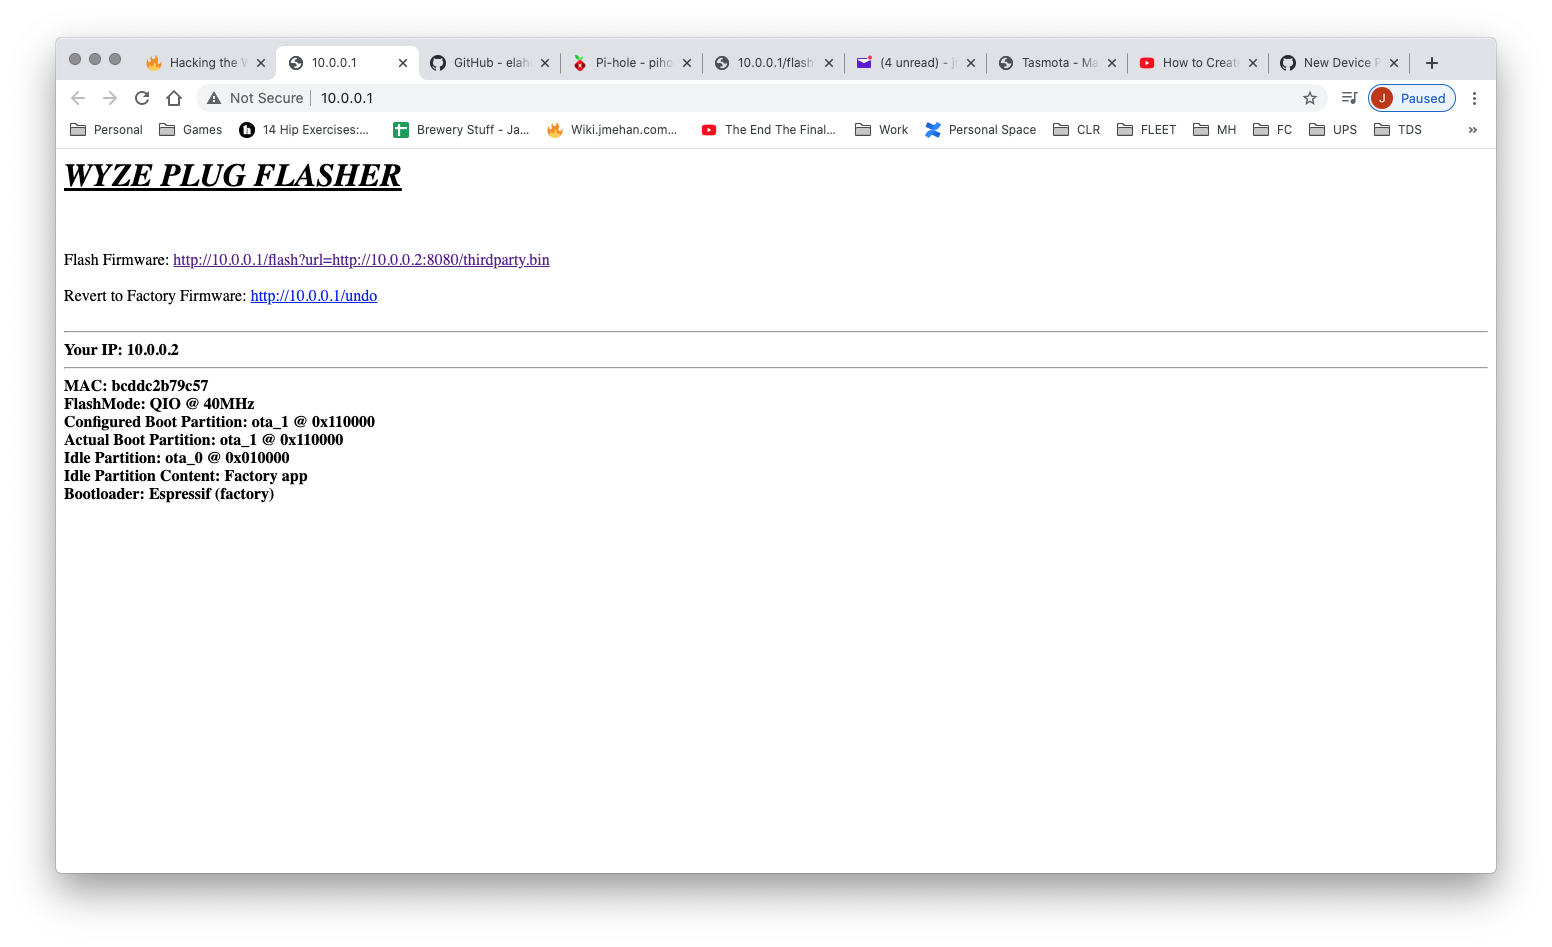
Click on the link next to Flash Firmware to download and install Tasmota.
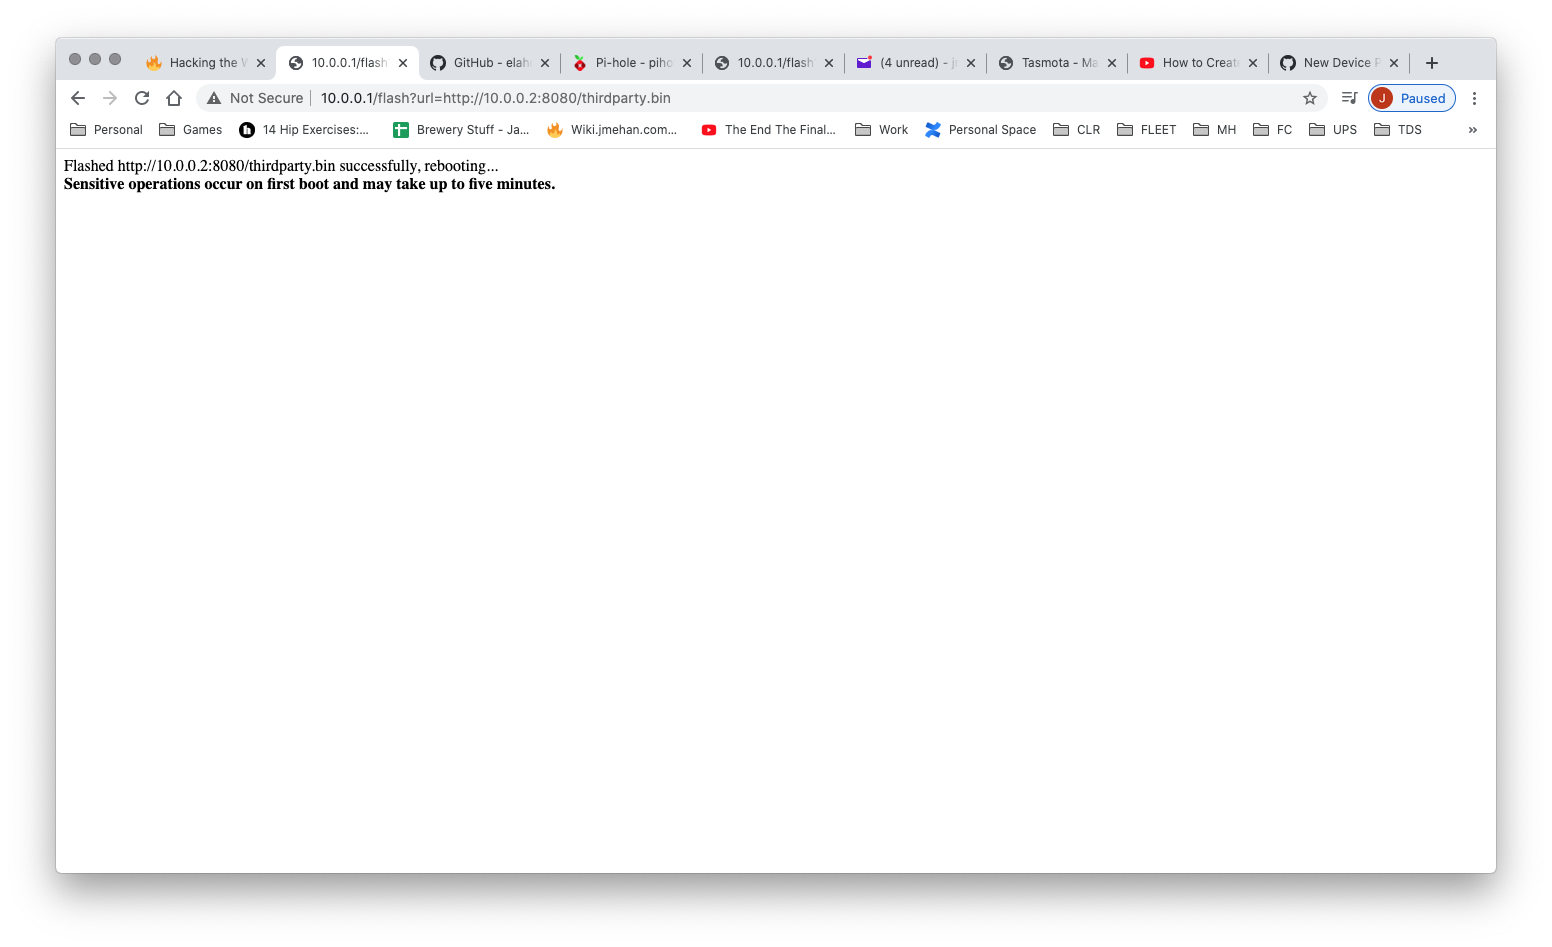
After a few minutes, you should hear a click and should see the Tasmota_ wifi network.
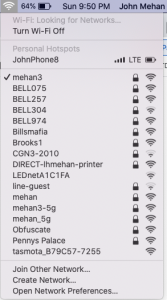
Connect to the tasmota_XXX network.
Navigate to http://192.168.4.1/cs:
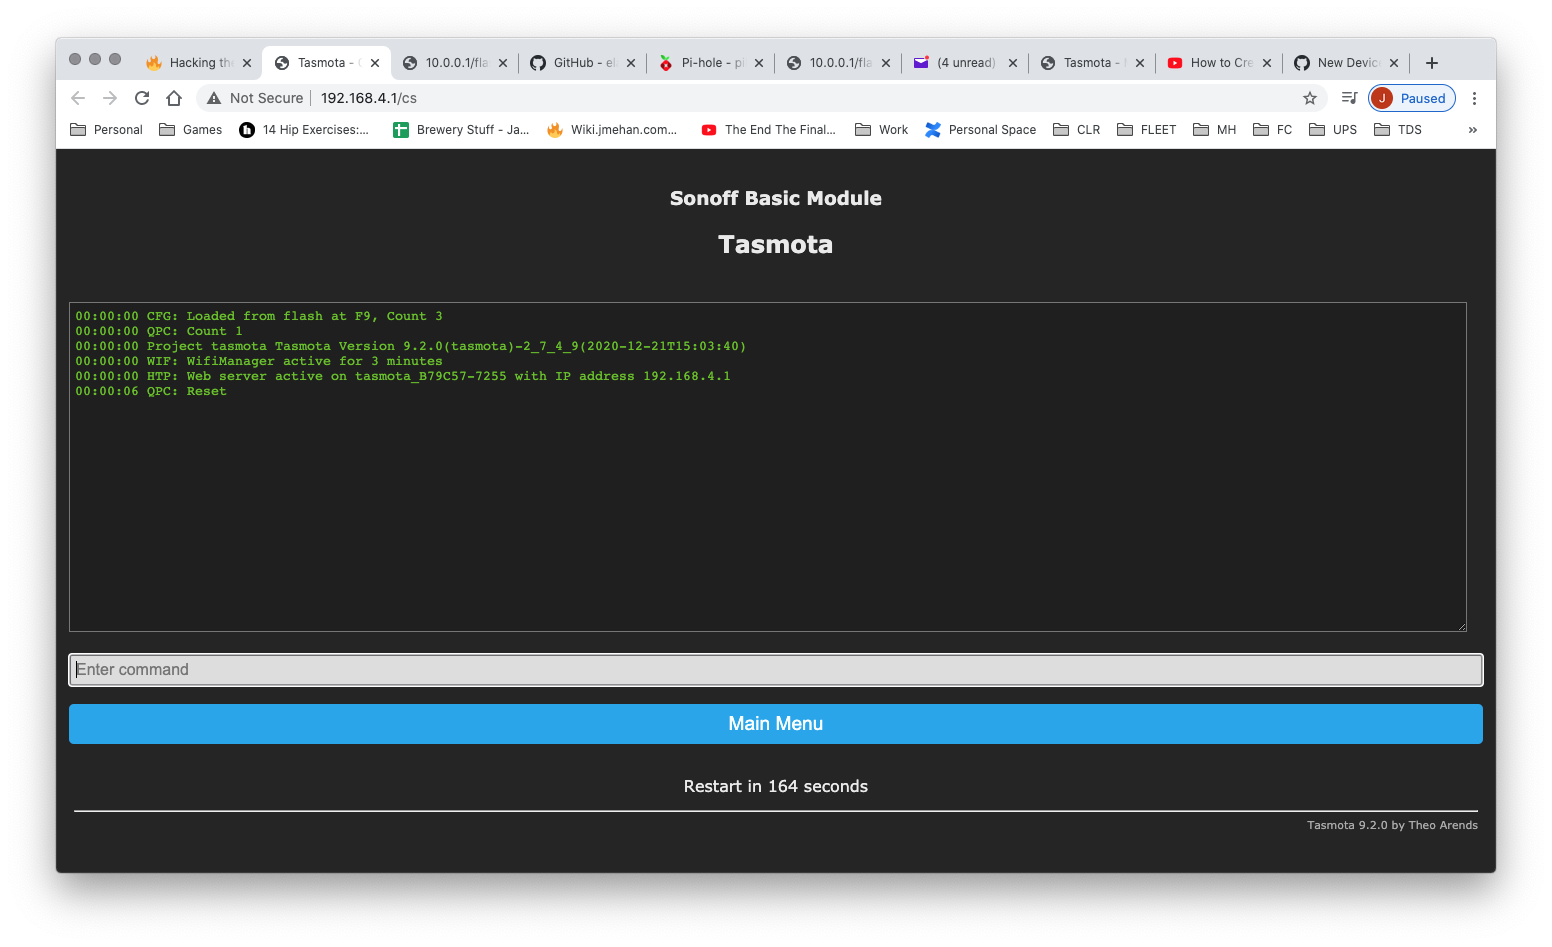
Enter Reset 3 in the command input field and hit Enter. The device will reboot.
After the device reboots, unplug it. That is, physically remove it from the electrical outlet for a few seconds.
Plug the device back in.
Set up Tasmota as you normally would.
Navigate to http://192.168.4.1/
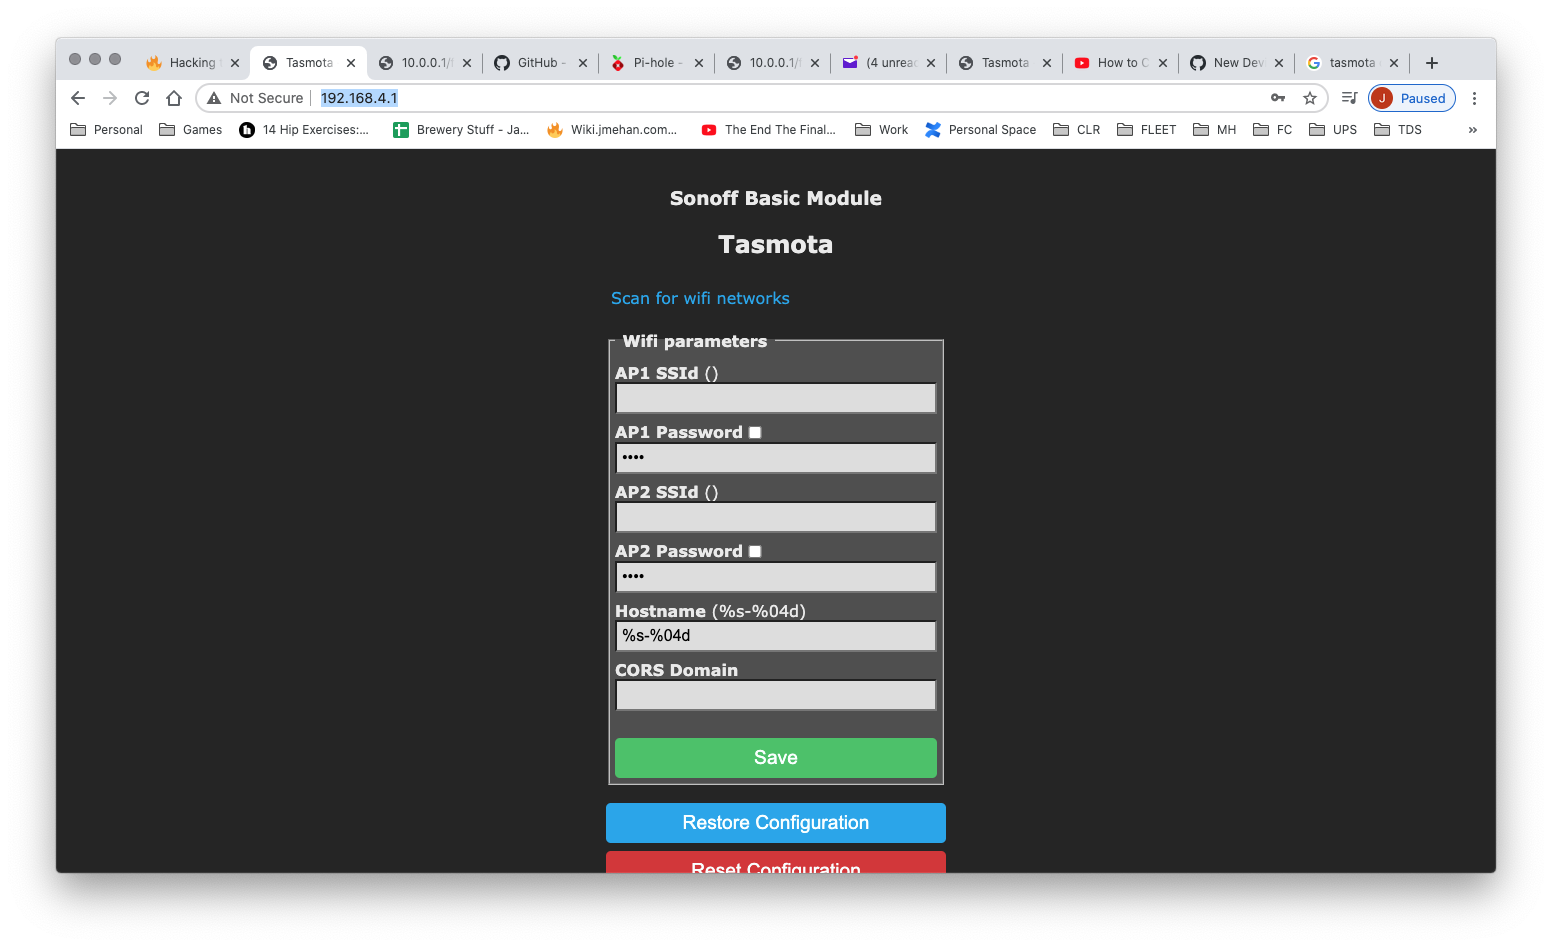
Setup WIFI and click Save.
You device will now be connected to your network if everything has worked out.
Connect to Wyze plug from your browser. You'll need to figure out it's new IP on your network.
http://IP_ADDRESS/
At the Console screen:
Enter:
SetOption0 0; SetOption36 1template{"NAME":"WyzePlugWLPP1","GPIO":[0,0,0,0,0,56,0,0,21,0,17,0,0],"FLAG":0,"BASE":18}
Flashing Custom Firmware
If you have gotten this far, you can install some custom firmware.
Open your browser to the wyze plug and navigate to the "Firmware Upgrade" menu.
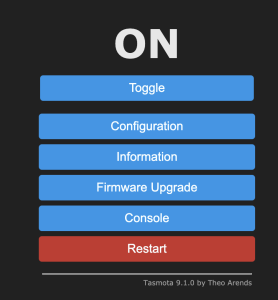
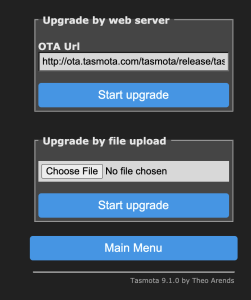
From this screen, click the "Choose File" button and upload some custom firmware.
References
| Reference | URL |
|---|---|
| Redit Post | https://www.reddit.com/r/wyzecam/comments/l54d8b/instructions_and_software_install_tasmota_on_wyze/ |
| Flasher | https://github.com/elahd/wyze_plug_flasher |
| Wyze WLPP1 Template | https://templates.blakadder.com/wyze_WLPP1.html |
| Teardown Video |