The objective of this project is to control the Jandy pool heater. We can either control the heater using it's REMOTE relays or interface with it's RS485 interface. For now, we are going to use the REMOTE relays.
The equipment we will to interfacing with is the Jandy JXi Gas-Fired Pool and Spa Heater 260N.
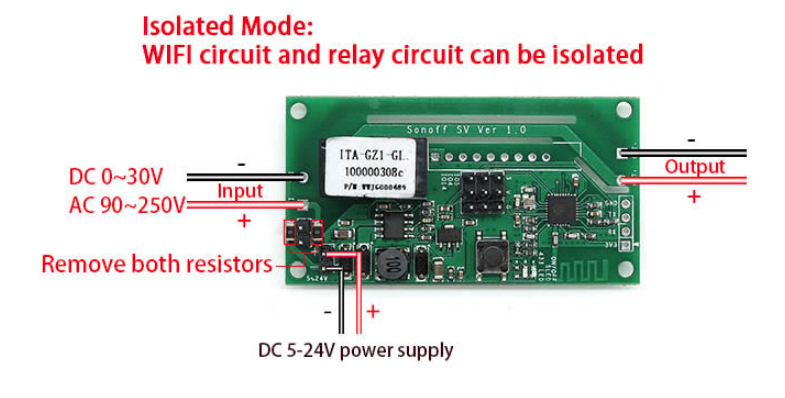
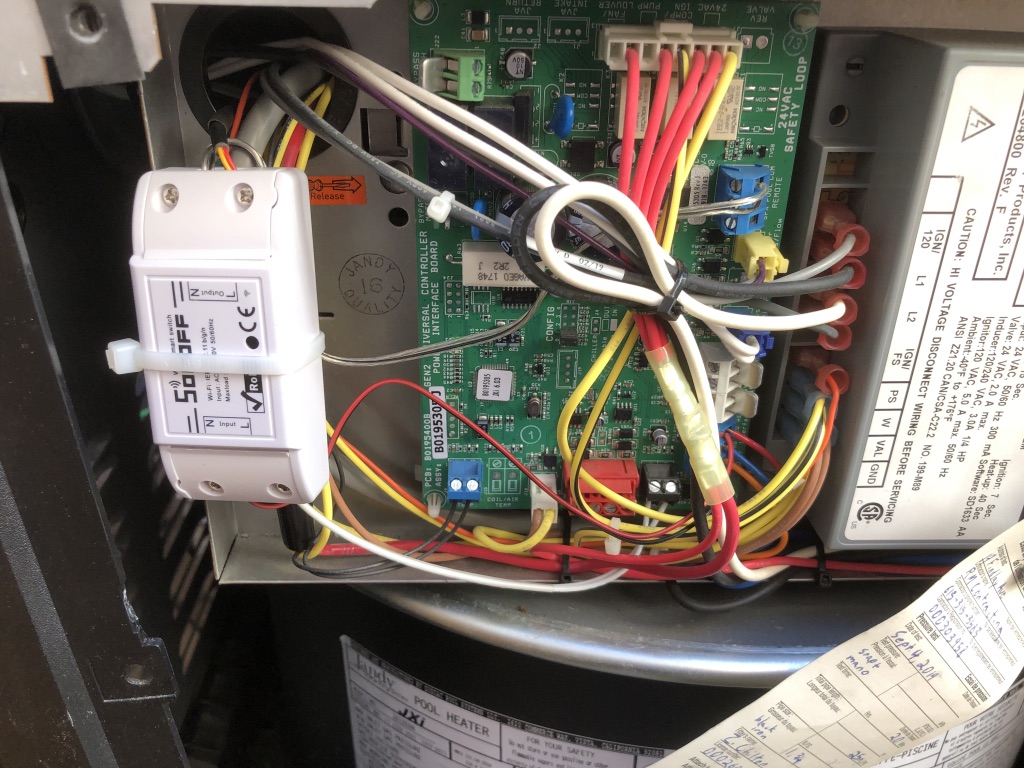
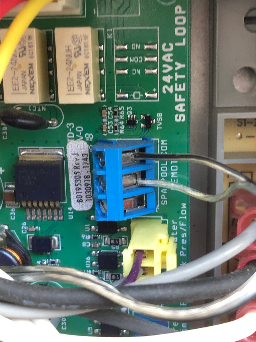
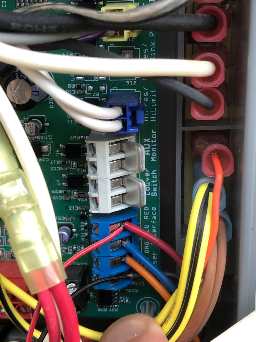
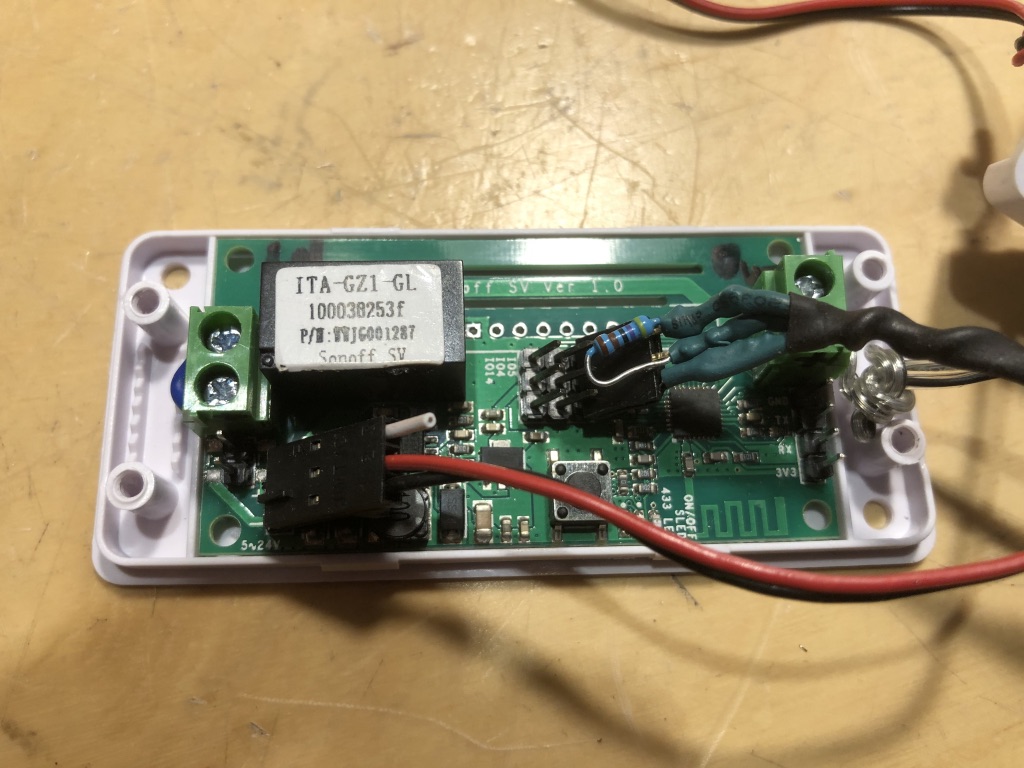
For this solution, we are using a Sonoff SV controller. This is a nice controller since it has everything we need to control the heater's remote relays. Additionally, we can power it from the heater itself since it accepts 5-24 volts input and the heater will supply us with 10v. We are going to use the Sonoff SV in isolation mode by removing the two resisters that would normally supply the power to the controller using the input voltage.
| Firmware | Download |
|---|---|
| v3.3 |
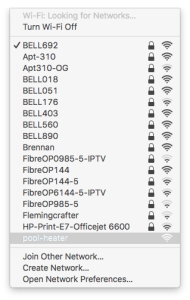
Once the flashing is complete, it will reboot. You will need to look for pool-heater, in your list of available WIFI networks.
Once connected, navigate to http://192.168.4.1/
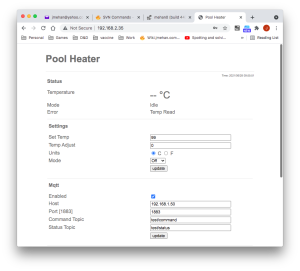
From this UI, you can set the WIFI SSID and password for your network. Once it reboots again, you can log into it via http://pool-heater.local/. If that doesn't work, you'll have to find it in your network. Check your router to see if you can find it.
From this UI, you can set the water temperature, mode and units.
This firmware also has a MQTT configuration allowing it to integrate with homebridge. (Requires an MQTT server)
Using the mqtt-thing homebridge plugin, add the following configuration:
{
            "accessory": "mqttthing",
            "type": "thermostat",
            "name": "pool-heater",
            "url": "http://192.168.1.50:1883",
            "username": "homebridge",
            "password": "pass",
            "topics":
            {
                "getCurrentTemperature": {
                    "topic": "pool-heater/status",
                    "apply": "return JSON.parse(message).temperature_f;"
                },
                "getTargetTemperature":{
                    "topic": "pool-heater/status",
                    "apply": "return JSON.parse(message).tarTemperature_f;"
                },
                "getTemperatureDisplayUnits":{
                    "topic": "pool-heater/status",
                    "apply": "return 0;"
                },
                "getCurrentHeatingCoolingState":{
                    "topic": "pool-heater/status",
                    "apply": "return JSON.parse(message).state;"
                },
                "getTargetHeatingCoolingState":{
                    "topic": "pool-heater/status",
                    "apply": "return JSON.parse(message).mode;"
                },
                "setTargetTemperature": {
                    "topic": "pool-heater/command",
                    "apply": "return 'setTemp ' + message;"
                },
                "setTargetHeatingCoolingState": {
                    "topic": "pool-heater/command",
                    "apply": "return 'mode ' + message;"
                },
                "setTemperatureDisplayUnits": {
                    "topic": "pool-heater/command",
                    "apply": "return 'tempUnits ' + message;"
                }
            },
            "heatingCoolingStateValues": ["0","1"],
            "temperatureDisplayUnitsValues": [0,1],
            "minTemperature": 60,
            "maxTemperature": 100
}, |
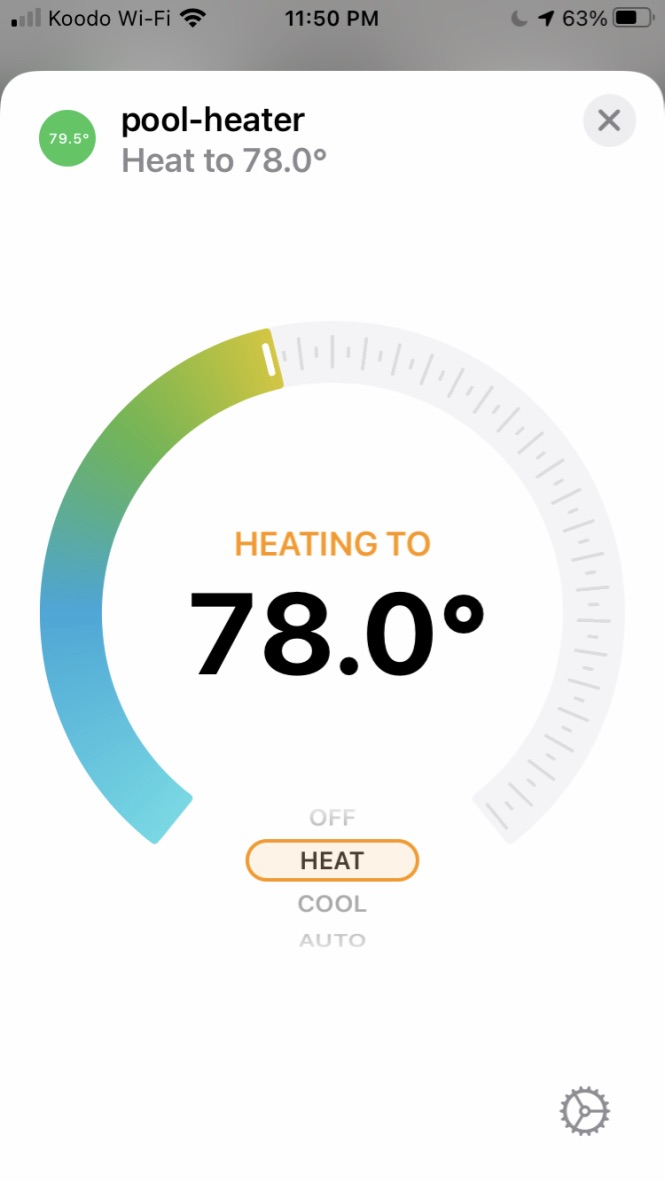
In the Apple Home App we now have access to our pool heater.
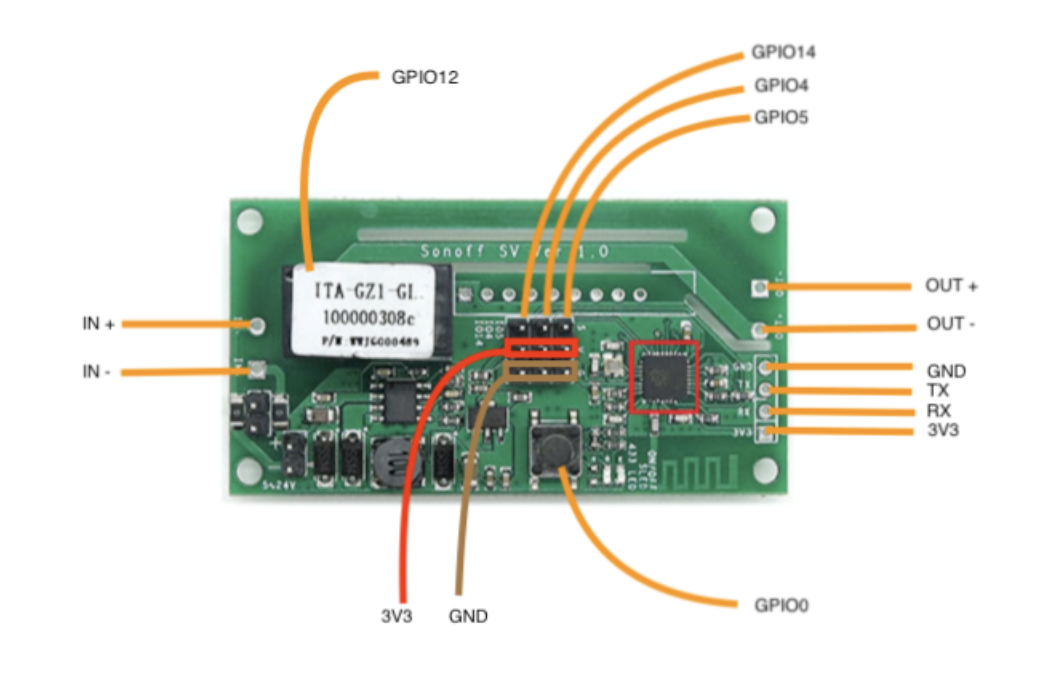
| GPIO | Function |
|---|---|
| 0 | Button |
| 4 | - |
| 5 | Temp |
| 12 | Relay |
| 13 | LED |
| 14 | - |
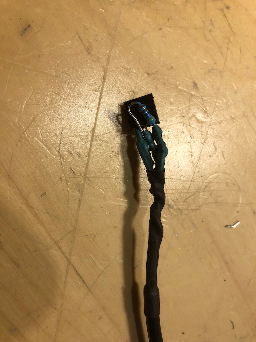
We are going to add a temperature sensor to the heater so that we can turn the heater on or off based on temperature.
We are going to use
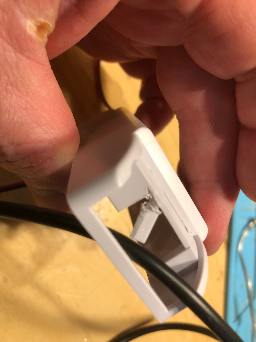
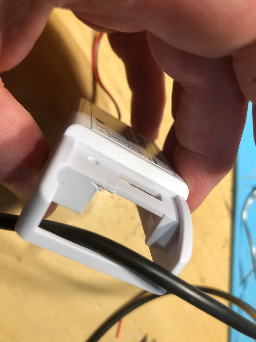
For the 1/4" adaptor, some adjustments were needed.
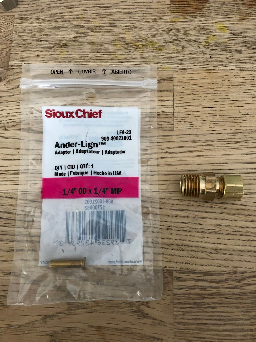
We needed to


Once the drilling was done, we were able to pass the thermometer through the adaptor.

We added 2 x 1/4" o-rings for sealing the compression fitting to the temperature probe.
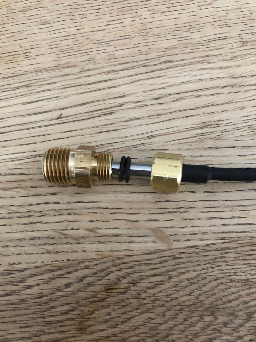
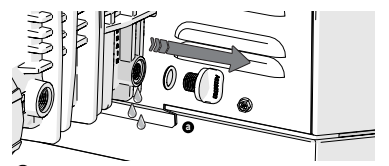
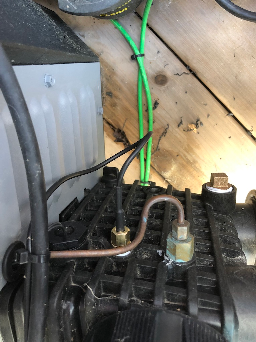
We can add a temperature sensor to the heater's header using the following procedure:
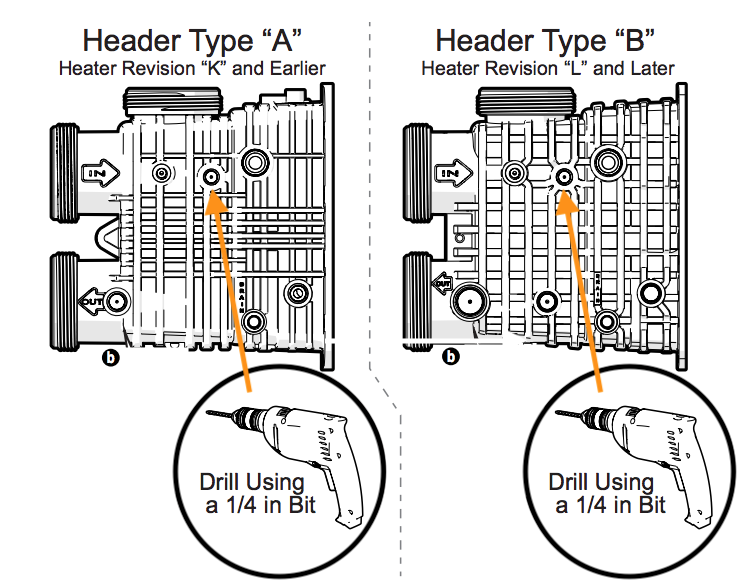

NOTE: The display will revert back to OFF 1 minute after the last key press.
| Reference | URL |
|---|---|
| Jandy Heater Manuals | https://www.jandy.com/en/products/heaters/jxi Installation: https://www.jandy.com/-/media/zodiac/global/downloads/h/h0574300.pdf Installation Code Handbook: http://www.tagengineering.ca/wp-content/uploads/2015/02/B149-1handbook.pdf |