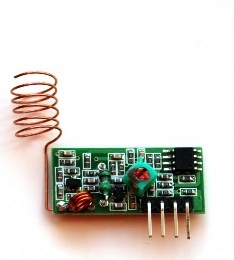
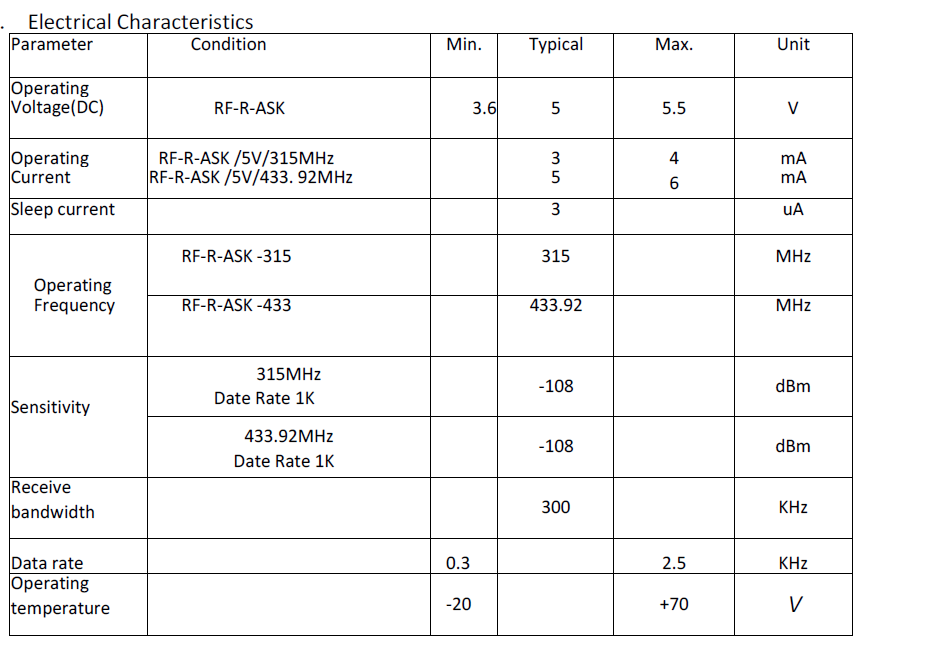
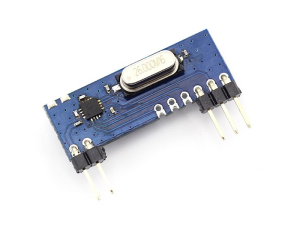
Receiver Specifications
| Detail | Specification | Image |
|---|---|---|
| Product Model | XD-RF-5V | |
| Operating voltage | 5V | |
| Quiescent Current | 4 mA | |
| Receiving frequency | 433.92MHZ | |
| Receiver sensitivity | -105DB | |
| Pinout from left → right | VCC, DATA,DATA,GND |
Simular Product:
https://www.seeedstudio.com/433MHz-ASK-OOK-Super-heterodyne-Receiver-module-p-2205.html
| Image | |
|---|---|
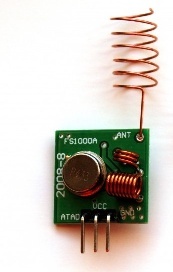
Transmitter Specifications
| Detail | Specification | Image |
|---|---|---|
| Product Model | XD-FST | |
| Launch distance | 20-200 meters (different voltage, different results) | |
| Operating voltage | 3.5-12V | |
| Operating mode | AM | |
| Transfer rate | 4KB / S | |
| Transmitting power | 10mW | |
| Transmitting frequency | 433M | |
| Pinout from left → right | DATA; VCC; GND |
Antenna
Length should be cut to a 1/2 to a 1/4 of the wavelength. Since our wavelength is 69.24 cm. A 1/4 of that would be 17.31 cm. The antenna can be coiled to make it shorter.
How does it work?
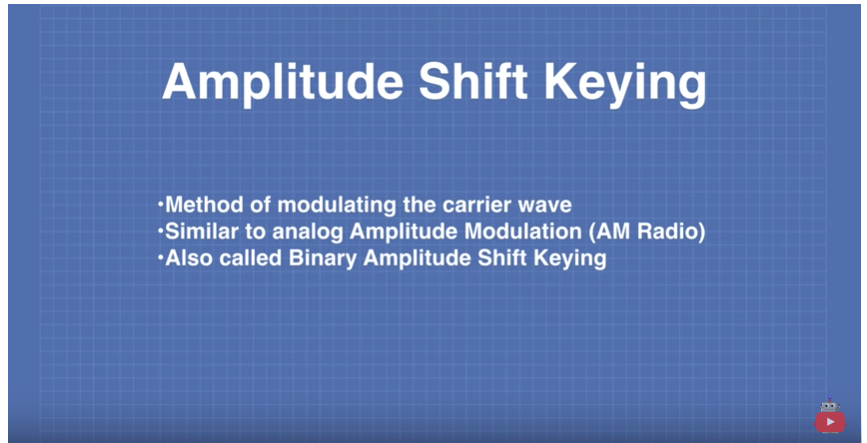
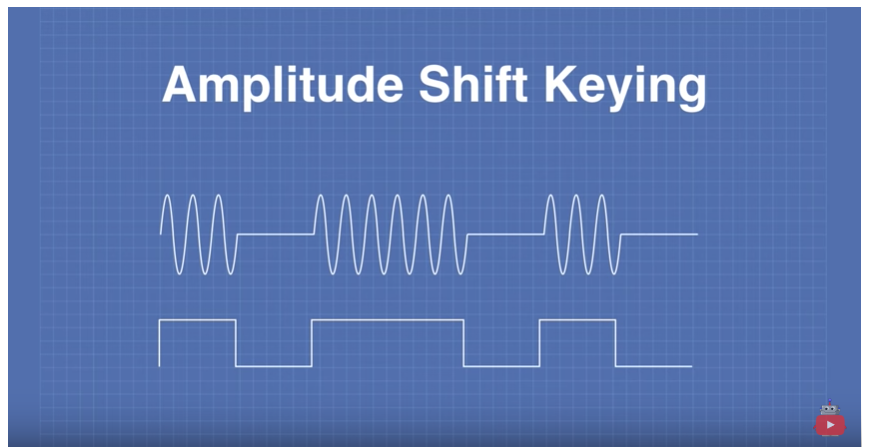
Our RF signal will use Amplitude Shift Keying.
A digital 1 turns the carrier on while a digital 0 turns tit off.
Sample Code
// ask_transmitter.pde
// -*- mode: C++ -*-
// Simple example of how to use RadioHead to transmit messages
// with a simple ASK transmitter in a very simple way.
// Implements a simplex (one-way) transmitter with an TX-C1 module

#include <RH_ASK.h>
#include <SPI.h> // Not actually used but needed to compile

//RH_ASK (uint16_t speed=2000, uint8_t rxPin=11, uint8_t txPin=12, uint8_t pttPin=10, bool pttInverted=false)
RH_ASK driver(2000, D2, D1, D6); // ESP8266 or ESP32: do not use pin 11 or 2

//Connect data to pin 5/D1

void setup()
{
    Serial.begin(115200);
    Serial.println("\n\nrfSender Started\n\n");
    if (!driver.init()){
         Serial.println("init failed");
    }
    //driver.setModeTx();
    Serial.println("Initialized");
}

void loop()
{
    Serial.println("Sending hello");
    const char *msg = "hello";

    driver.send((uint8_t *)msg, strlen(msg));
    driver.waitPacketSent();
    delay(1000);
}
// ask_receiver.pde
// -*- mode: C++ -*-
// Simple example of how to use RadioHead to receive messages
// with a simple ASK transmitter in a very simple way.
// Implements a simplex (one-way) receiver with an Rx-B1 module

#include <RH_ASK.h>
#include <SPI.h> // Not actually used but needed to compile

//RH_ASK (uint16_t speed=2000, uint8_t rxPin=11, uint8_t txPin=12, uint8_t pttPin=10, bool pttInverted=false)
RH_ASK driver(2000, D1, D2, D6); // ESP8266 or ESP32: do not use pin 11 or 2

//Connect data to pin 5/D1

void setup()
{

    Serial.begin(115200);
    Serial.println("\n\nrfReceiver Started\n\n");
    if (!driver.init()){
         Serial.println("init failed");
    }
    Serial.println("Initialized");

}

void loop()
{

    uint8_t buf[RH_ASK_MAX_MESSAGE_LEN];
    uint8_t buflen = sizeof(buf);

    if (driver.recv(buf, &buflen)) // Non-blocking
    {

      // Message with a good checksum received, dump it.
//      driver.printBuffer("Got:", buf, buflen);

      Serial.print("Message Received: ");
      Serial.println((char*)buf);

    }
}
Reference
| Reference | URL |
|---|---|
| Spec Sheet | http://www.mantech.co.za/Datasheets/Products/433Mhz_RF-TX&RX.pdf |
| How 433MHz RF Tx-Rx Modules Work & Interface with Arduino | https://lastminuteengineers.com/433mhz-rf-wireless-arduino-tutorial/ |
| Complete Guide for RF 433MHz Transmitter/Receiver Module With Arduino | https://randomnerdtutorials.com/rf-433mhz-transmitter-receiver-module-with-arduino/ |
| Using Inexpensive 433 MHz RF Modules with Arduino | https://www.youtube.com/watch?v=b5C9SPVlU4U |
| Radio Head Library | http://www.airspayce.com/mikem/arduino/RadioHead/ |
| RF Sniffer | https://www.electroschematics.com/13682/433mhz-rf-sniffer/ |
| RC Switch Library | https://github.com/sui77/rc-switch |
| Reverse Engineering RF Remote Control | https://www.instructables.com/id/Reverse-Engineer-RF-Remote-Controller-for-IoT/ |
| rtl_433 | https://github.com/merbanan/rtl_433 |
| USING AN RTL-SDR AND RTL_433 TO DECODE VARIOUS DEVICES | https://www.rtl-sdr.com/tag/433-mhz/ |
