Overview
The brew controller will allow you control your brewing setup by allowing you to accurate control your mash and boil temperatures as well as activate pumps to move beer around.
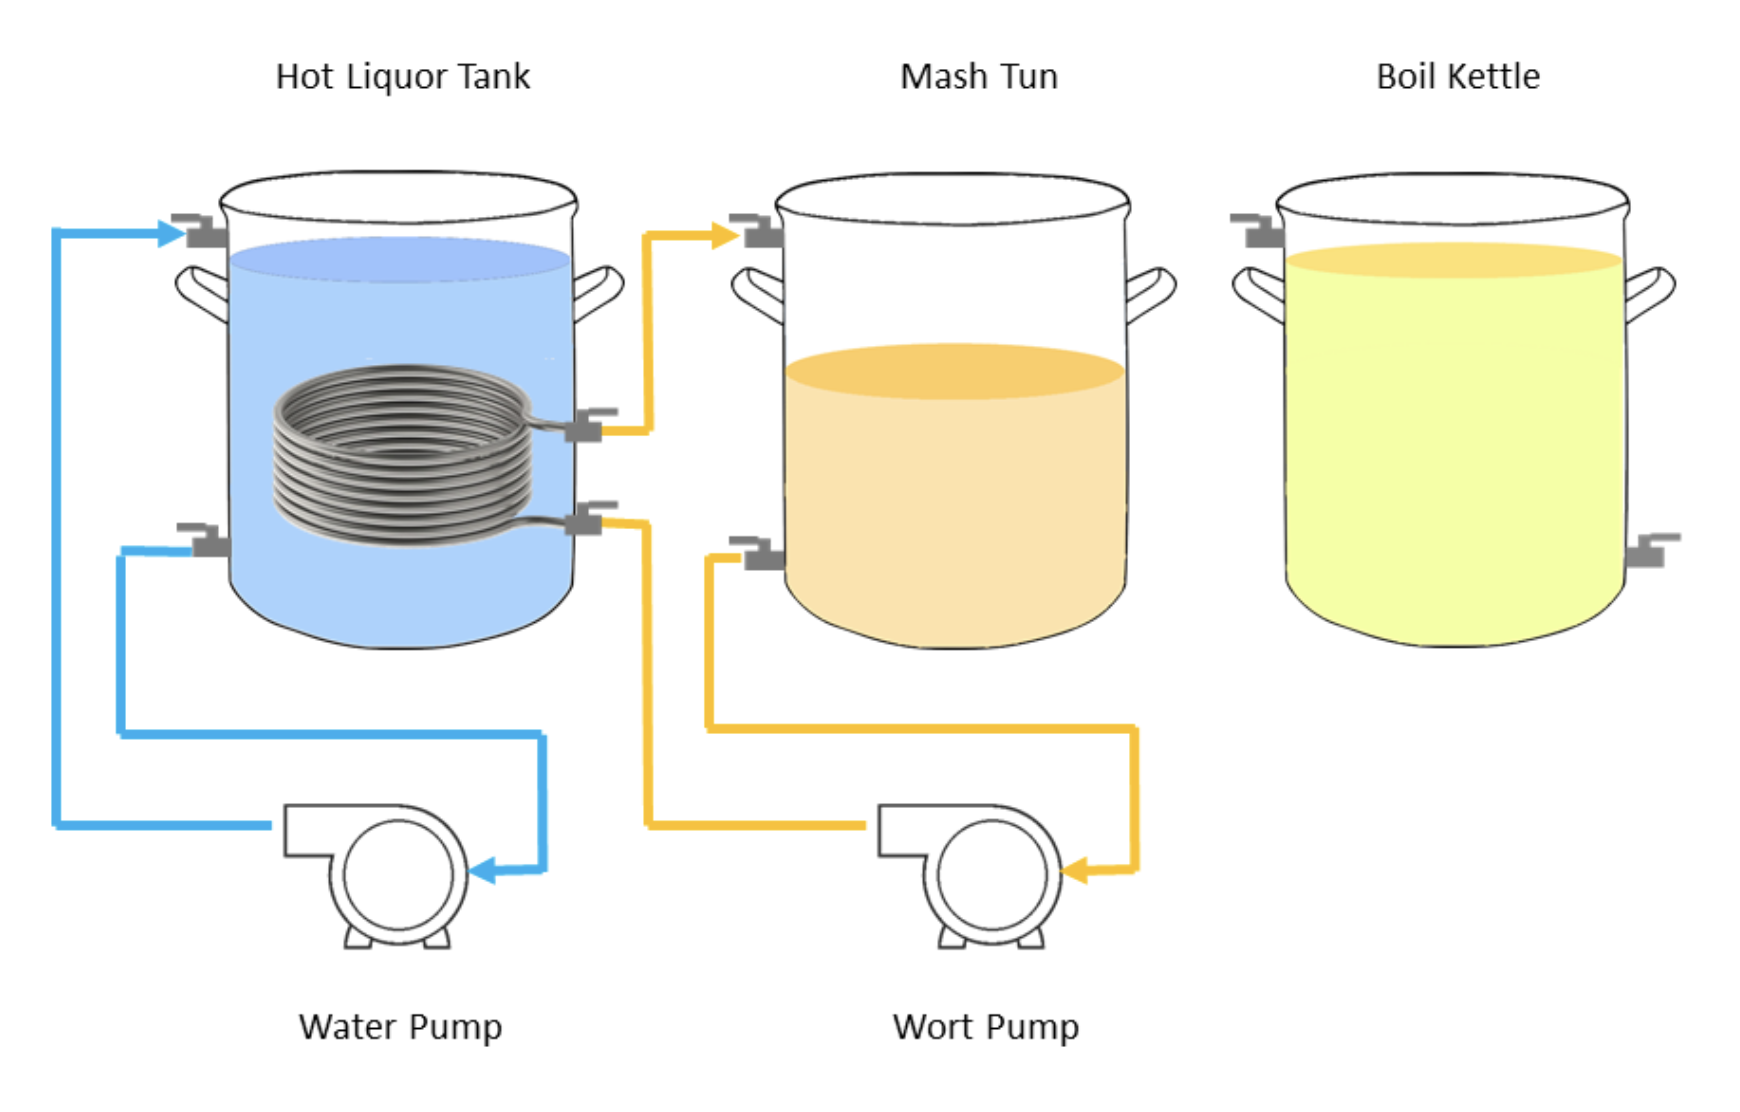
The brew controller is designed to work with an electric HERMS system. We have heating elements in our Hot Liquor Tank (HLT) and our Boil Kettle (BK). When mashing we recirculates water from the Mash Tun (MT) through a coil in the HLT to heat our mash water without putting the grain in direct contact with the heating element. Eliminating the possibility of scorching the grain. A HERMS system is depicted in the following image:
Features
The brew controller has the following features:
- Web User Interface
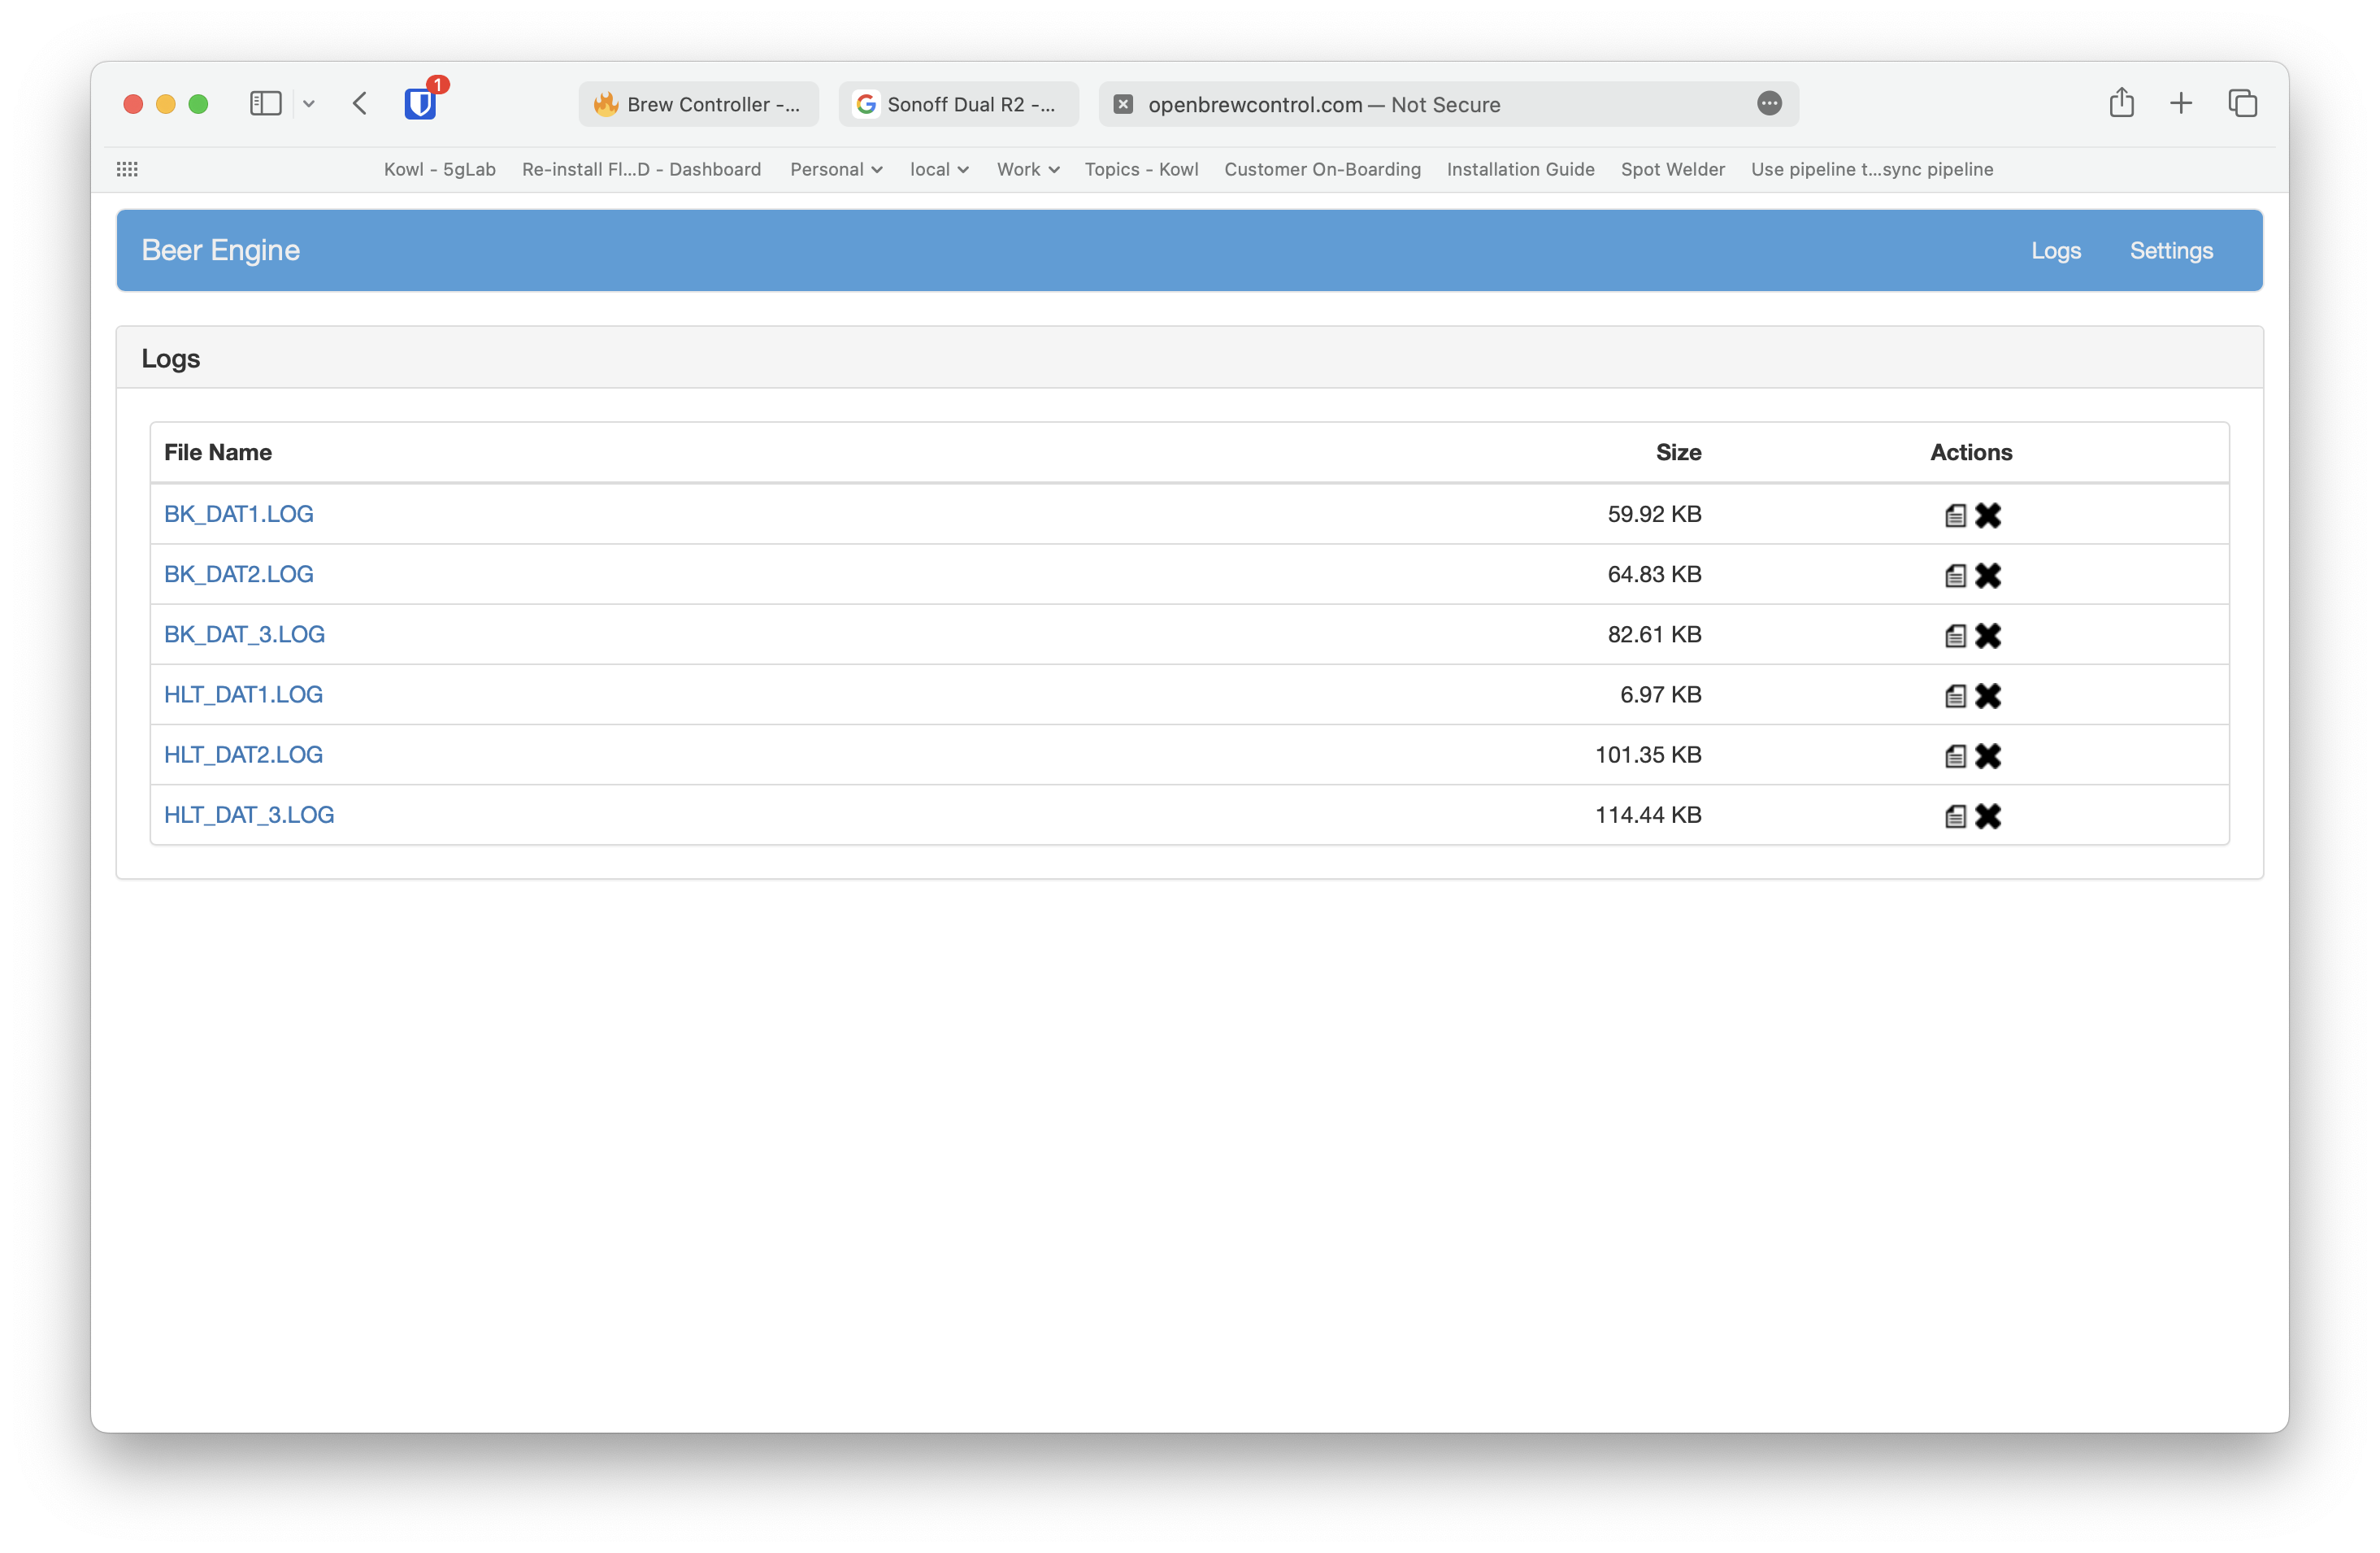
- Data logging
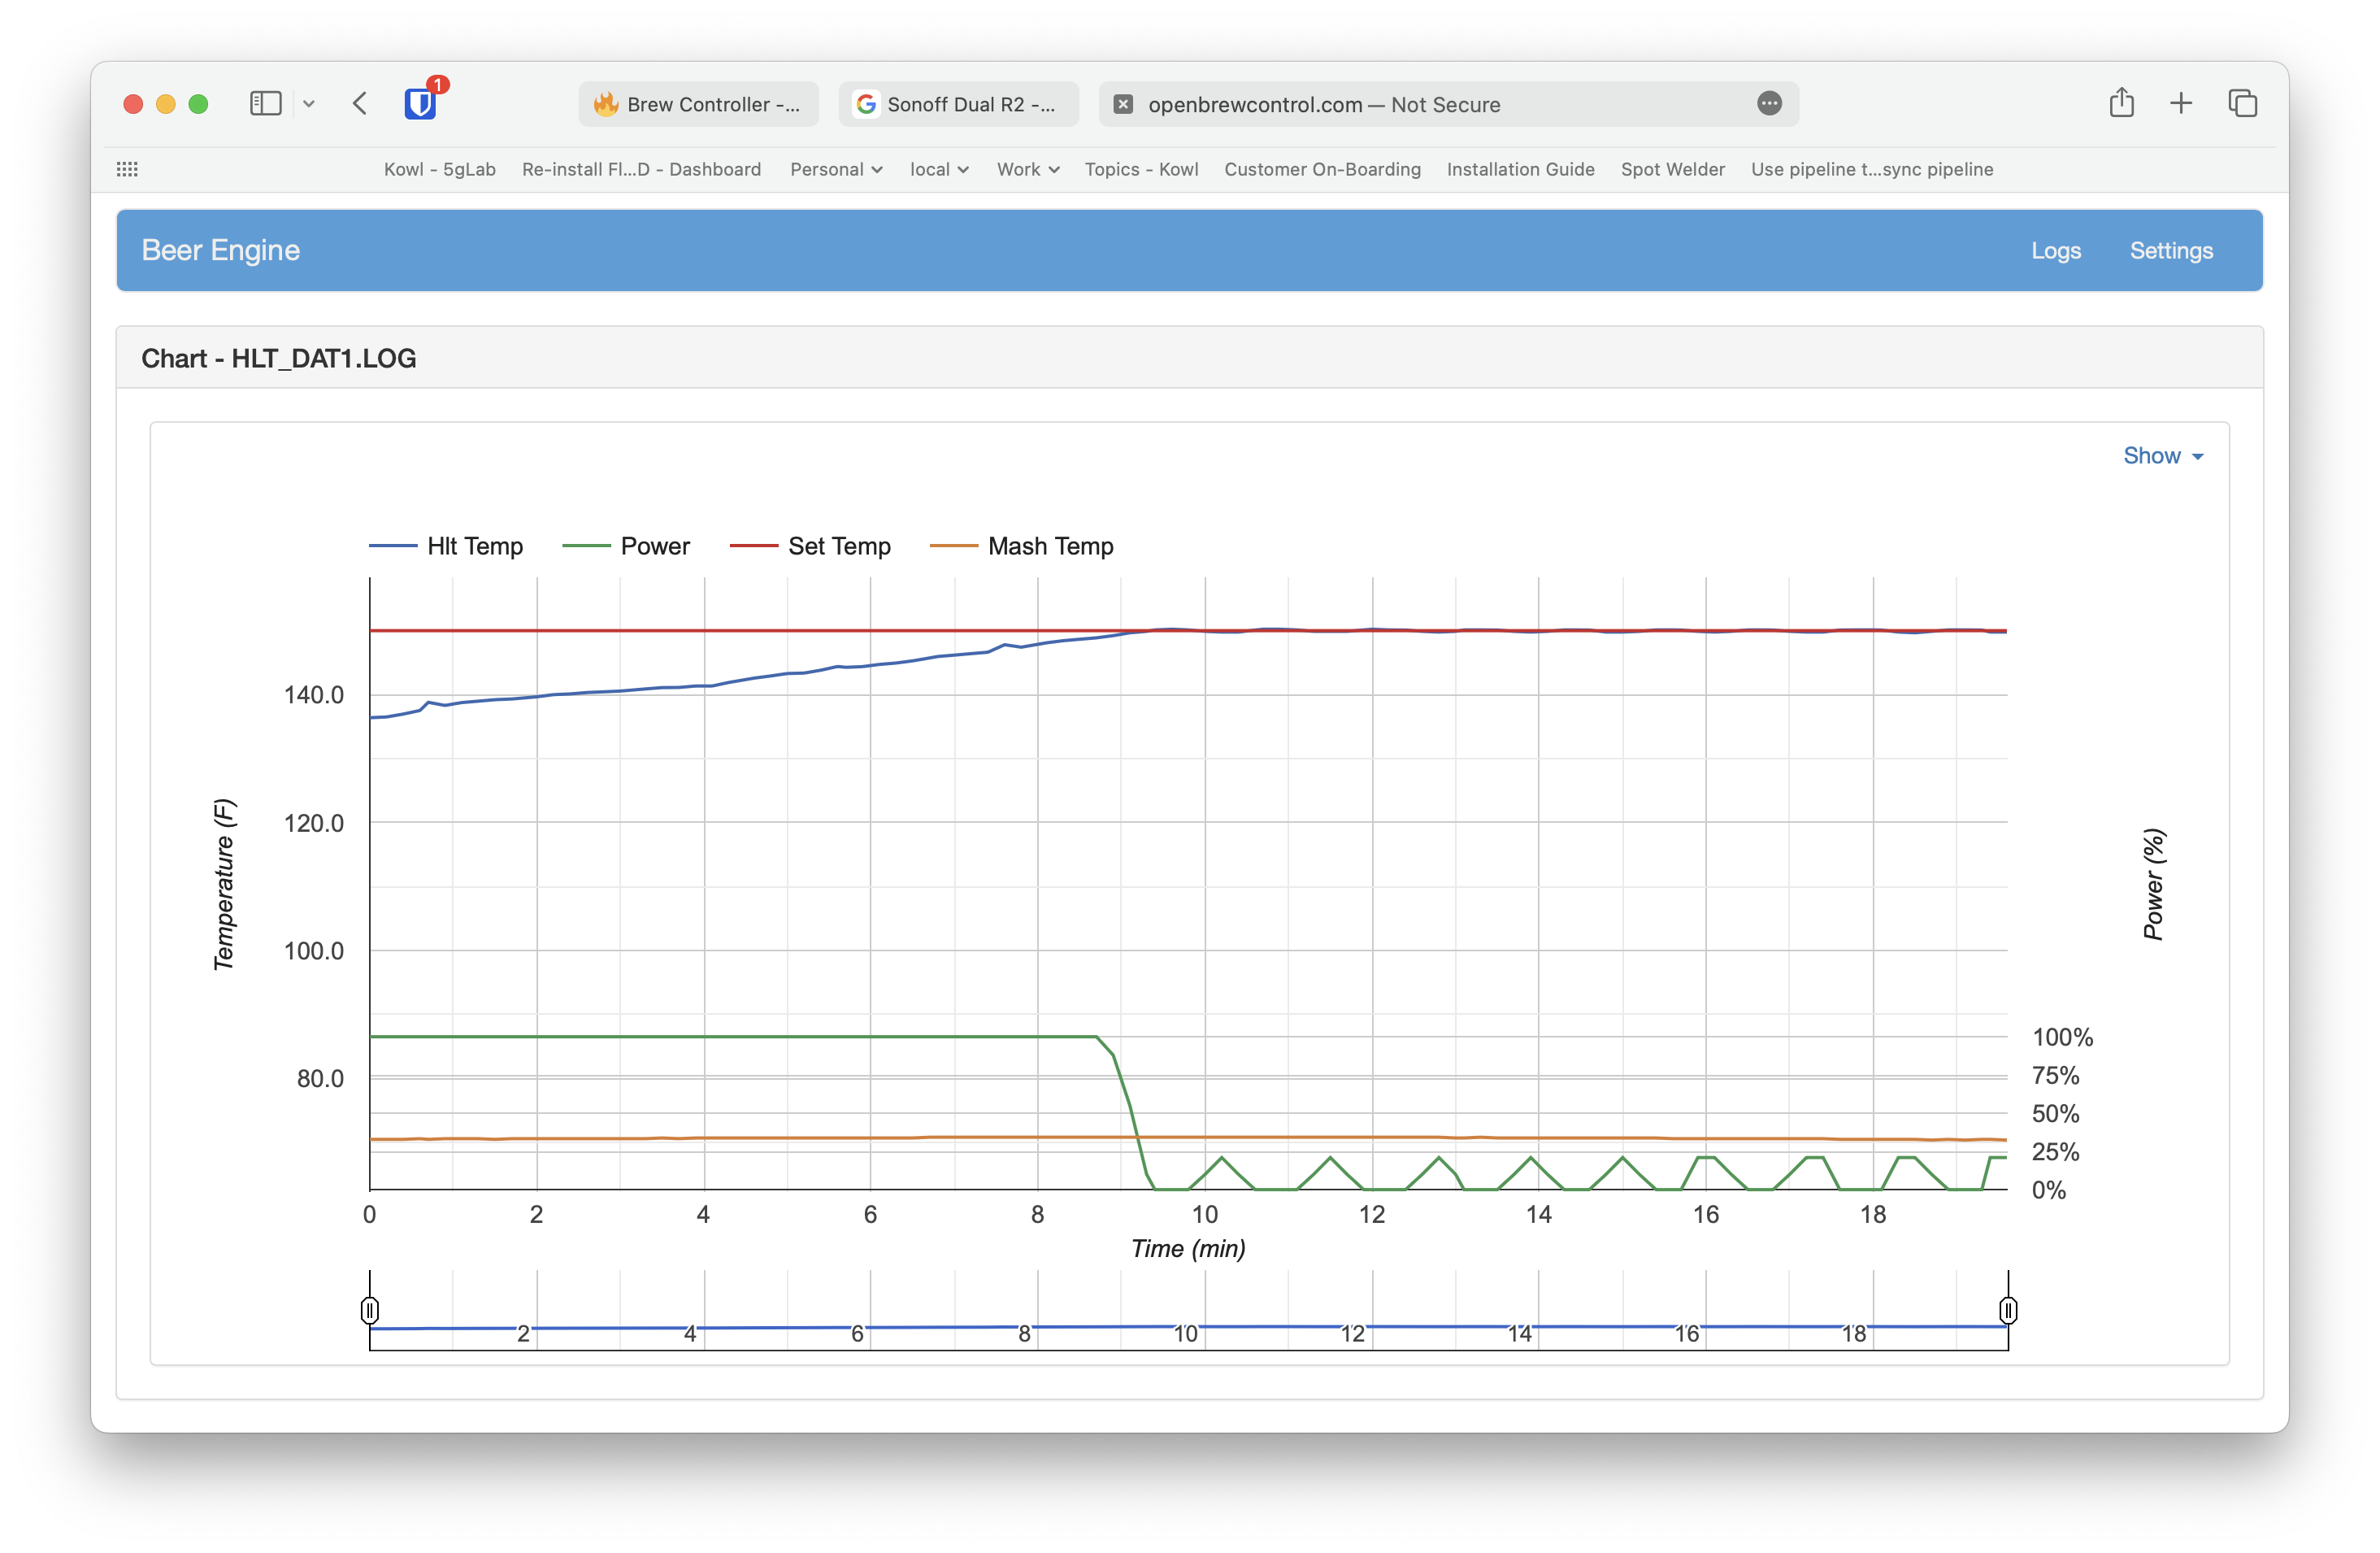
- Data Analysis via Graphing
- PID Control via Software
- PID Auto Tunning
- Rest API
Components
The following diagram depicts the basic components. Our system when built is a bit more detailed but this is the simple view of what we are building. Initially we used an Arduino Mega but have since replaced this with an ESP8266 to add wifi support.
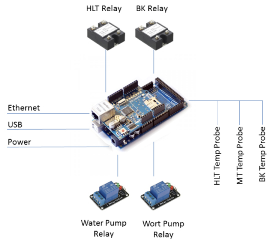
The brew controller will allow you to specify desired (“set”) temperatures for your Hot Liquor Tank (HLT) and your Boil Kettle (BK), turn this elements on/off as well as turn on/off your wort and water pump. The Mash Tun (MT) temperature is recorded so we can see what temperature we are mashing our grains at.
We can also specify a duty cycle (%power) for our boil kettle allowing us to achieve a good rolling boil.
Temperature Probes
The temperature probes used with the brew controller contain a DS18B20 chip and communicate over a 1-wire serial interface. Each temperature probe will have a unique address which will be used to distinguish between the temperature probes. The brew controller will assign temperature probes to the HLT, MT and BK based on the address of the temperature probe.
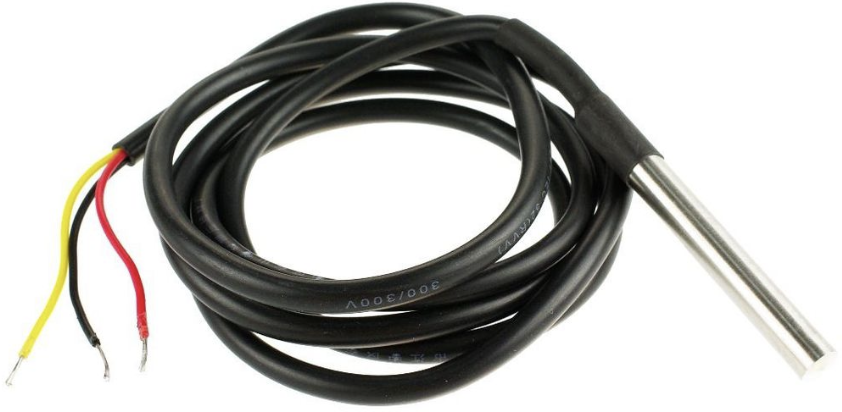
When selecting a temperature probe, you will need to ensure that they are waterproof with stainless steel ends taking into consideration how they will be mounted.
Mounting the HLT and MT temperature probes
For best results, we will want to mount the HLT and MT temperature probes near the outlet of the vessel. Preferably in the outlet port.
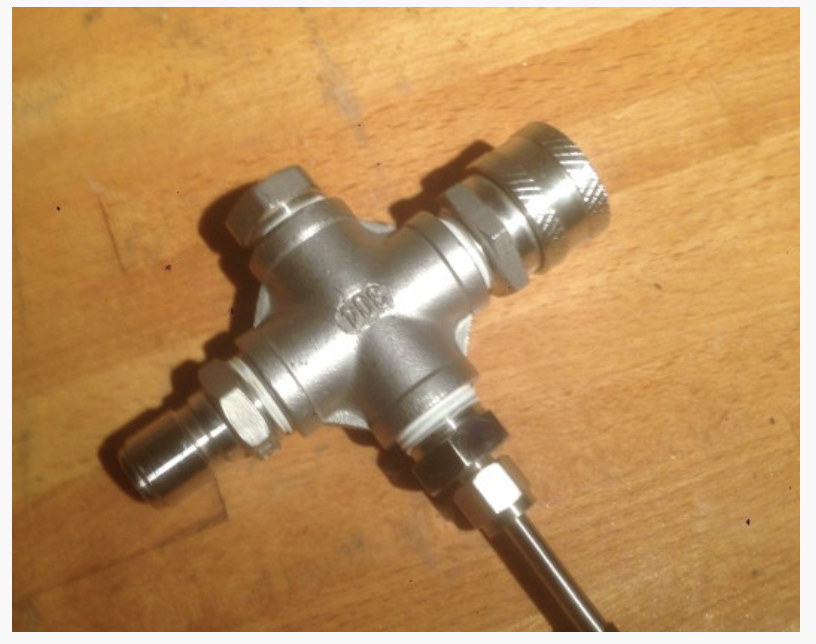
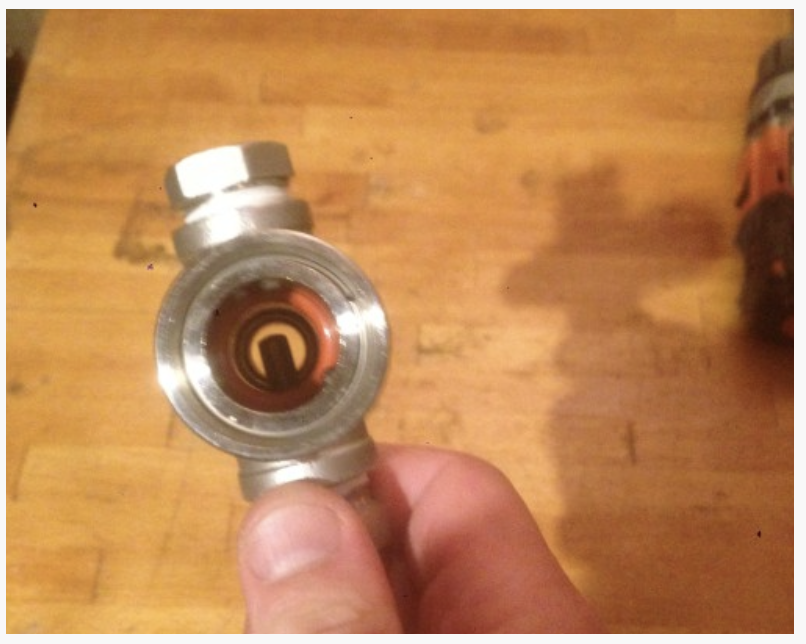
In the following picture you can see that we have the temperature probe installed in a quick disconnect T with the tip at the center.
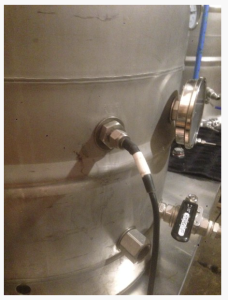
Mounting the BK temperature probe
For the boil kettle, we will be mounting the temperature probe to the side of the vessel somewhere above the element.
Using a Compression Fitting with your Temperature Probe
In order to properly mount your temperature probes, you will need a 1/2″ male NPT x 1/4″ compression fitting. You will also need a couple of 1/4″ silicon o-rings to make a good non-permanent connection.
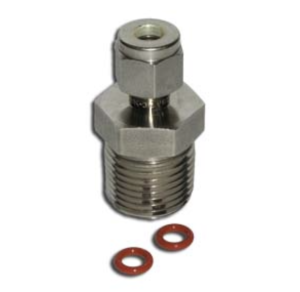
This 1/2″ Male NPT x 1/4″ compression fitting is available from Brewers Hardware. You may also find them on ebay.
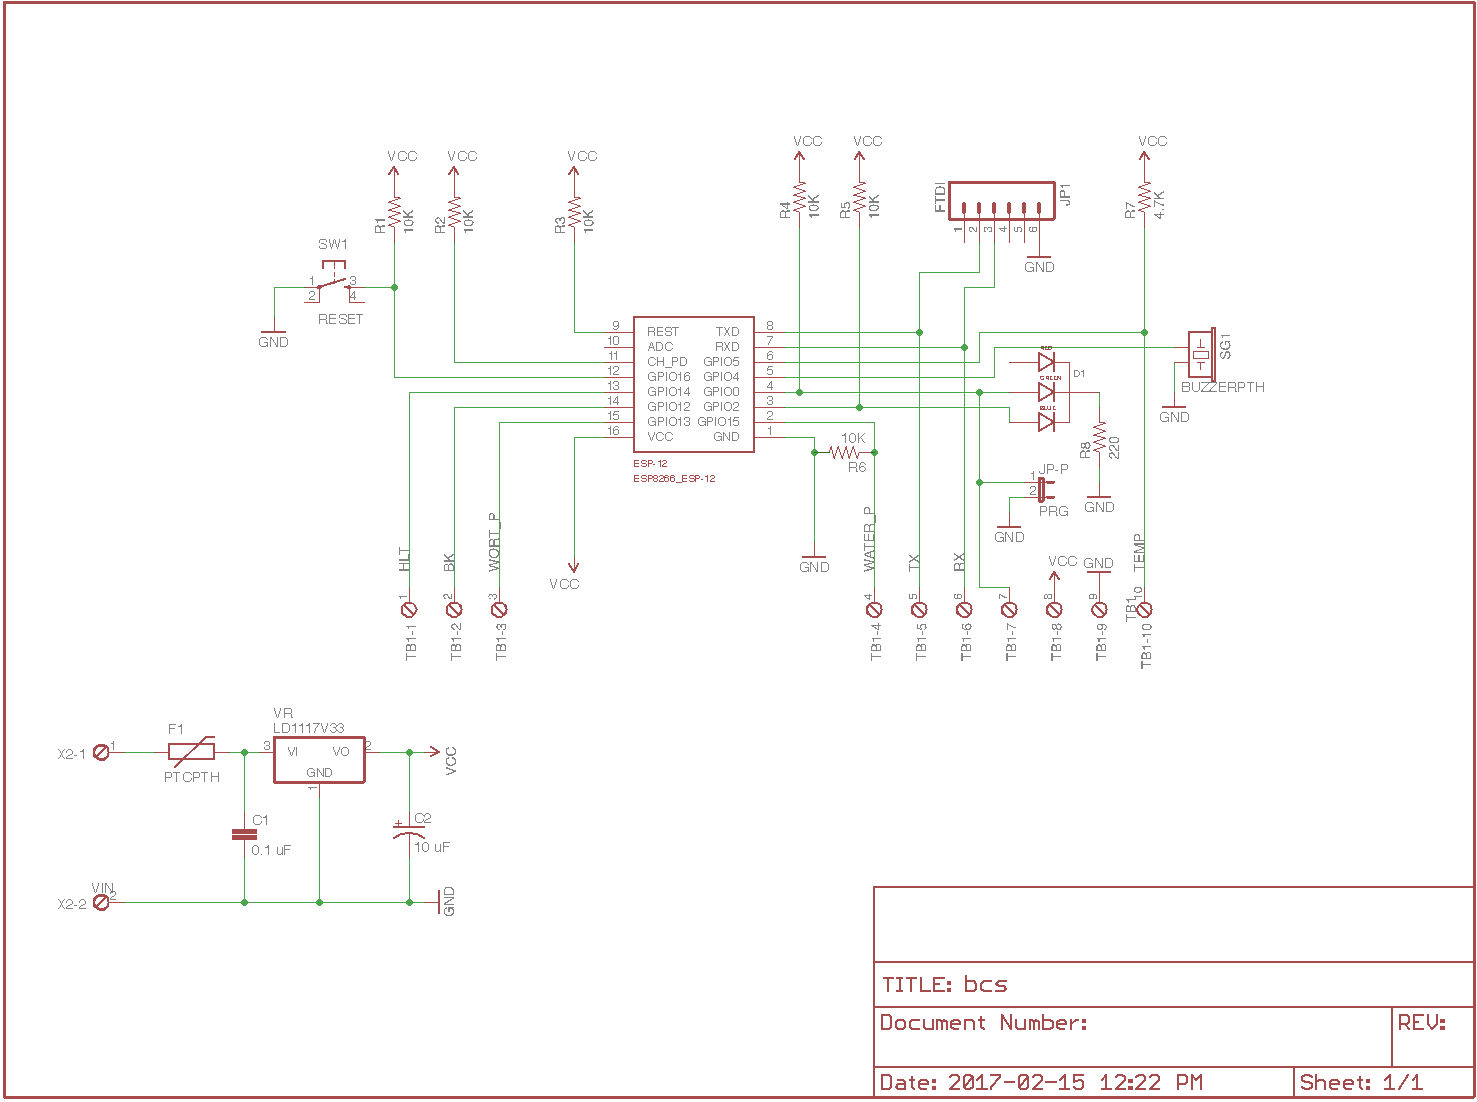
Schematic (ESP8266)
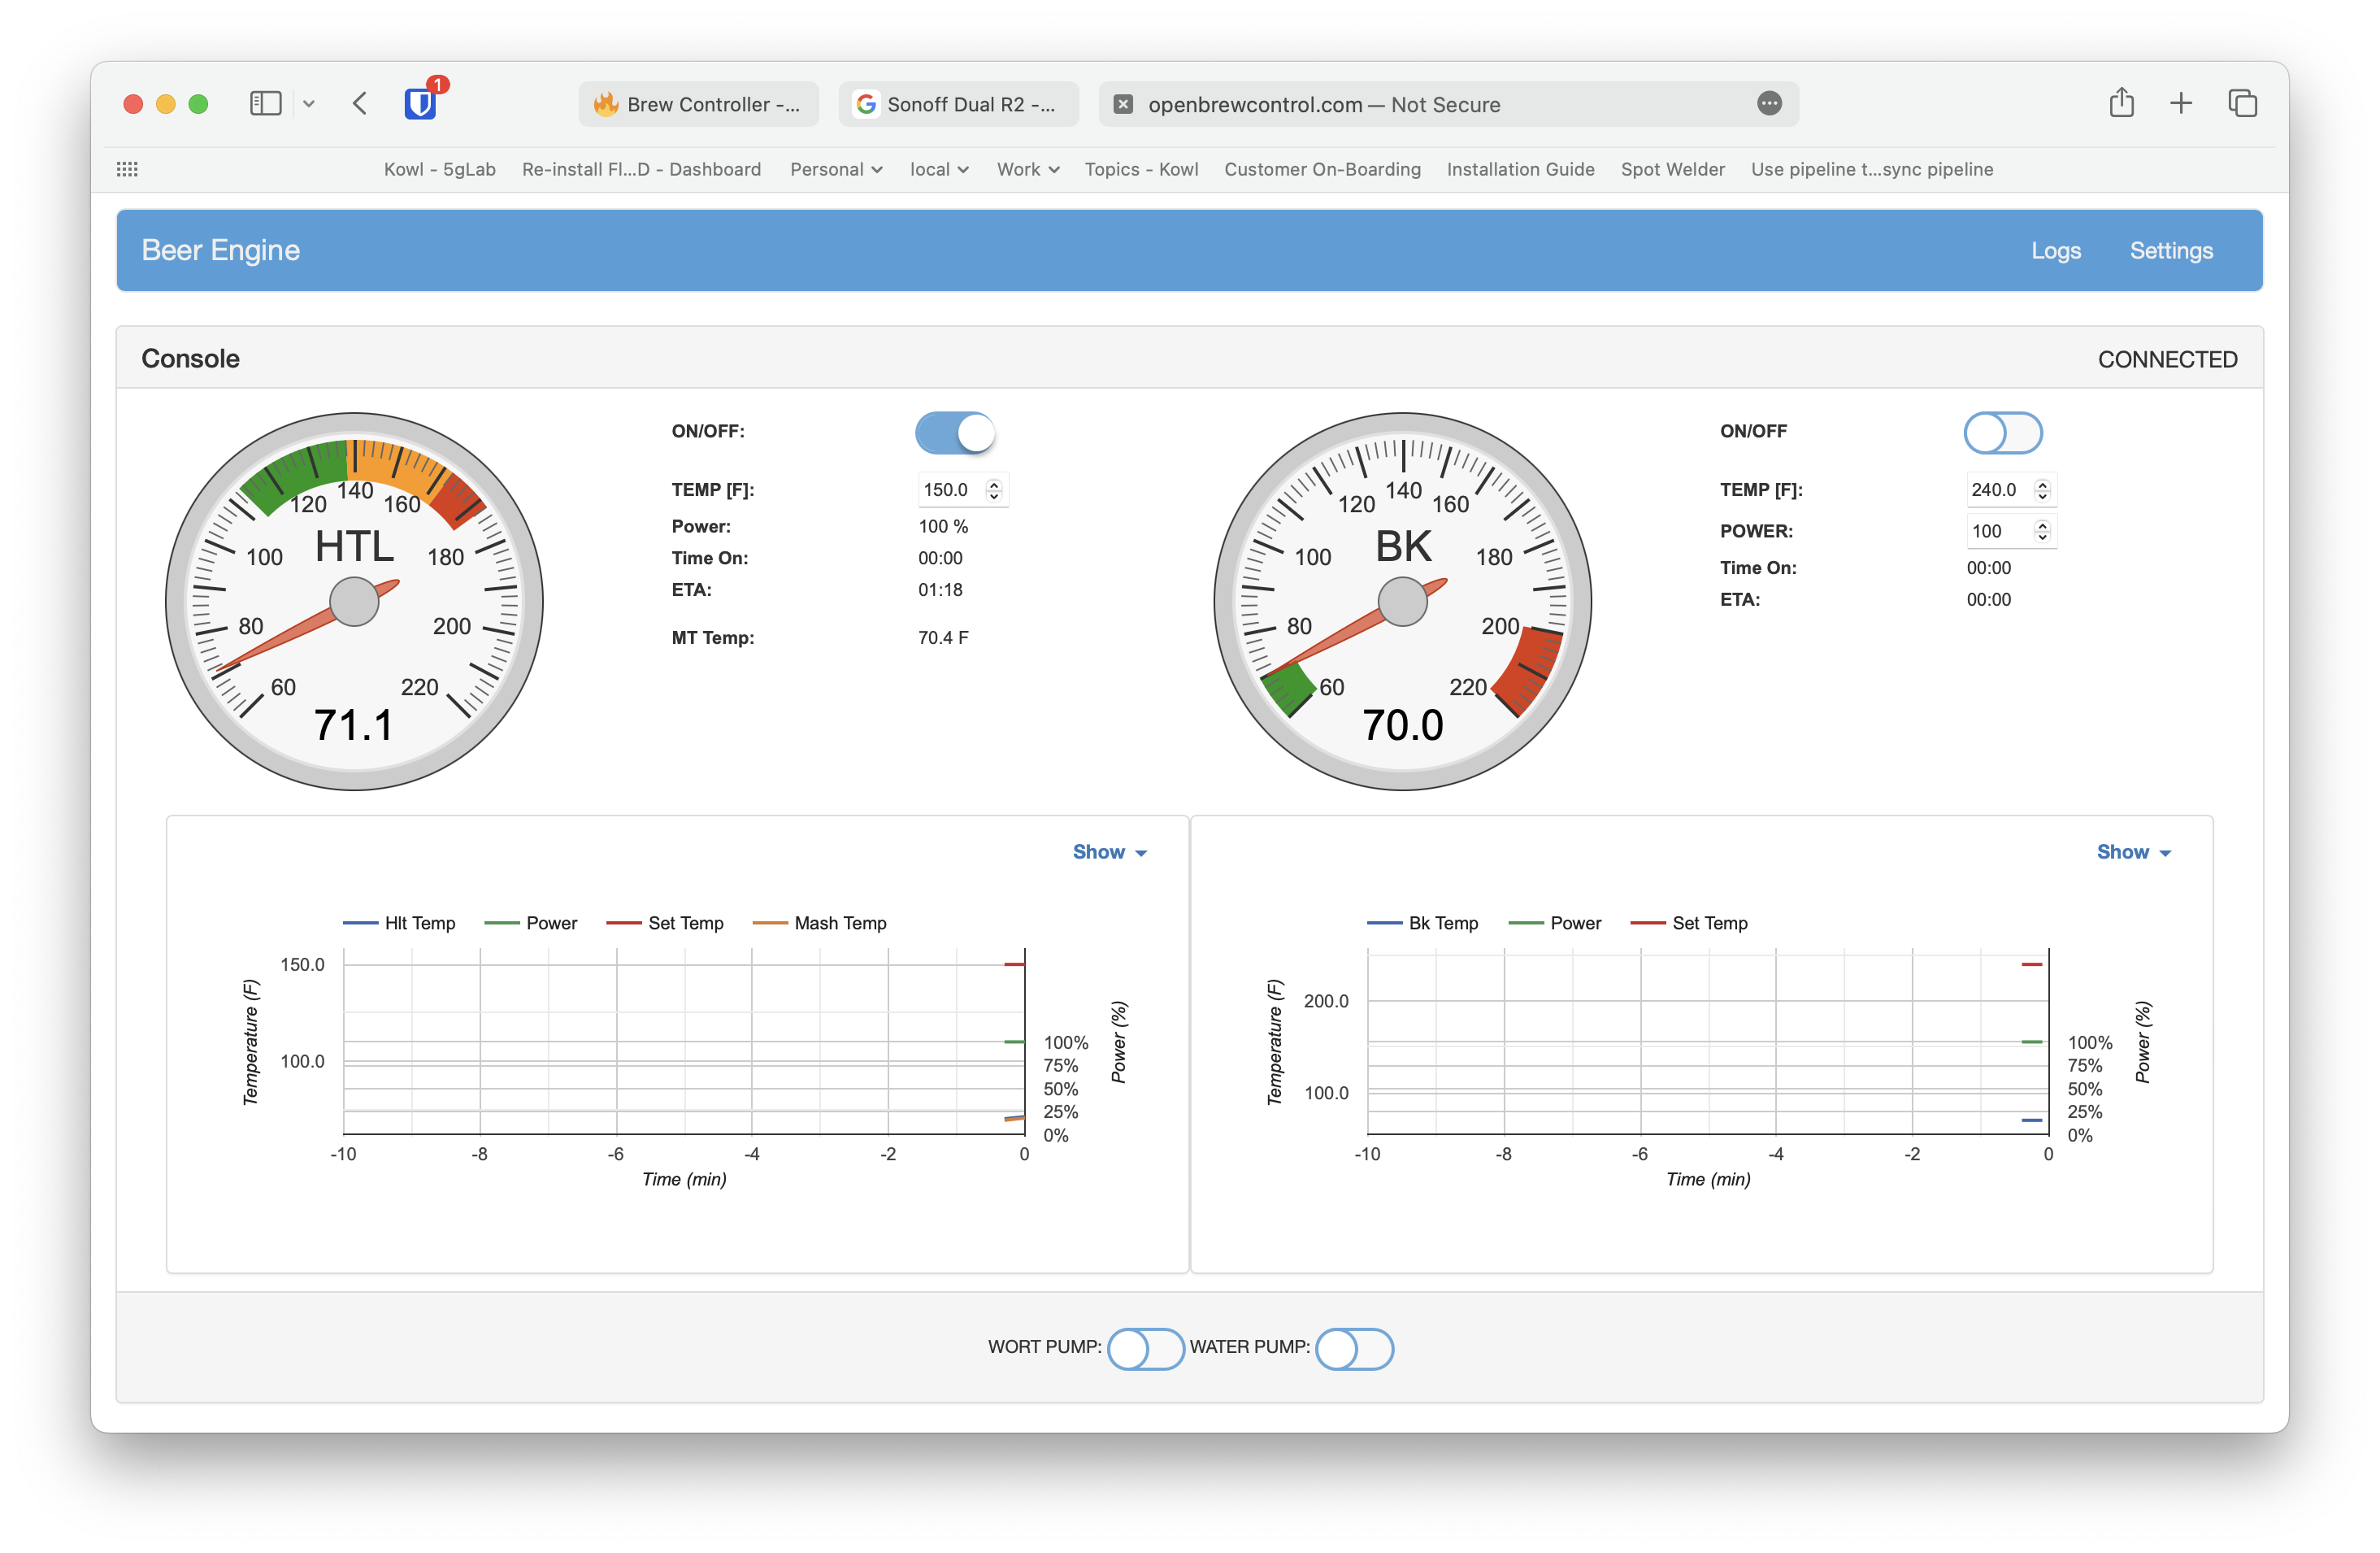
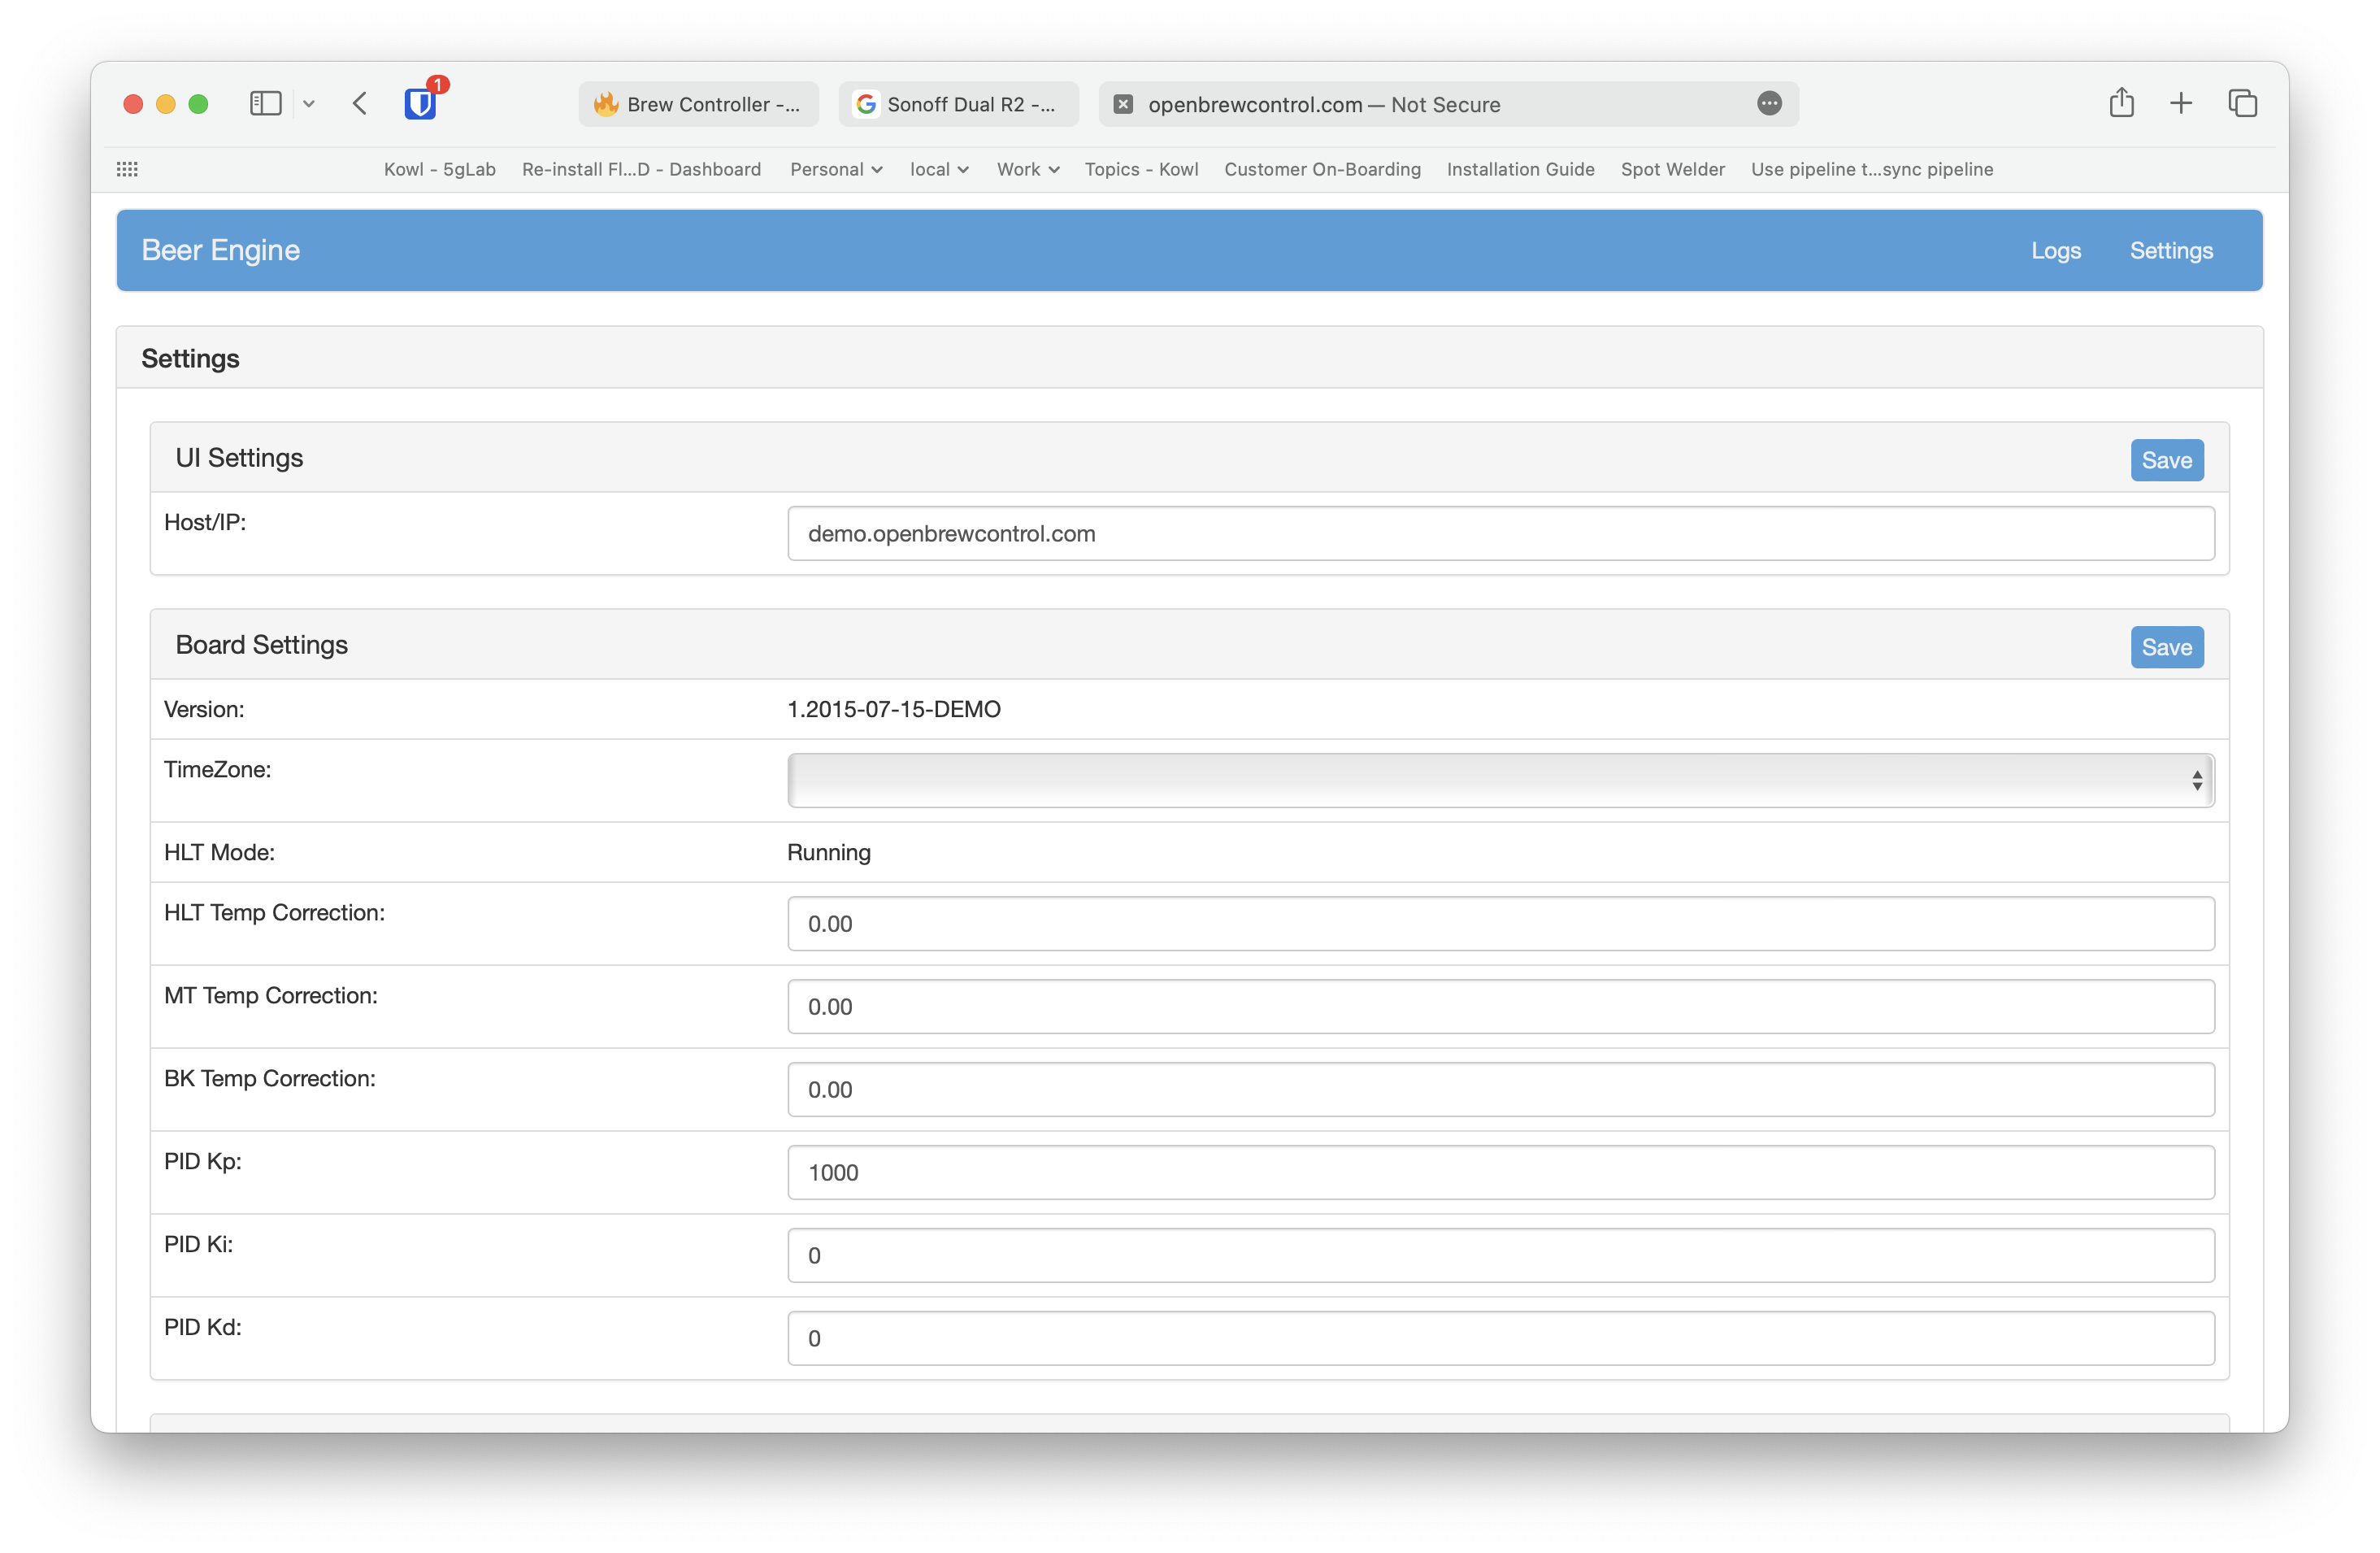
Web UI
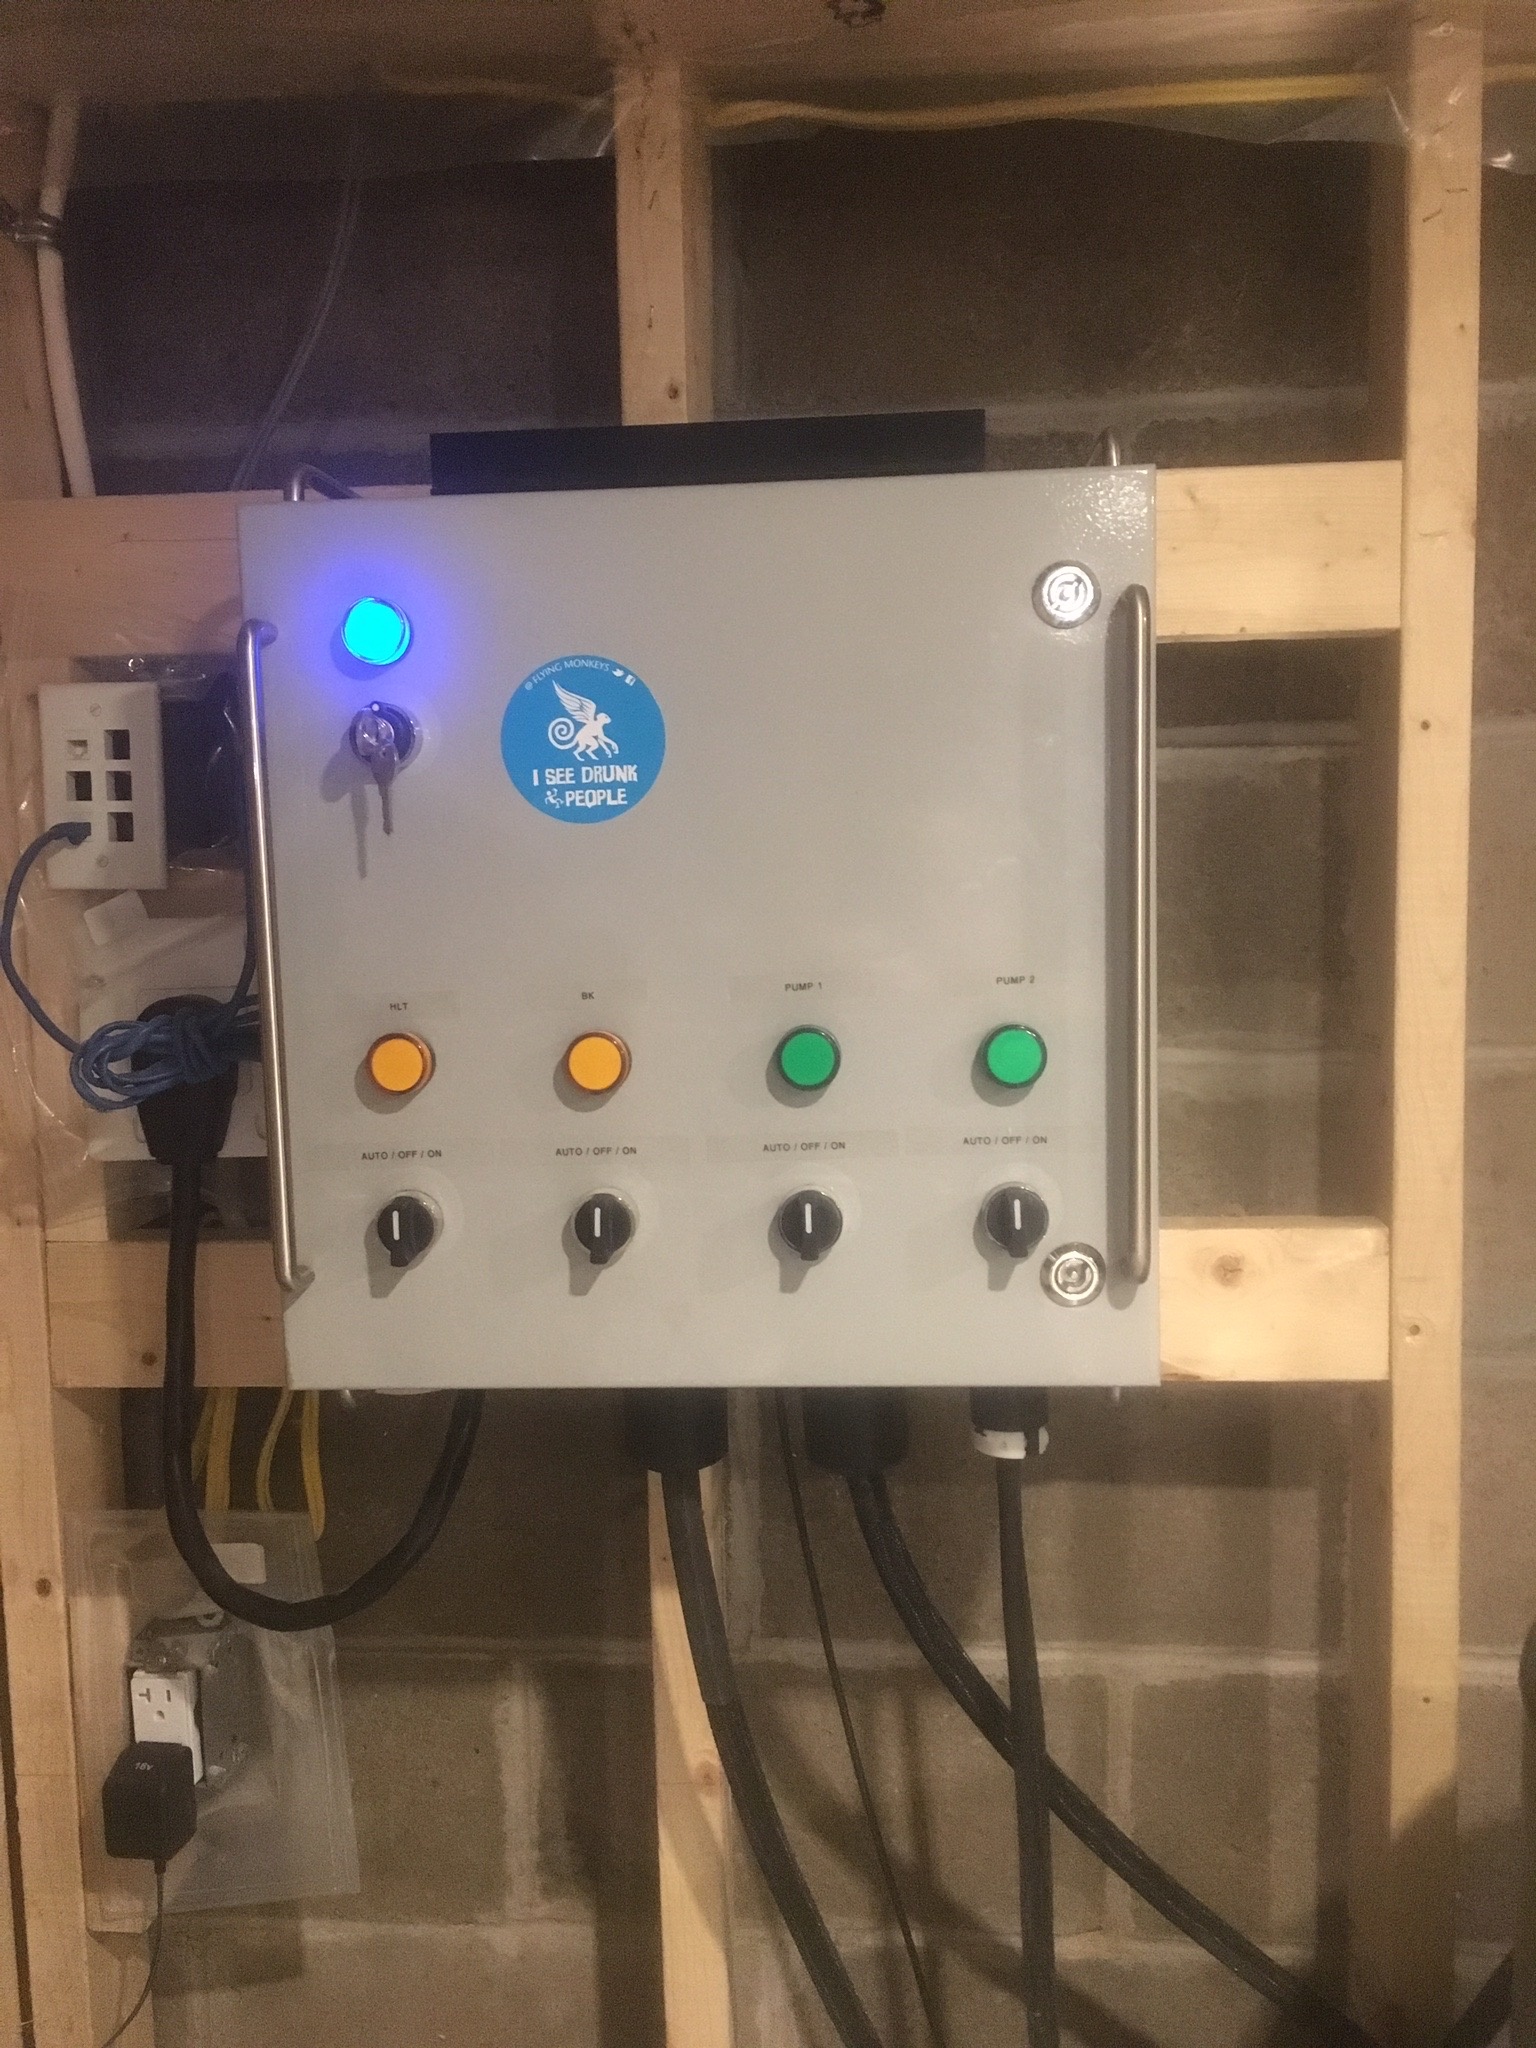
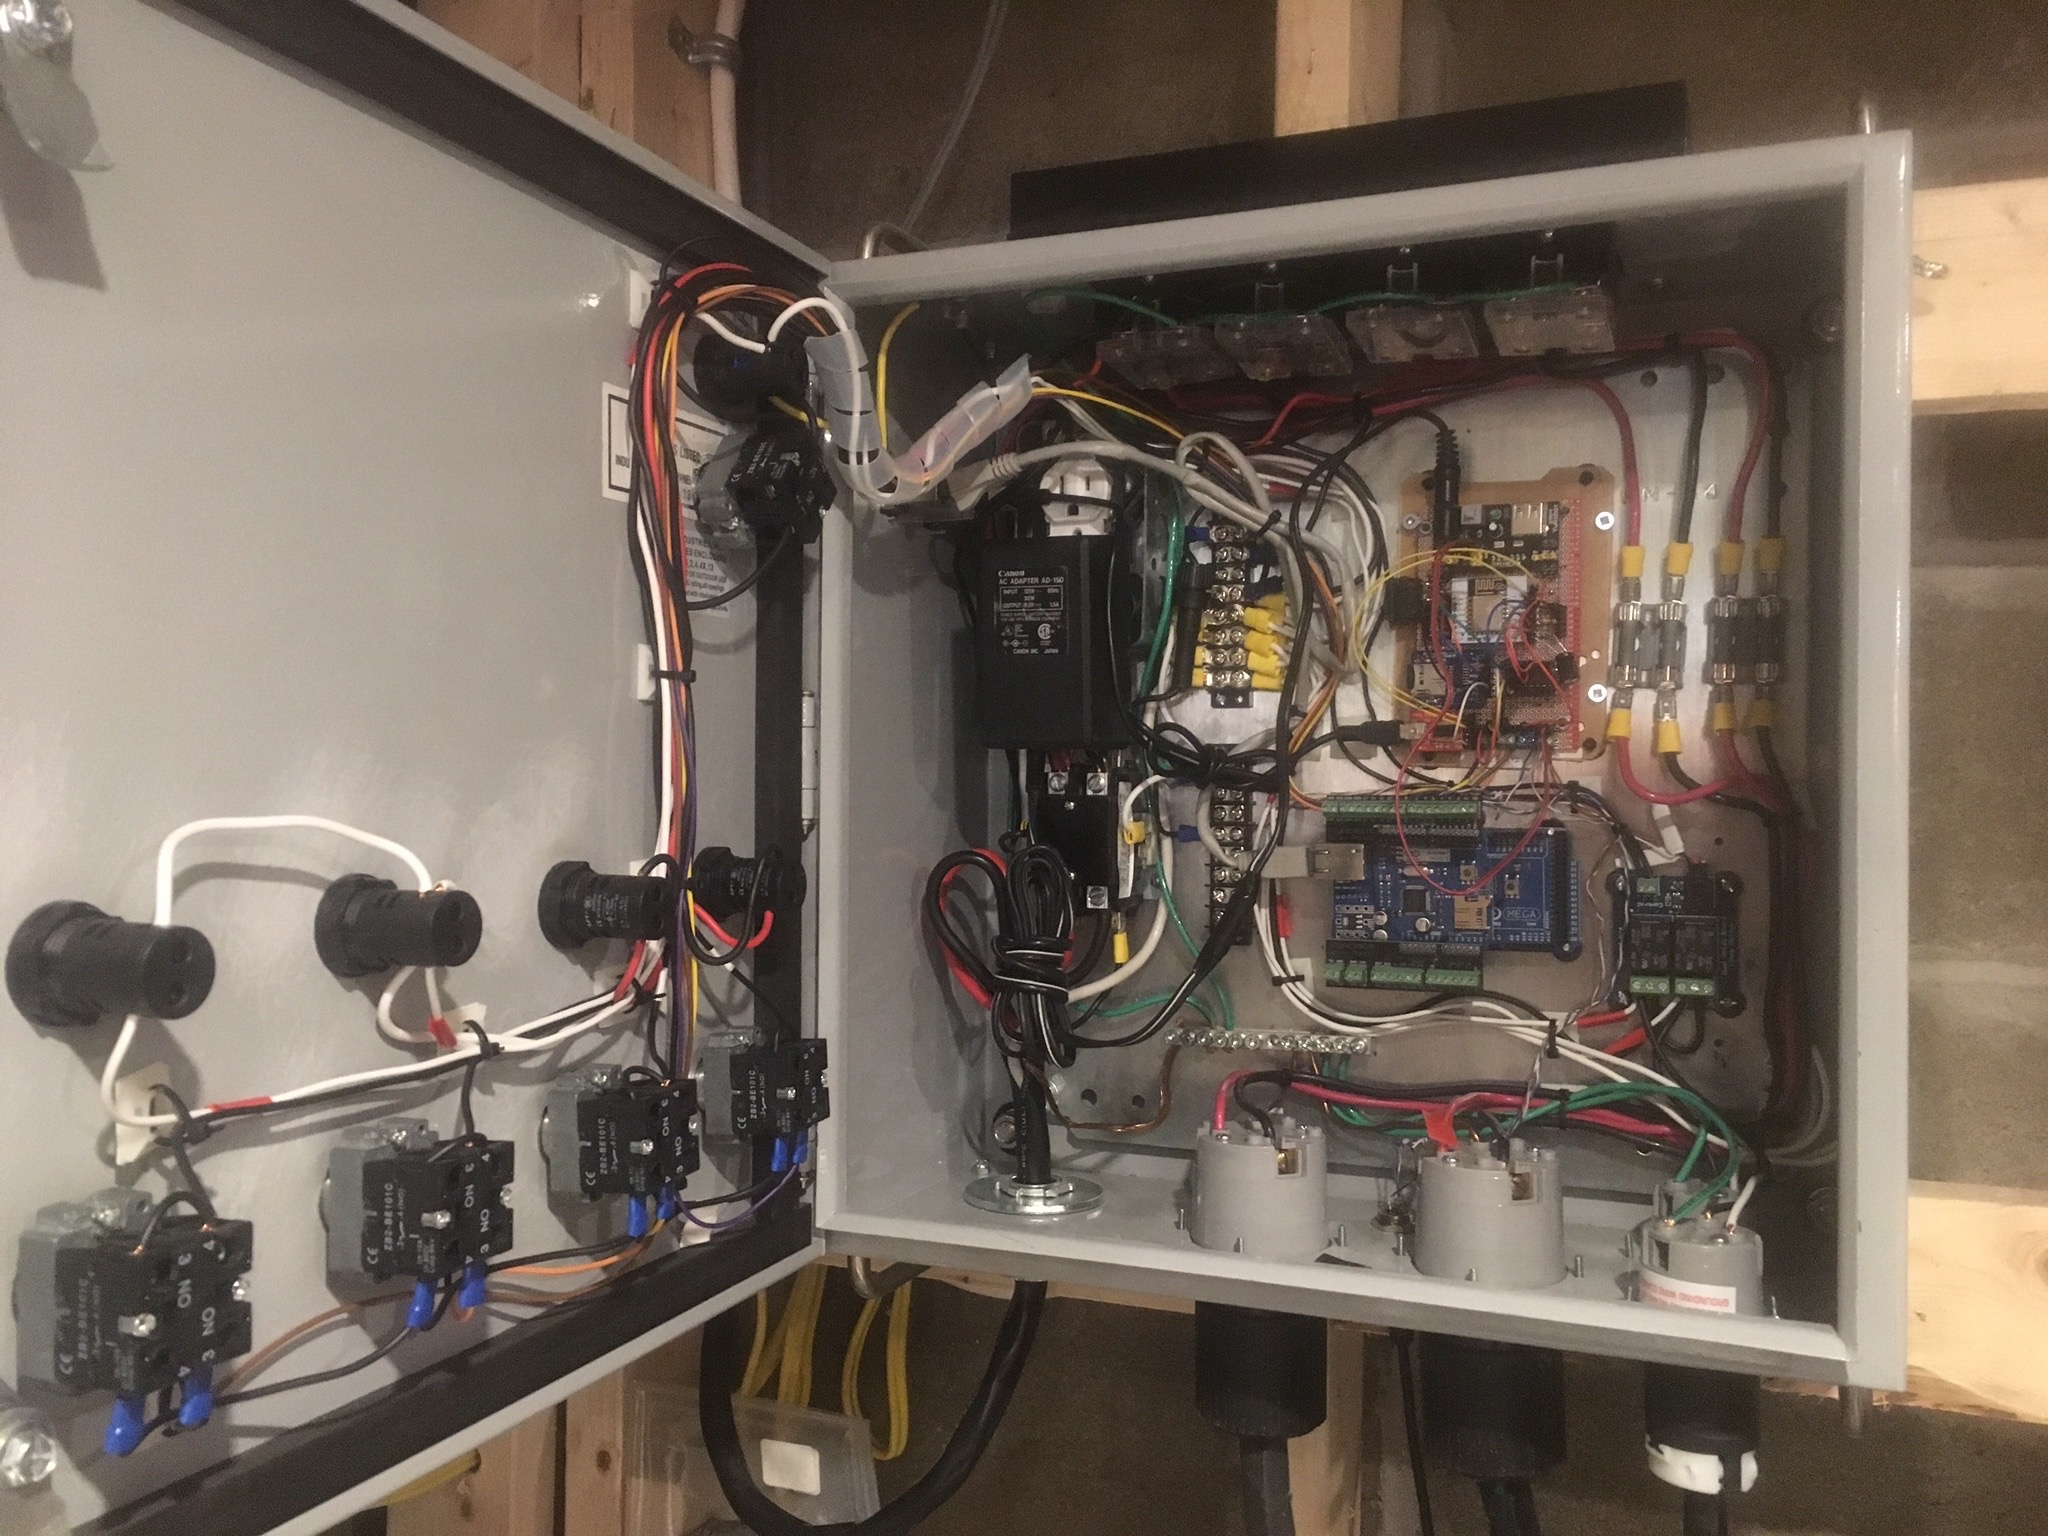
Pictures

