
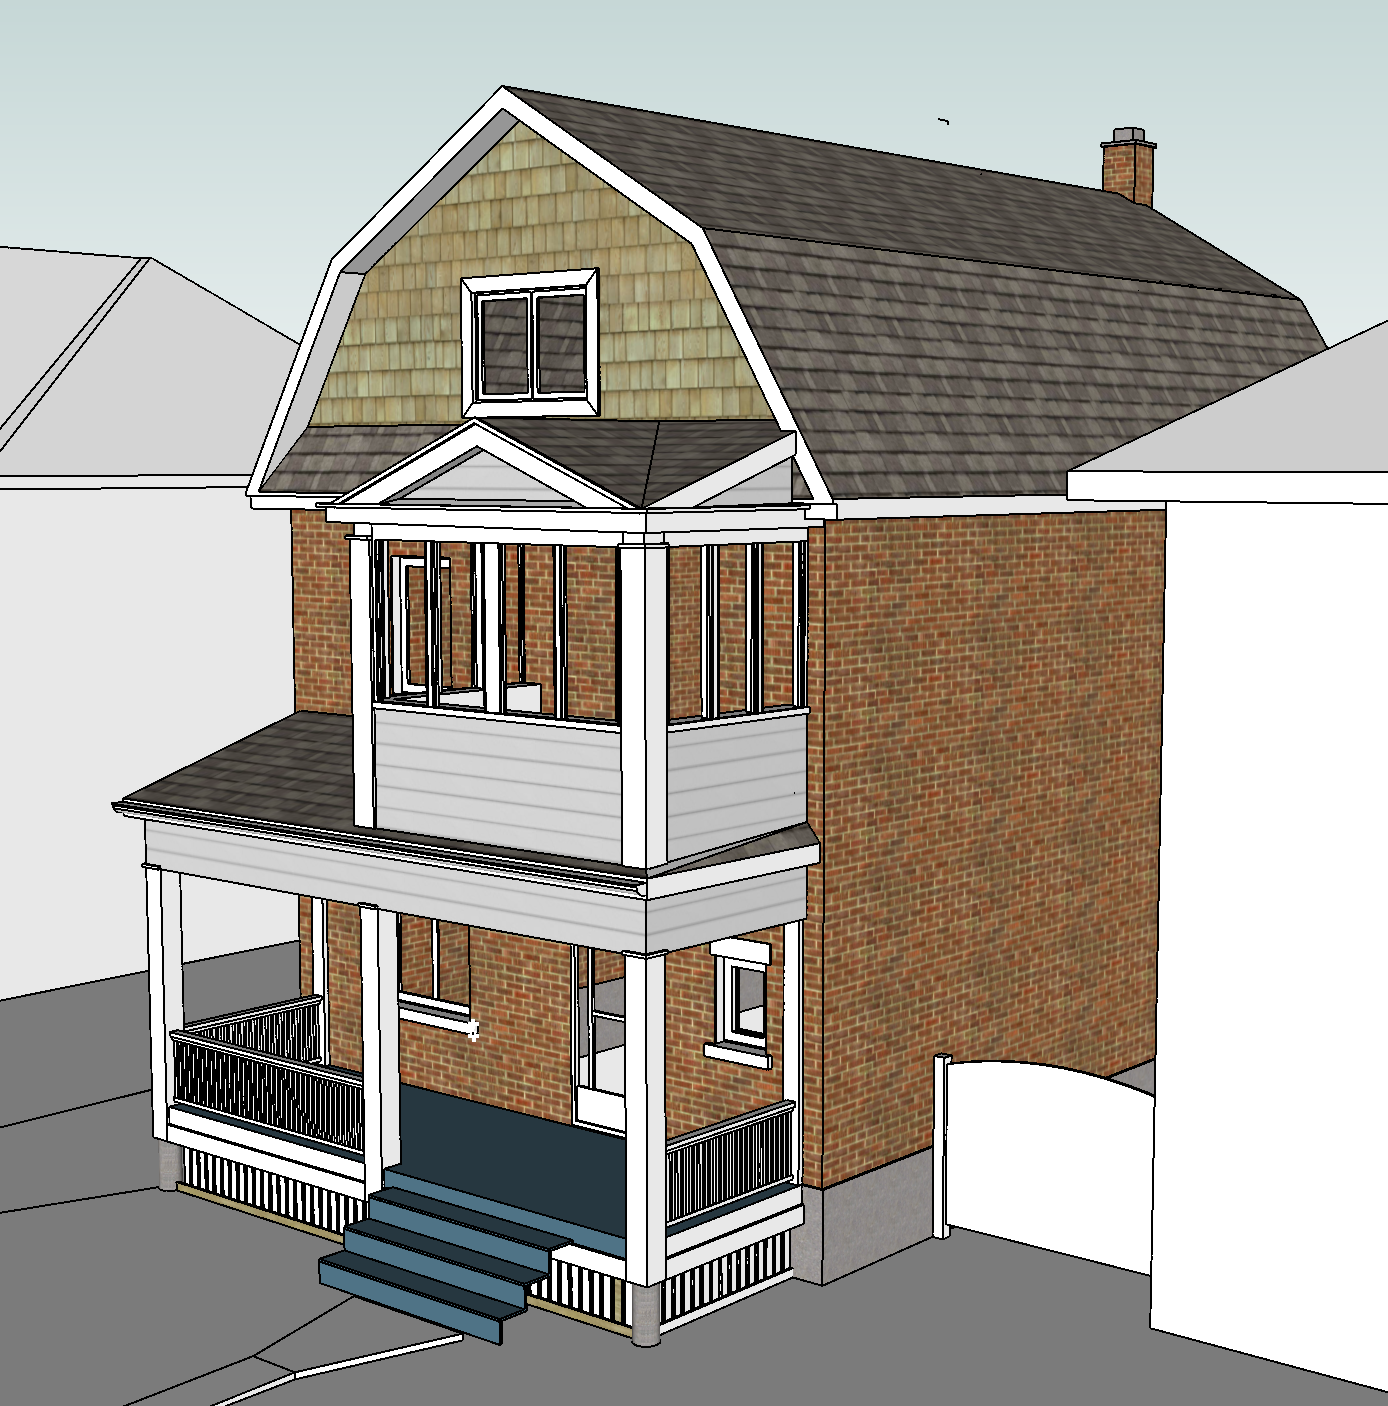
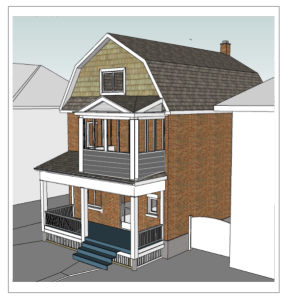
Inspiration

Siding
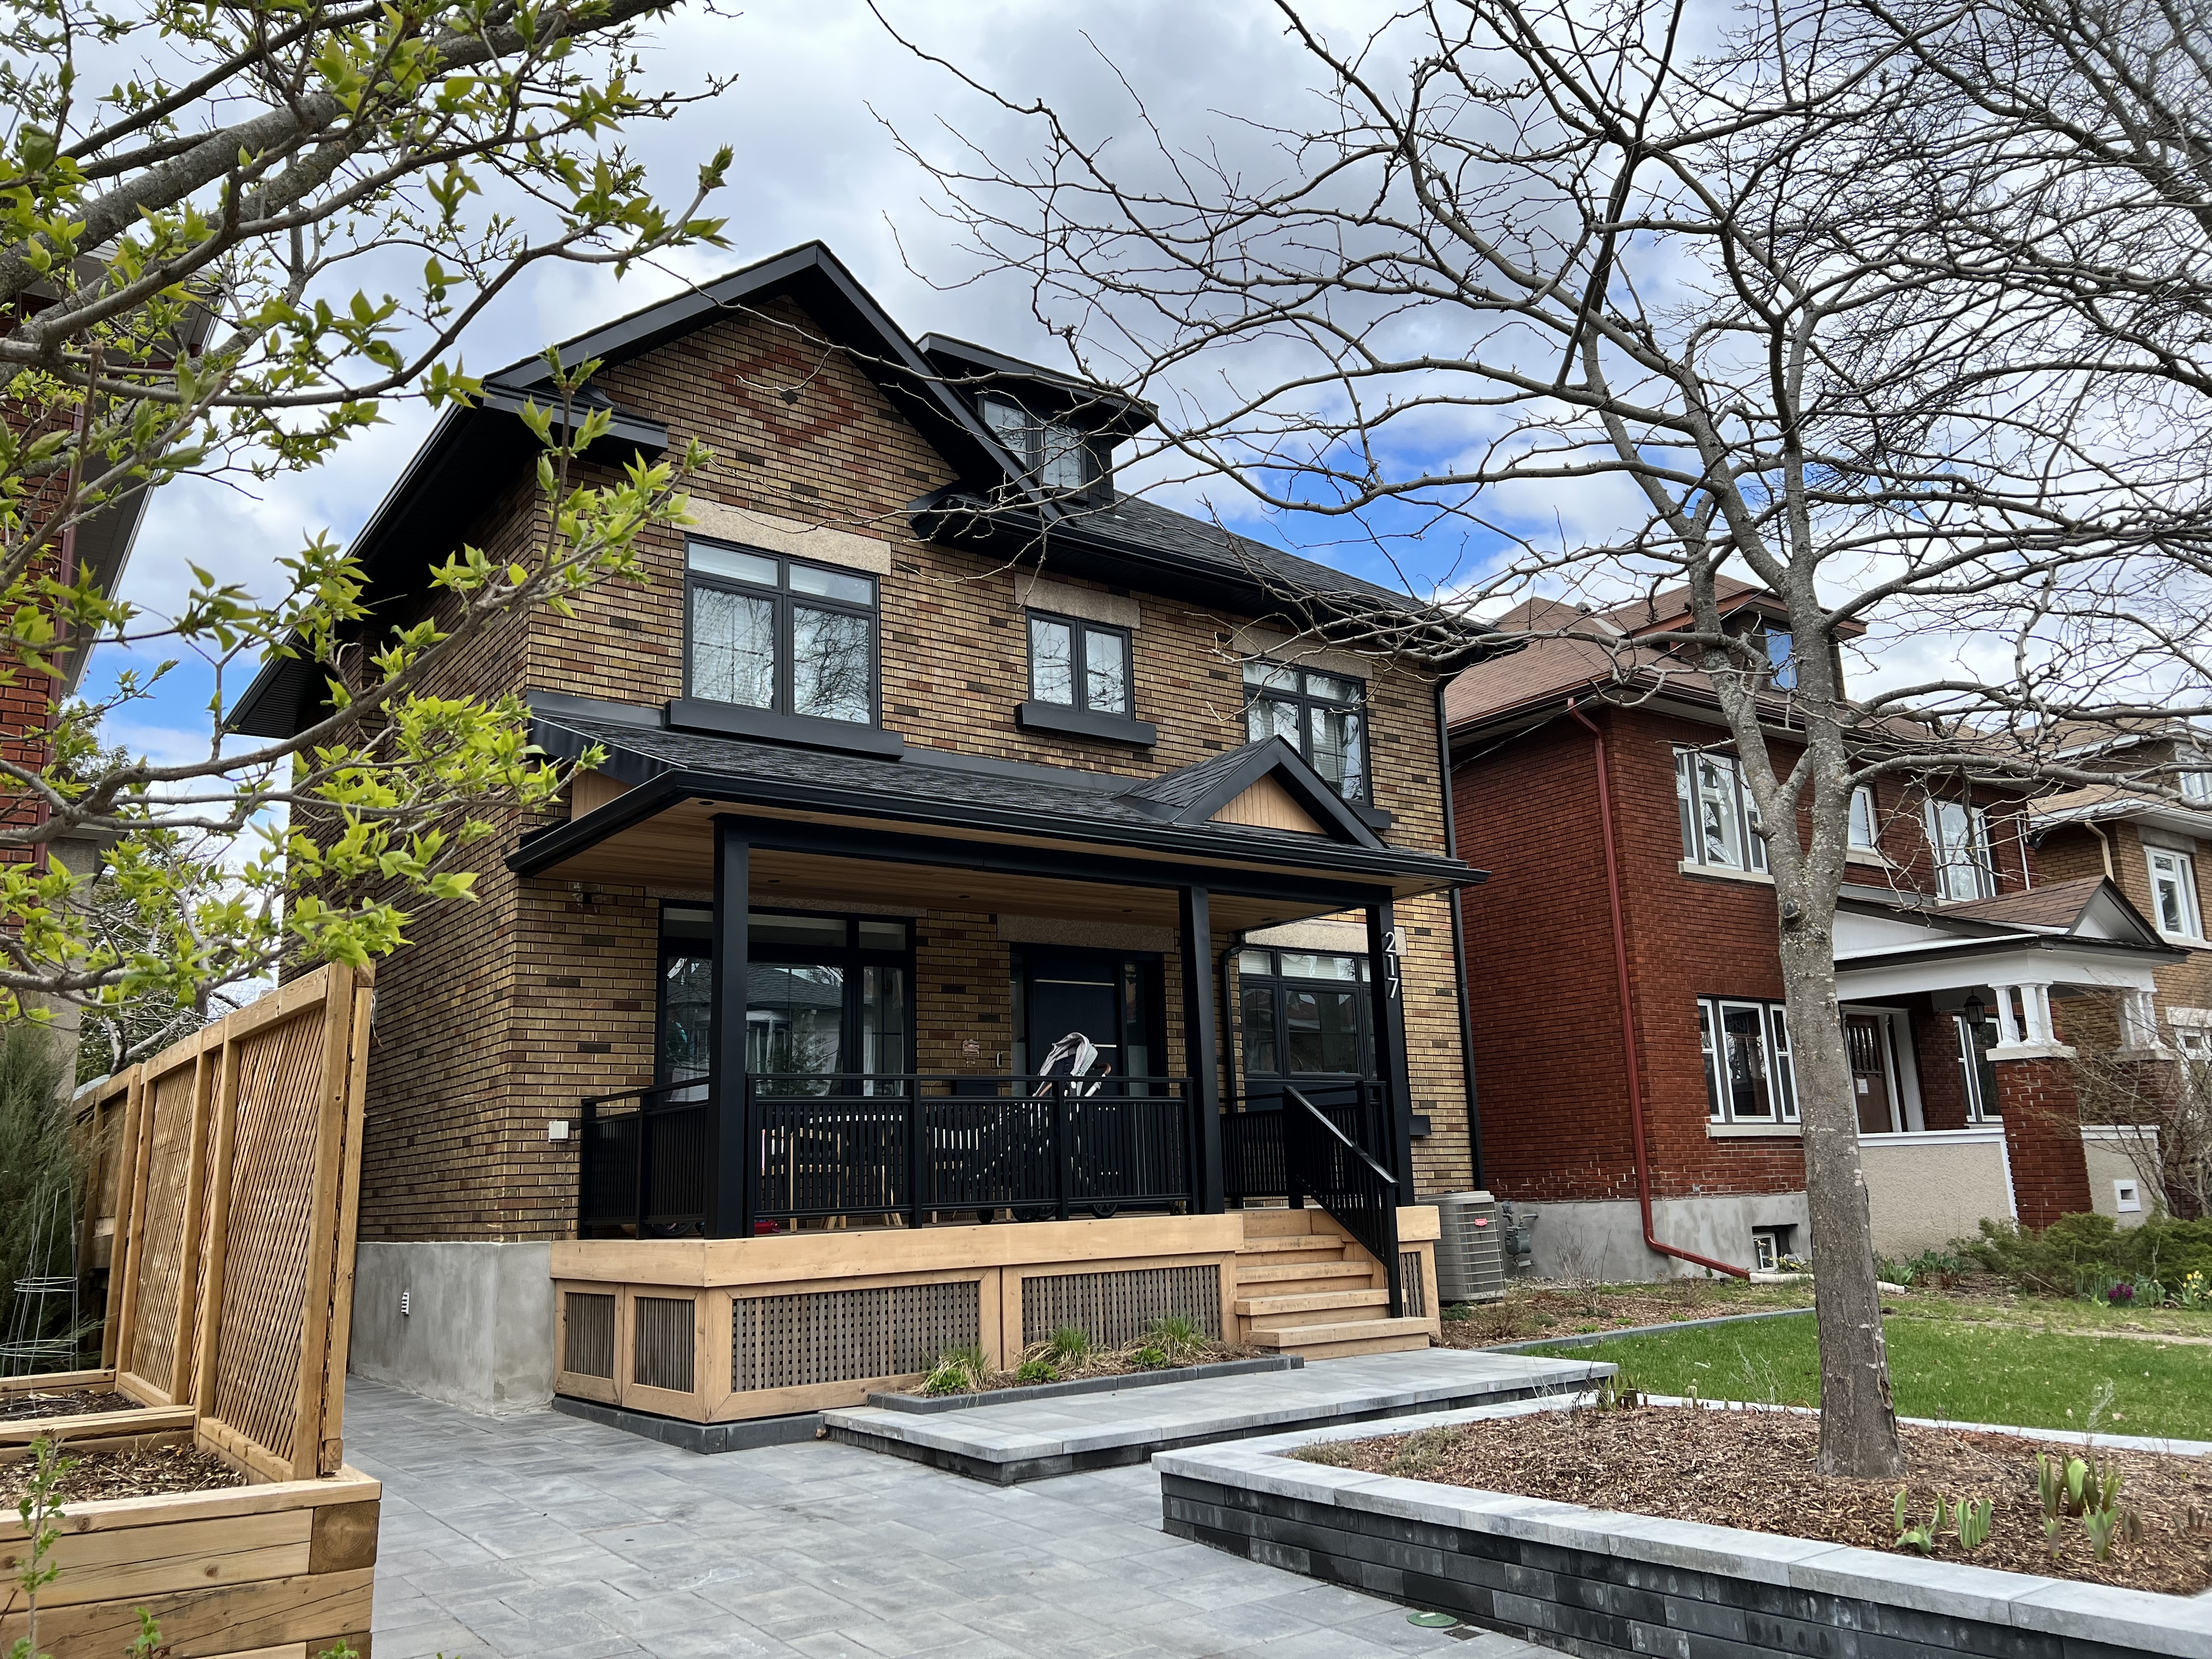
Neighbours


Ottawa Builders
https://www.summerporchottawa.com/misc-porches-1
http://www.thedeckbuilders.com/project/porches/
Flashing
Above Sunroom Windows
- Custom flashing - To be determined
Around Windows
- Custom flashing - To be determined
Siding to Roof Transition
- existing flash to be attached under siding.
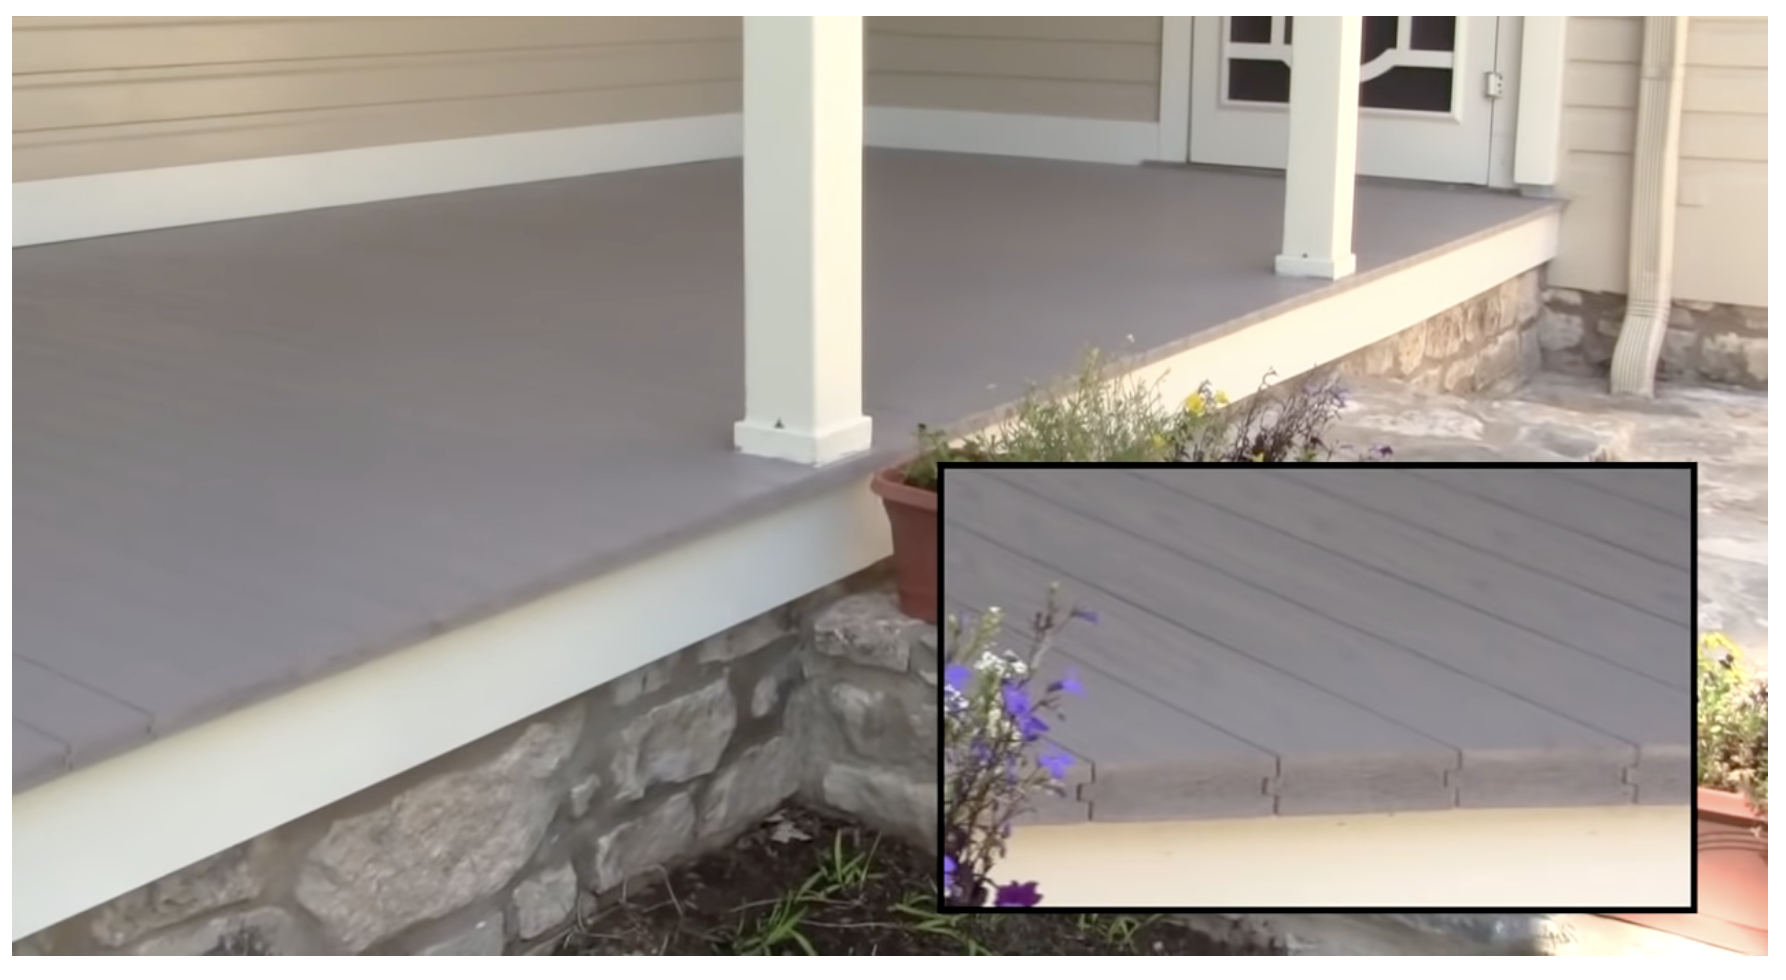
Porch Decking
- Size: 7.5' x 19'
- Tongue and Groove Cedar
- Slopped slightly away from house
- Could be installed over existing plywood although we should check our structure.
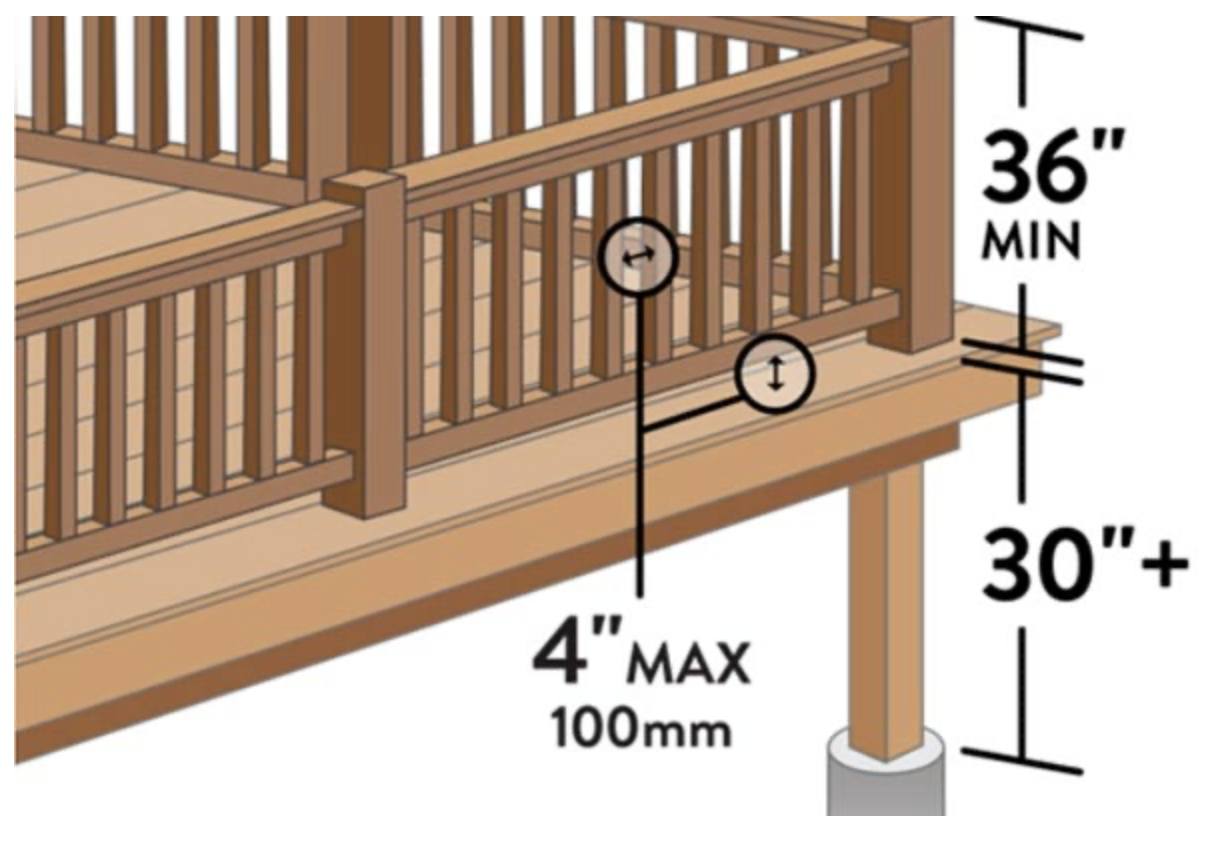
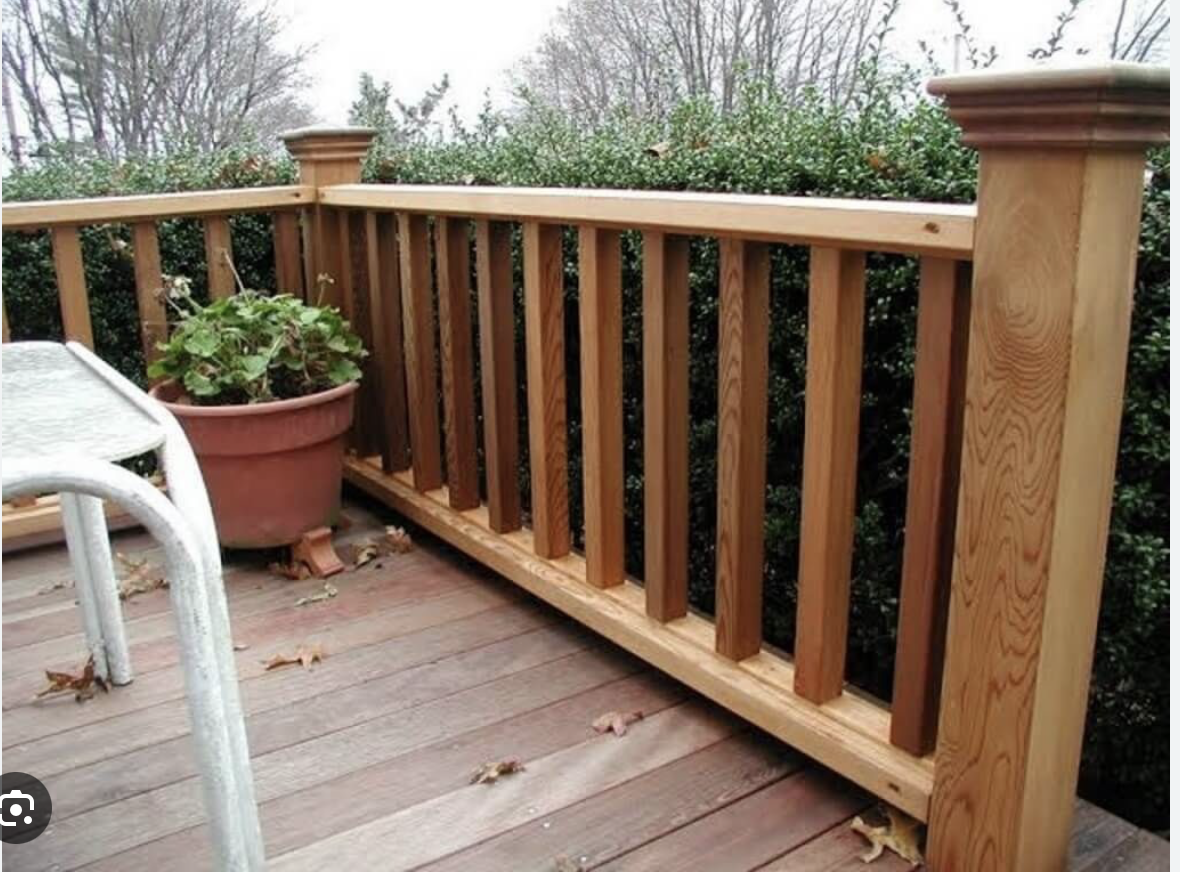
Railings
Building Code
https://www.ottawadeckandrail.com/product-information/building-code/
Except as provided in Sentences (3) and (4), the height of handrails on stairs and ramps
shall be:
- not less than 865 mm (34”), andnot more than 965 mm (38”)
The maximum picket spacing is 4” for residential
Design
https://www.thisoldhouse.com/porches/21017069/how-to-build-a-porch-rail
https://www.youtube.com/watch?v=q41UfUof21Q&t=321s
- Measure and mark the railing height of 36 inches onto the porch posts.
- Use two sliding measuring sticks to determine the distance between porch posts.
- Lay the measuring sticks on the cedar handrail and transfer the distance between the posts to the handrail.
- Use a profile gauge to capture the rounded shape of the porch post. Set the gauge onto the handrail and trace the rounded shape onto the handrail. Repeat for the opposite end of the rail.
- Cut the handrail to length with a jigsaw. Repeat to make an identical bottom rail.
- Use table saw to rip ⅜-inch-thick x 1½-inch-wide nailing strips from a cedar 2×4.
- Stain all parts of the railing system, including handrail, bottom rail, balusters, and nailing strips.
- Arrange the railing parts on a flat surface. Take a long strip of elastic banding and draw a line every 2 inches along its length.
- Set a nailing strip against the ends of the balusters, then stretch the banding across the balusters until the lines on the banding are slightly less than 4 inches on center from one baluster to the next.
- Transfer the lines from the banding onto the nailing strips. Align the balusters with the lines.
- Use a pneumatic stapler to tack the nailing strips to the ends of the balusters.
- Securely fasten the nailing strips to the balusters with 2-inch-long ceramic-coated screws. Drive one screw into each end of every 2×2 baluster.
- Install the bottom rail between the porch posts and secure it with 3-inch-long ceramic-coated screws.
- Set the baluster assembly on top of the bottom rail.
- Install the top handrail between the posts and secure it with 3-inch-long ceramic-coated screws.
- Staple the baluster assembly to the bottom and top rails.
https://deckstoronto.com/ideas/diy-center/how-to-install-deck-railings.html
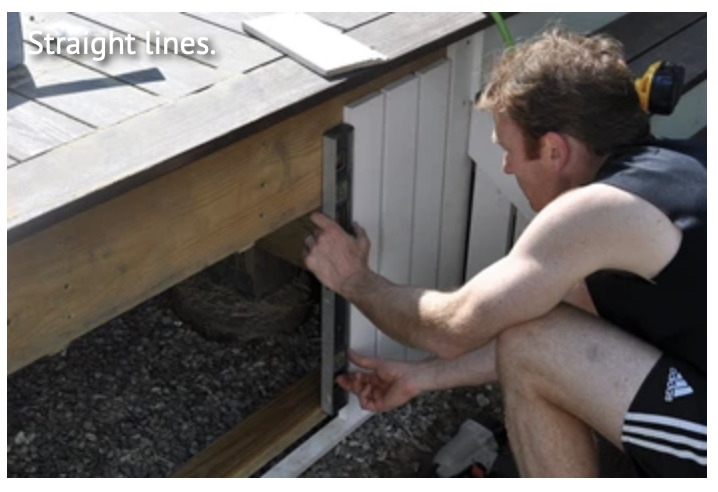
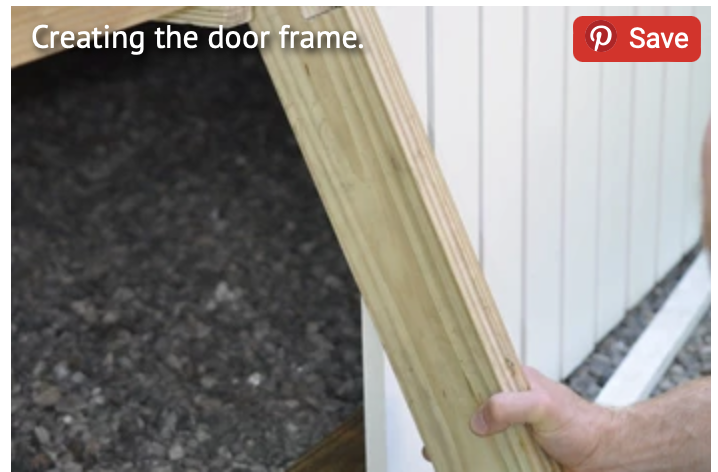
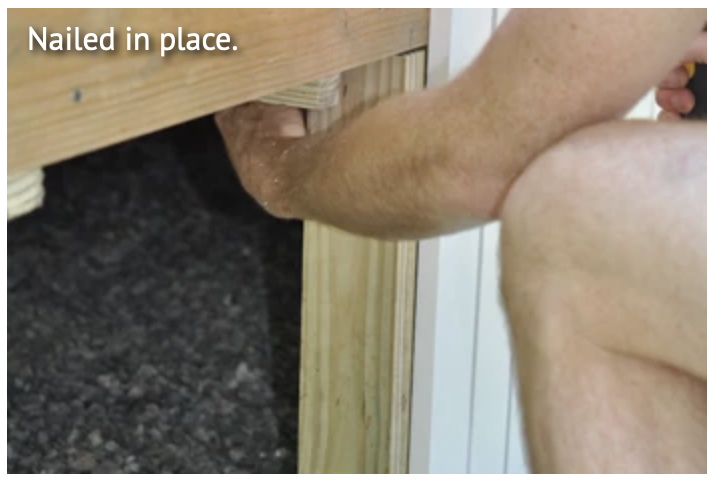
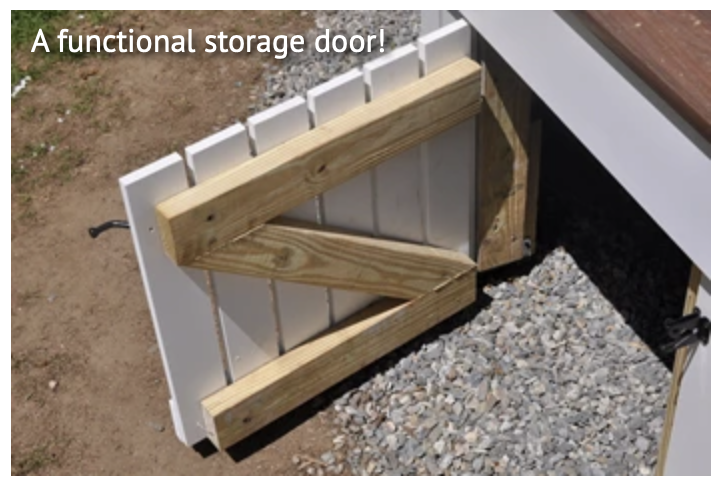
Skirting
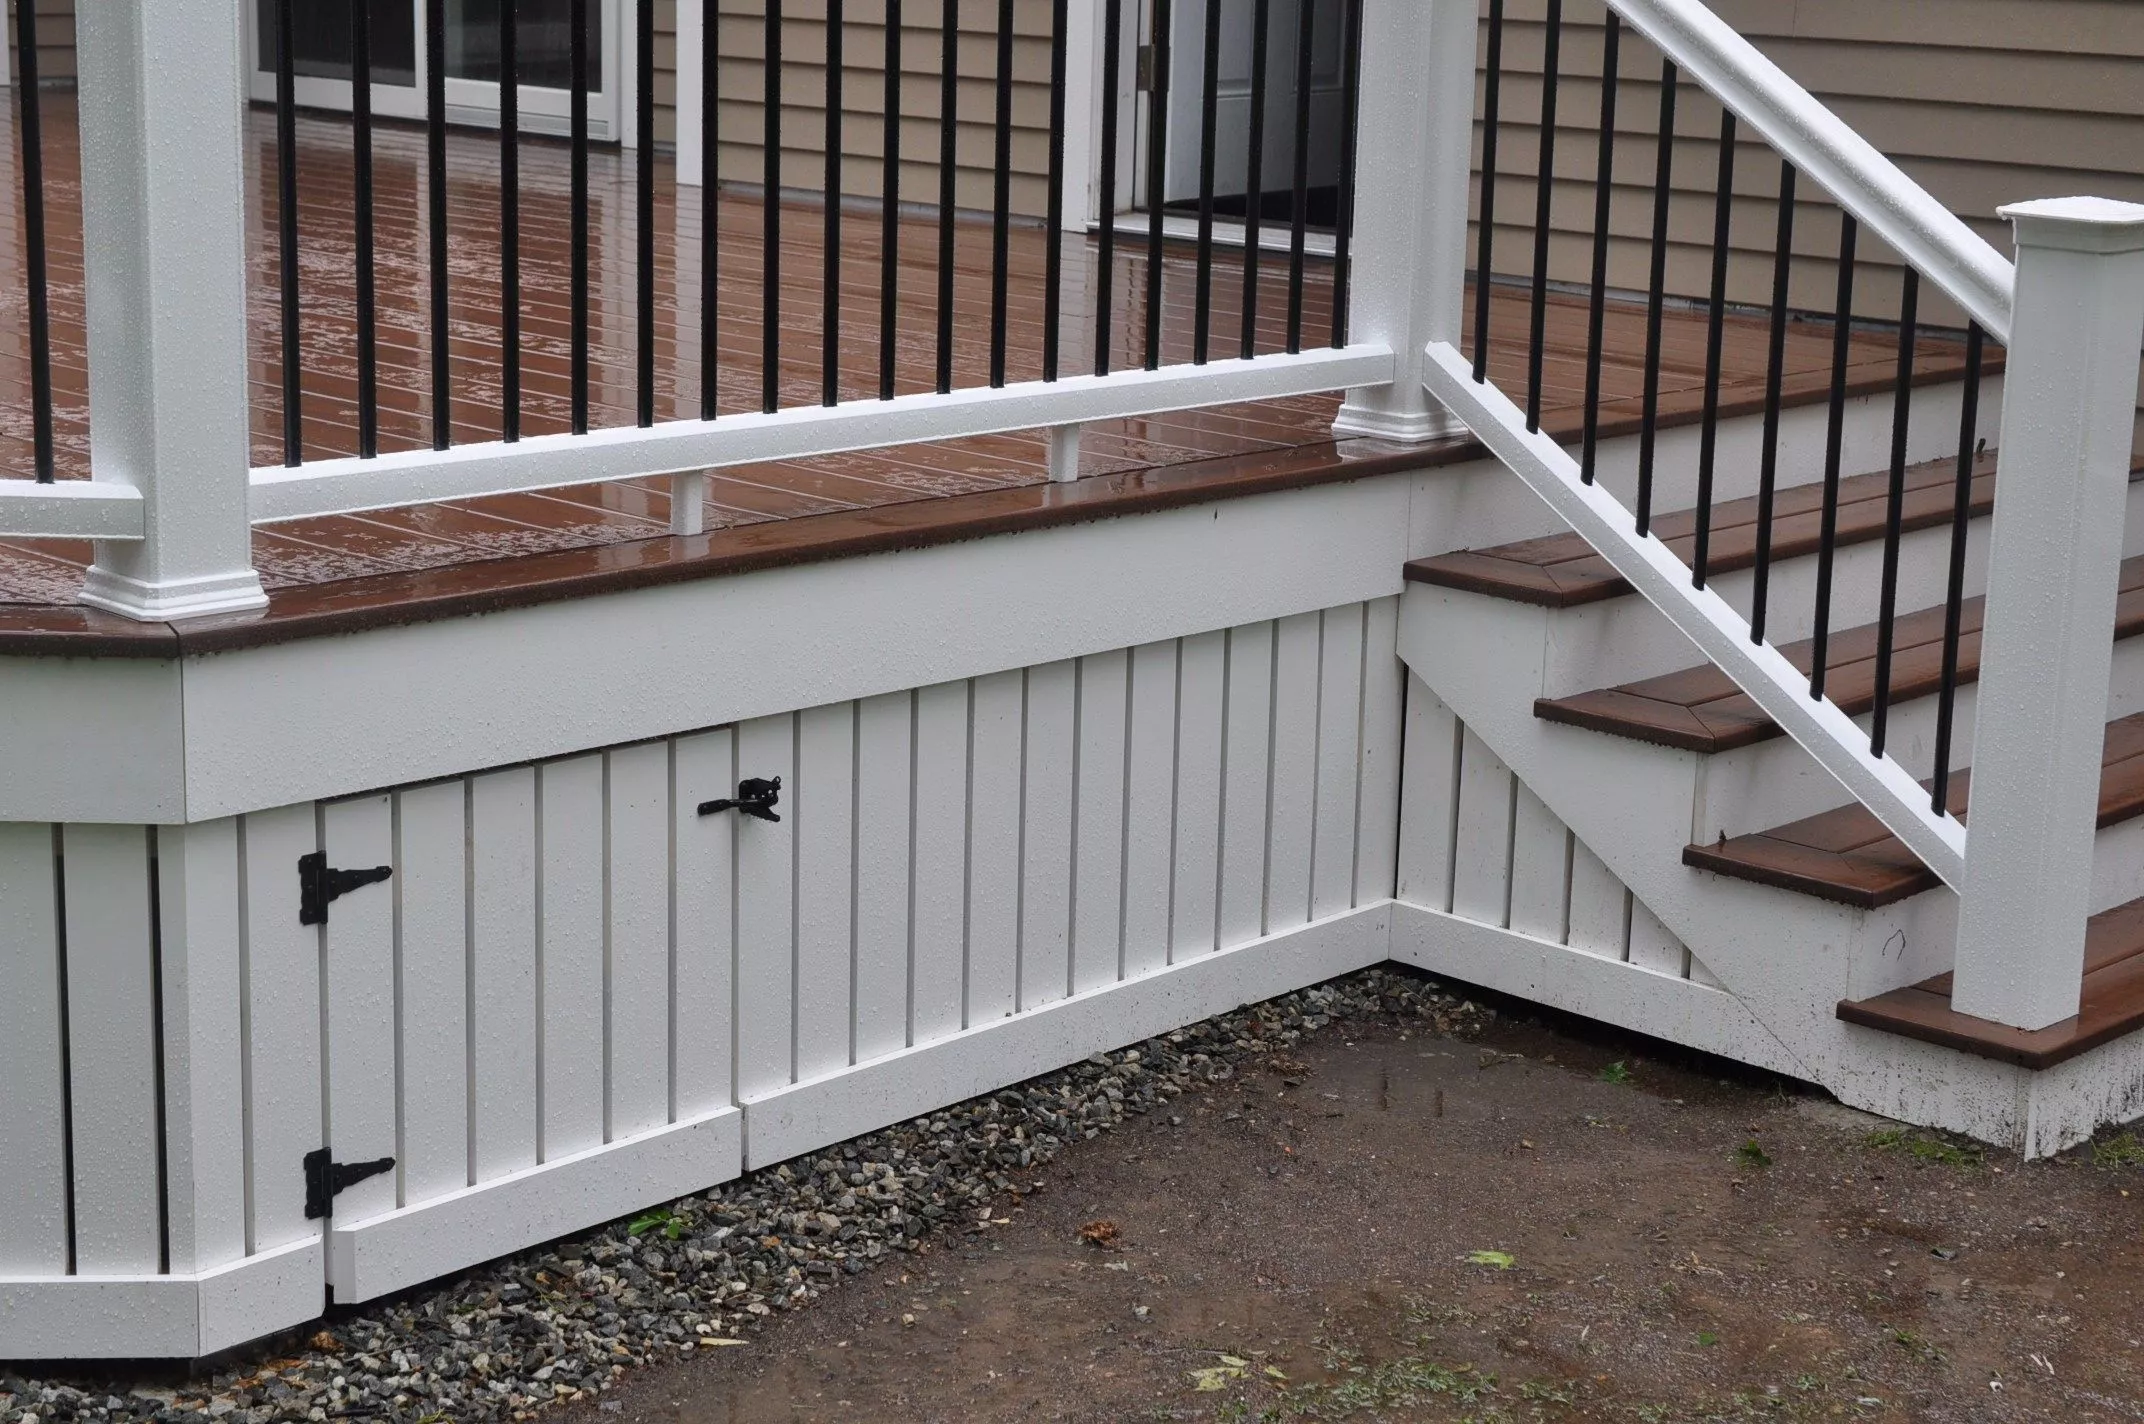

https://www.decks.com/how-to/articles/installing-composite-deck-skirting-and-fascia
References
| Reference | URL |
|---|---|
| How to Install Porch Floors - Video 1 | https://www.youtube.com/watch?v=G57LmPCr6M8&list=PL5F3C4FCED43E7FAC |