Overview
Honeywell HE280C2010/U Higher Capacity Whole House Bypass Humidifier
Parts
Humidifier Pad - HC26A

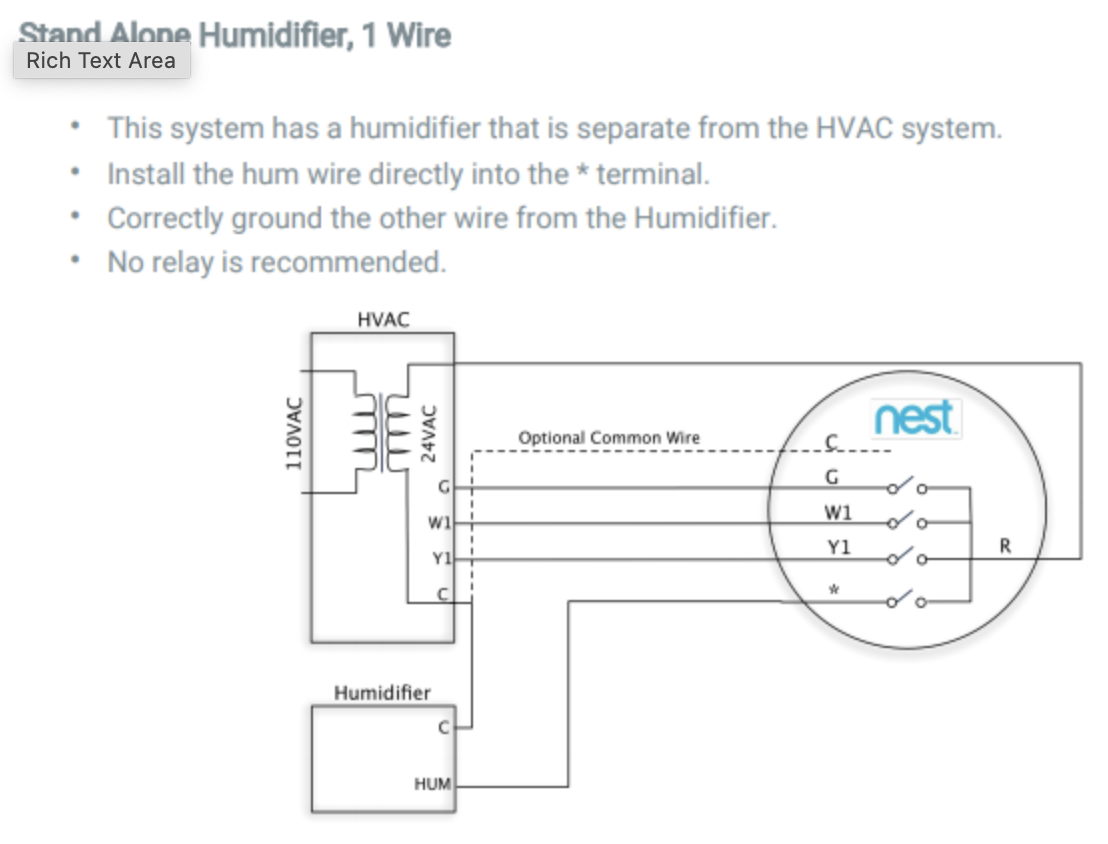
Wiring with a Nest Thermostat
In order to have the humidifier work effectively with the nest thermostat, we will need to make some changes.
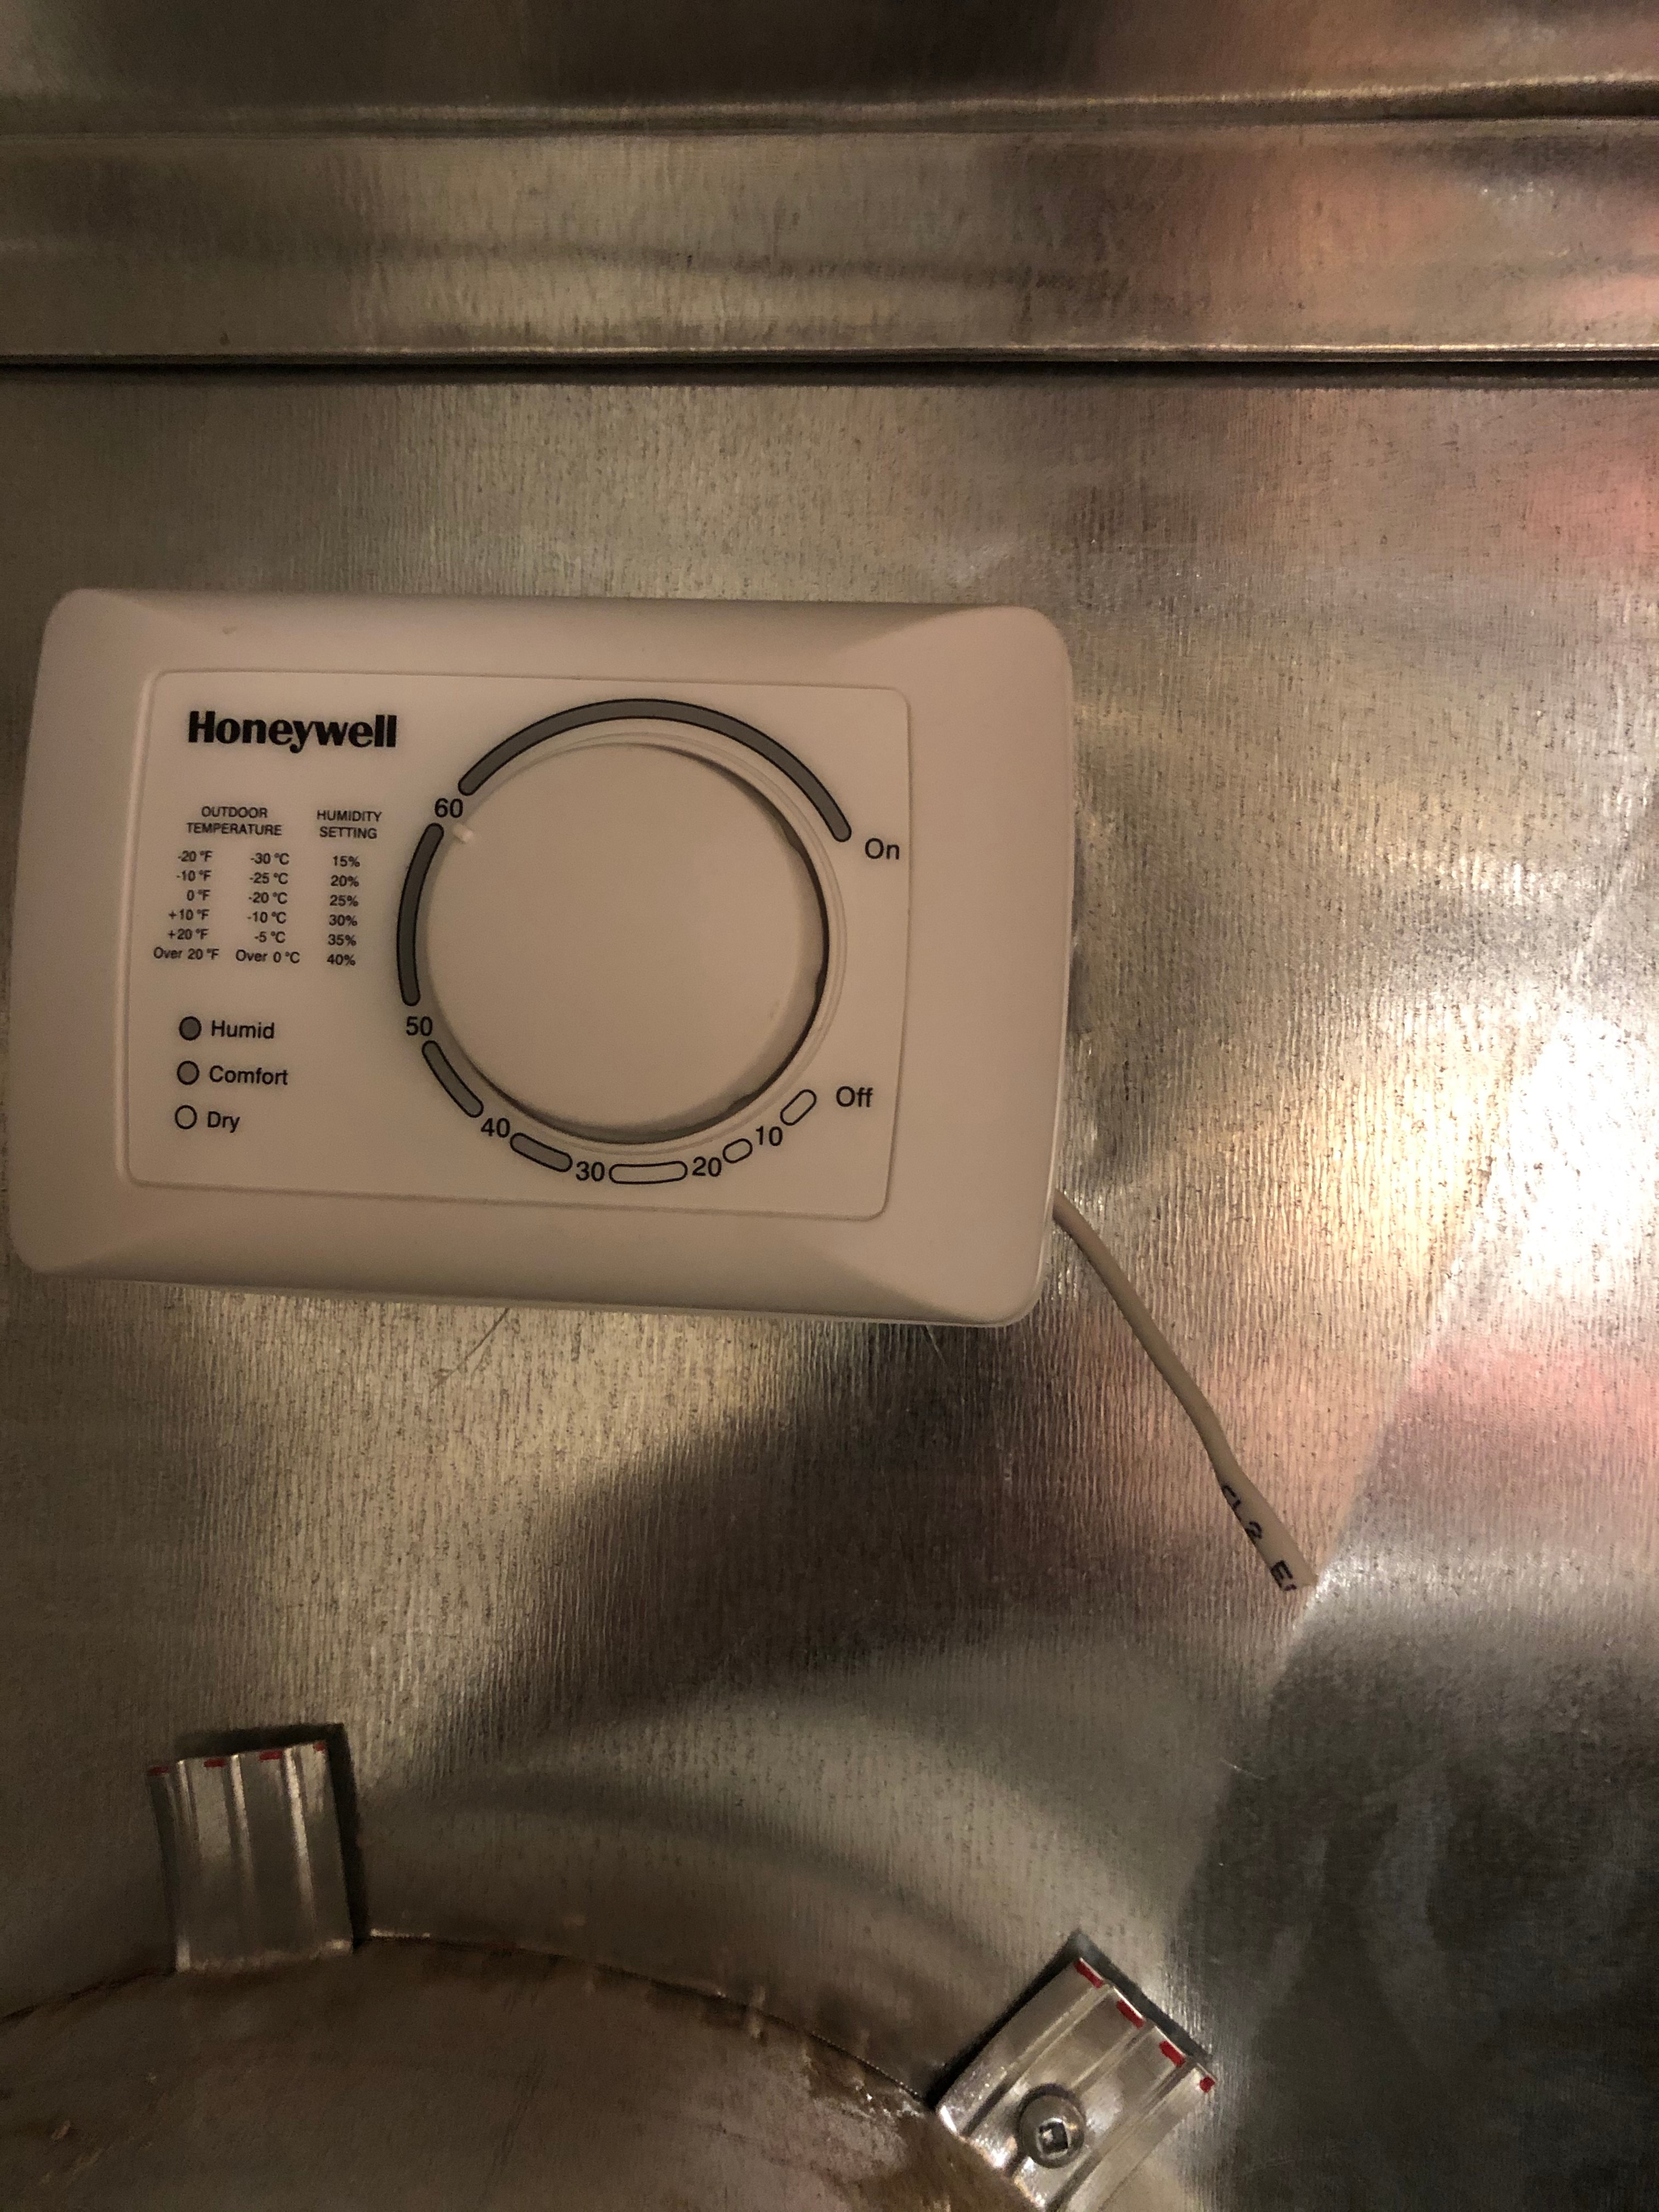
- disconnect our humidistat.
- bypass flow check in the humidifier controller
- wire the humidifier to the thermostat
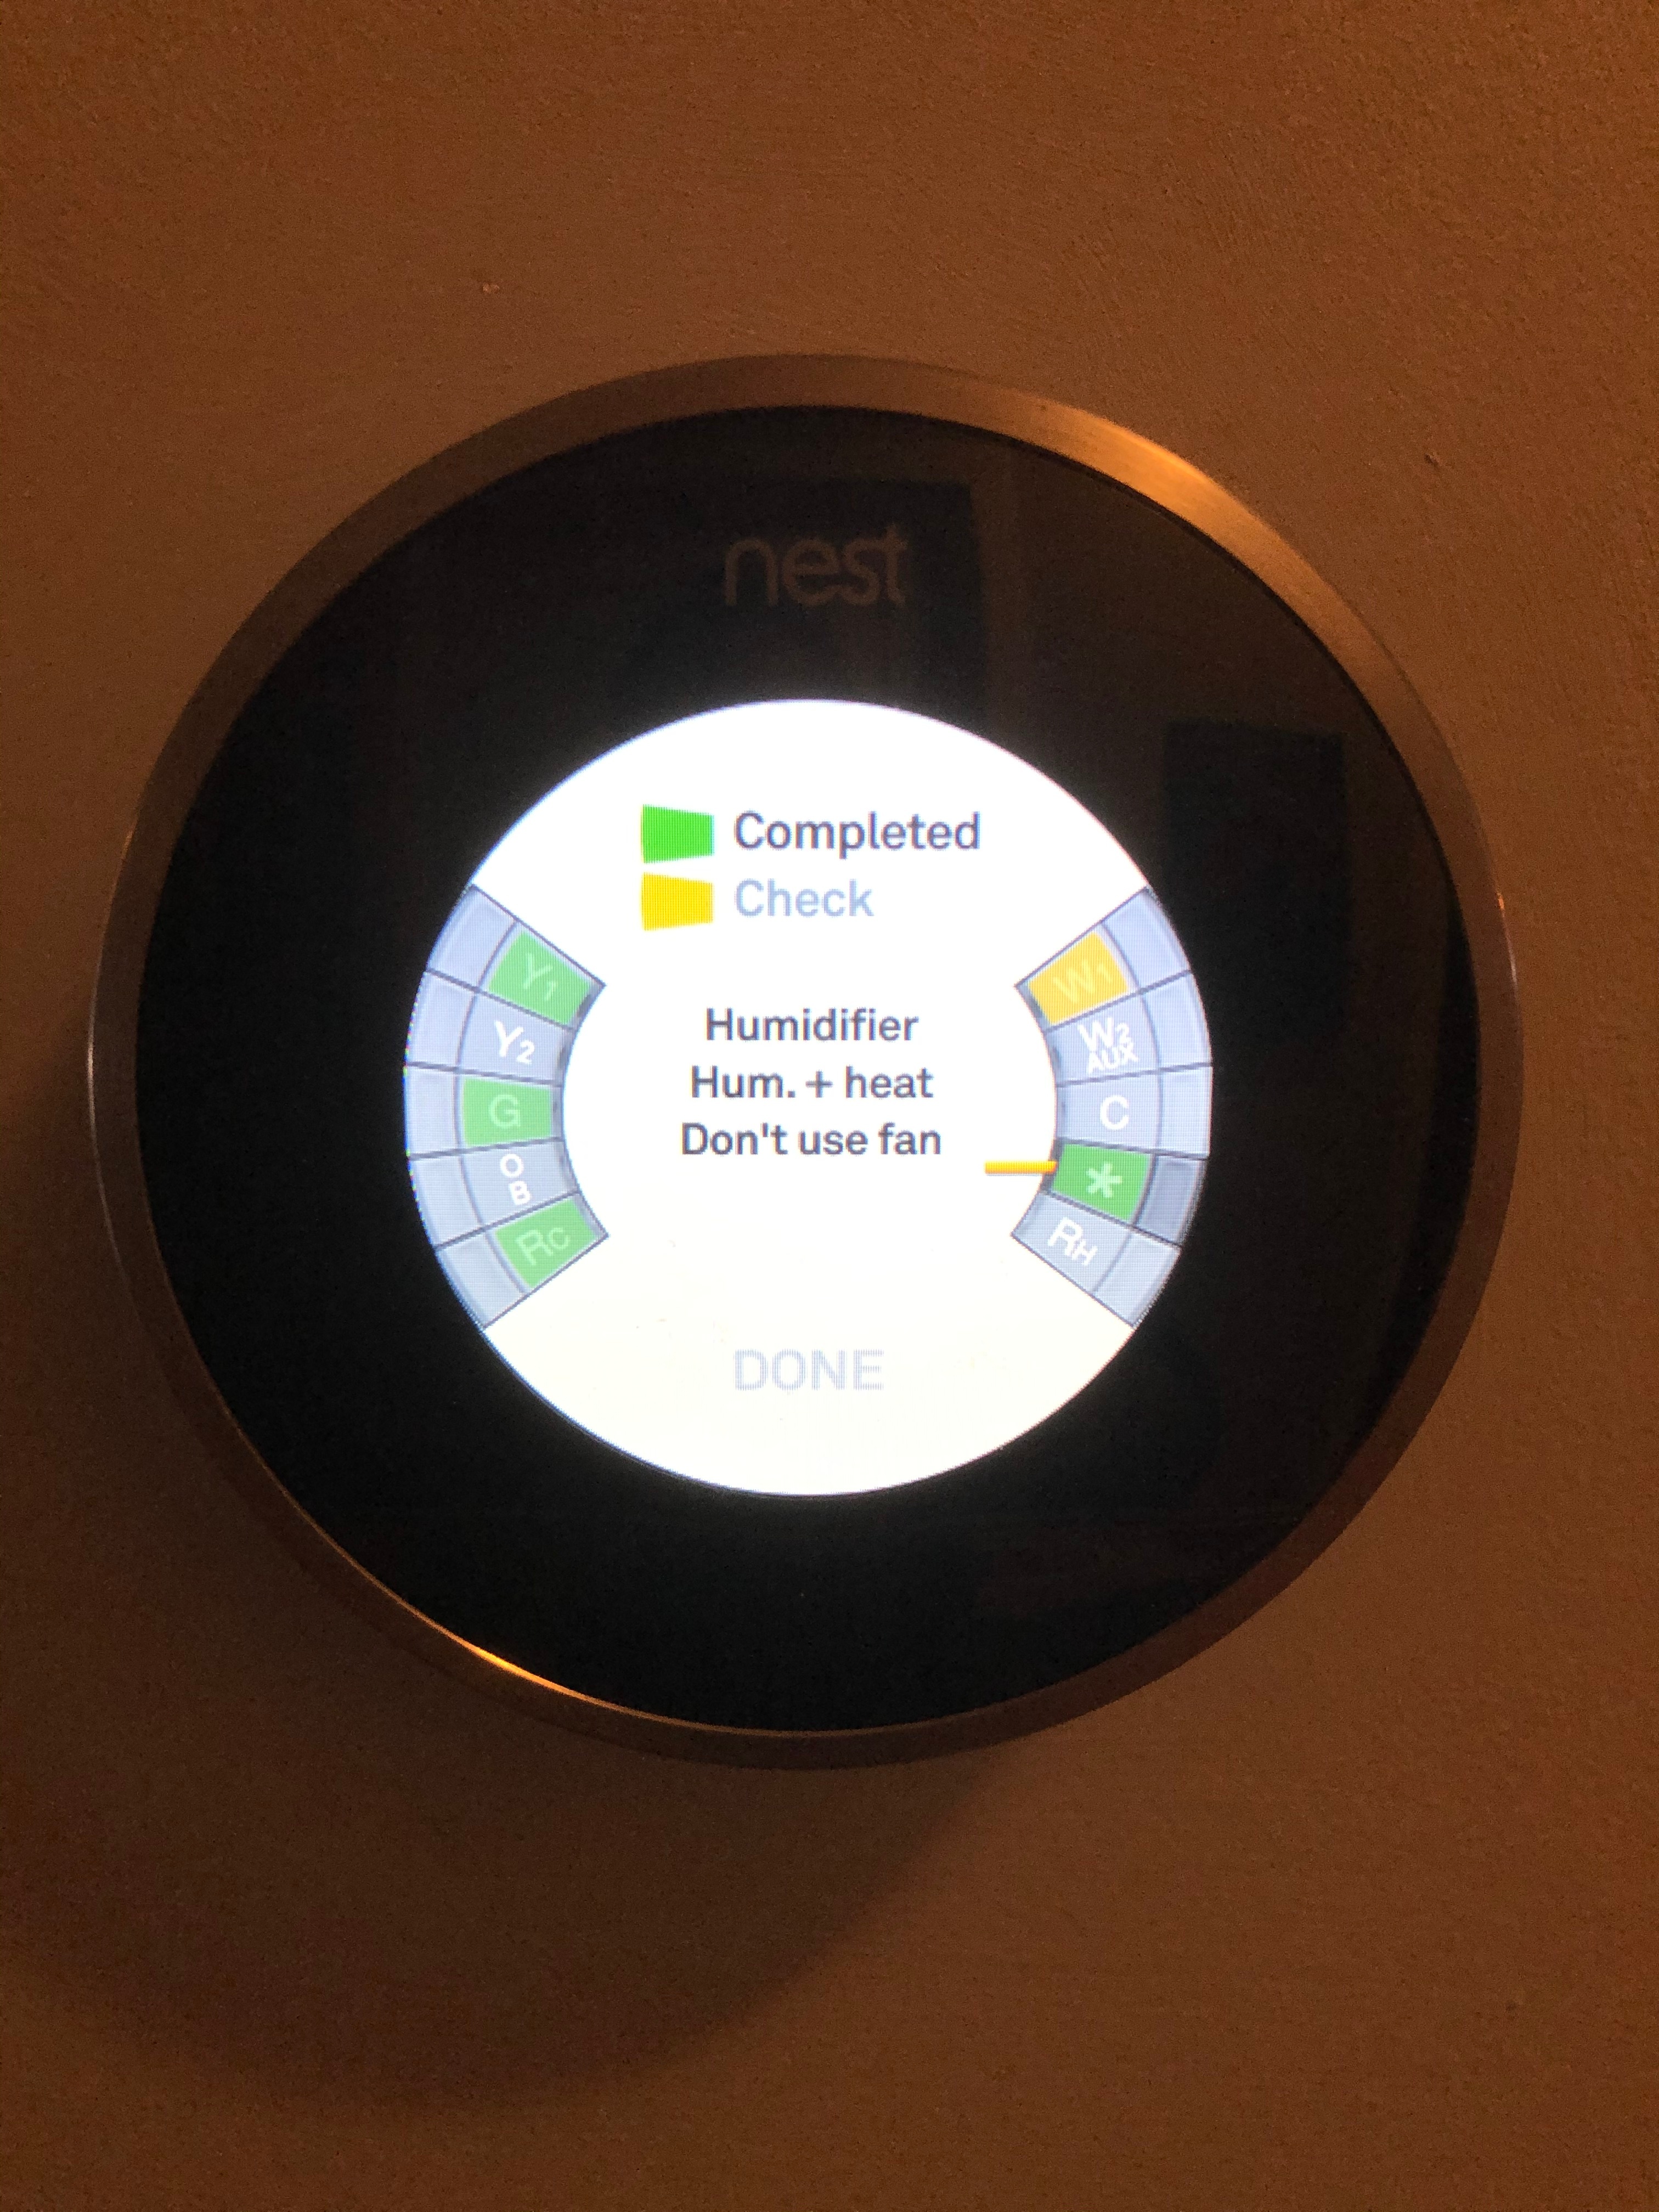
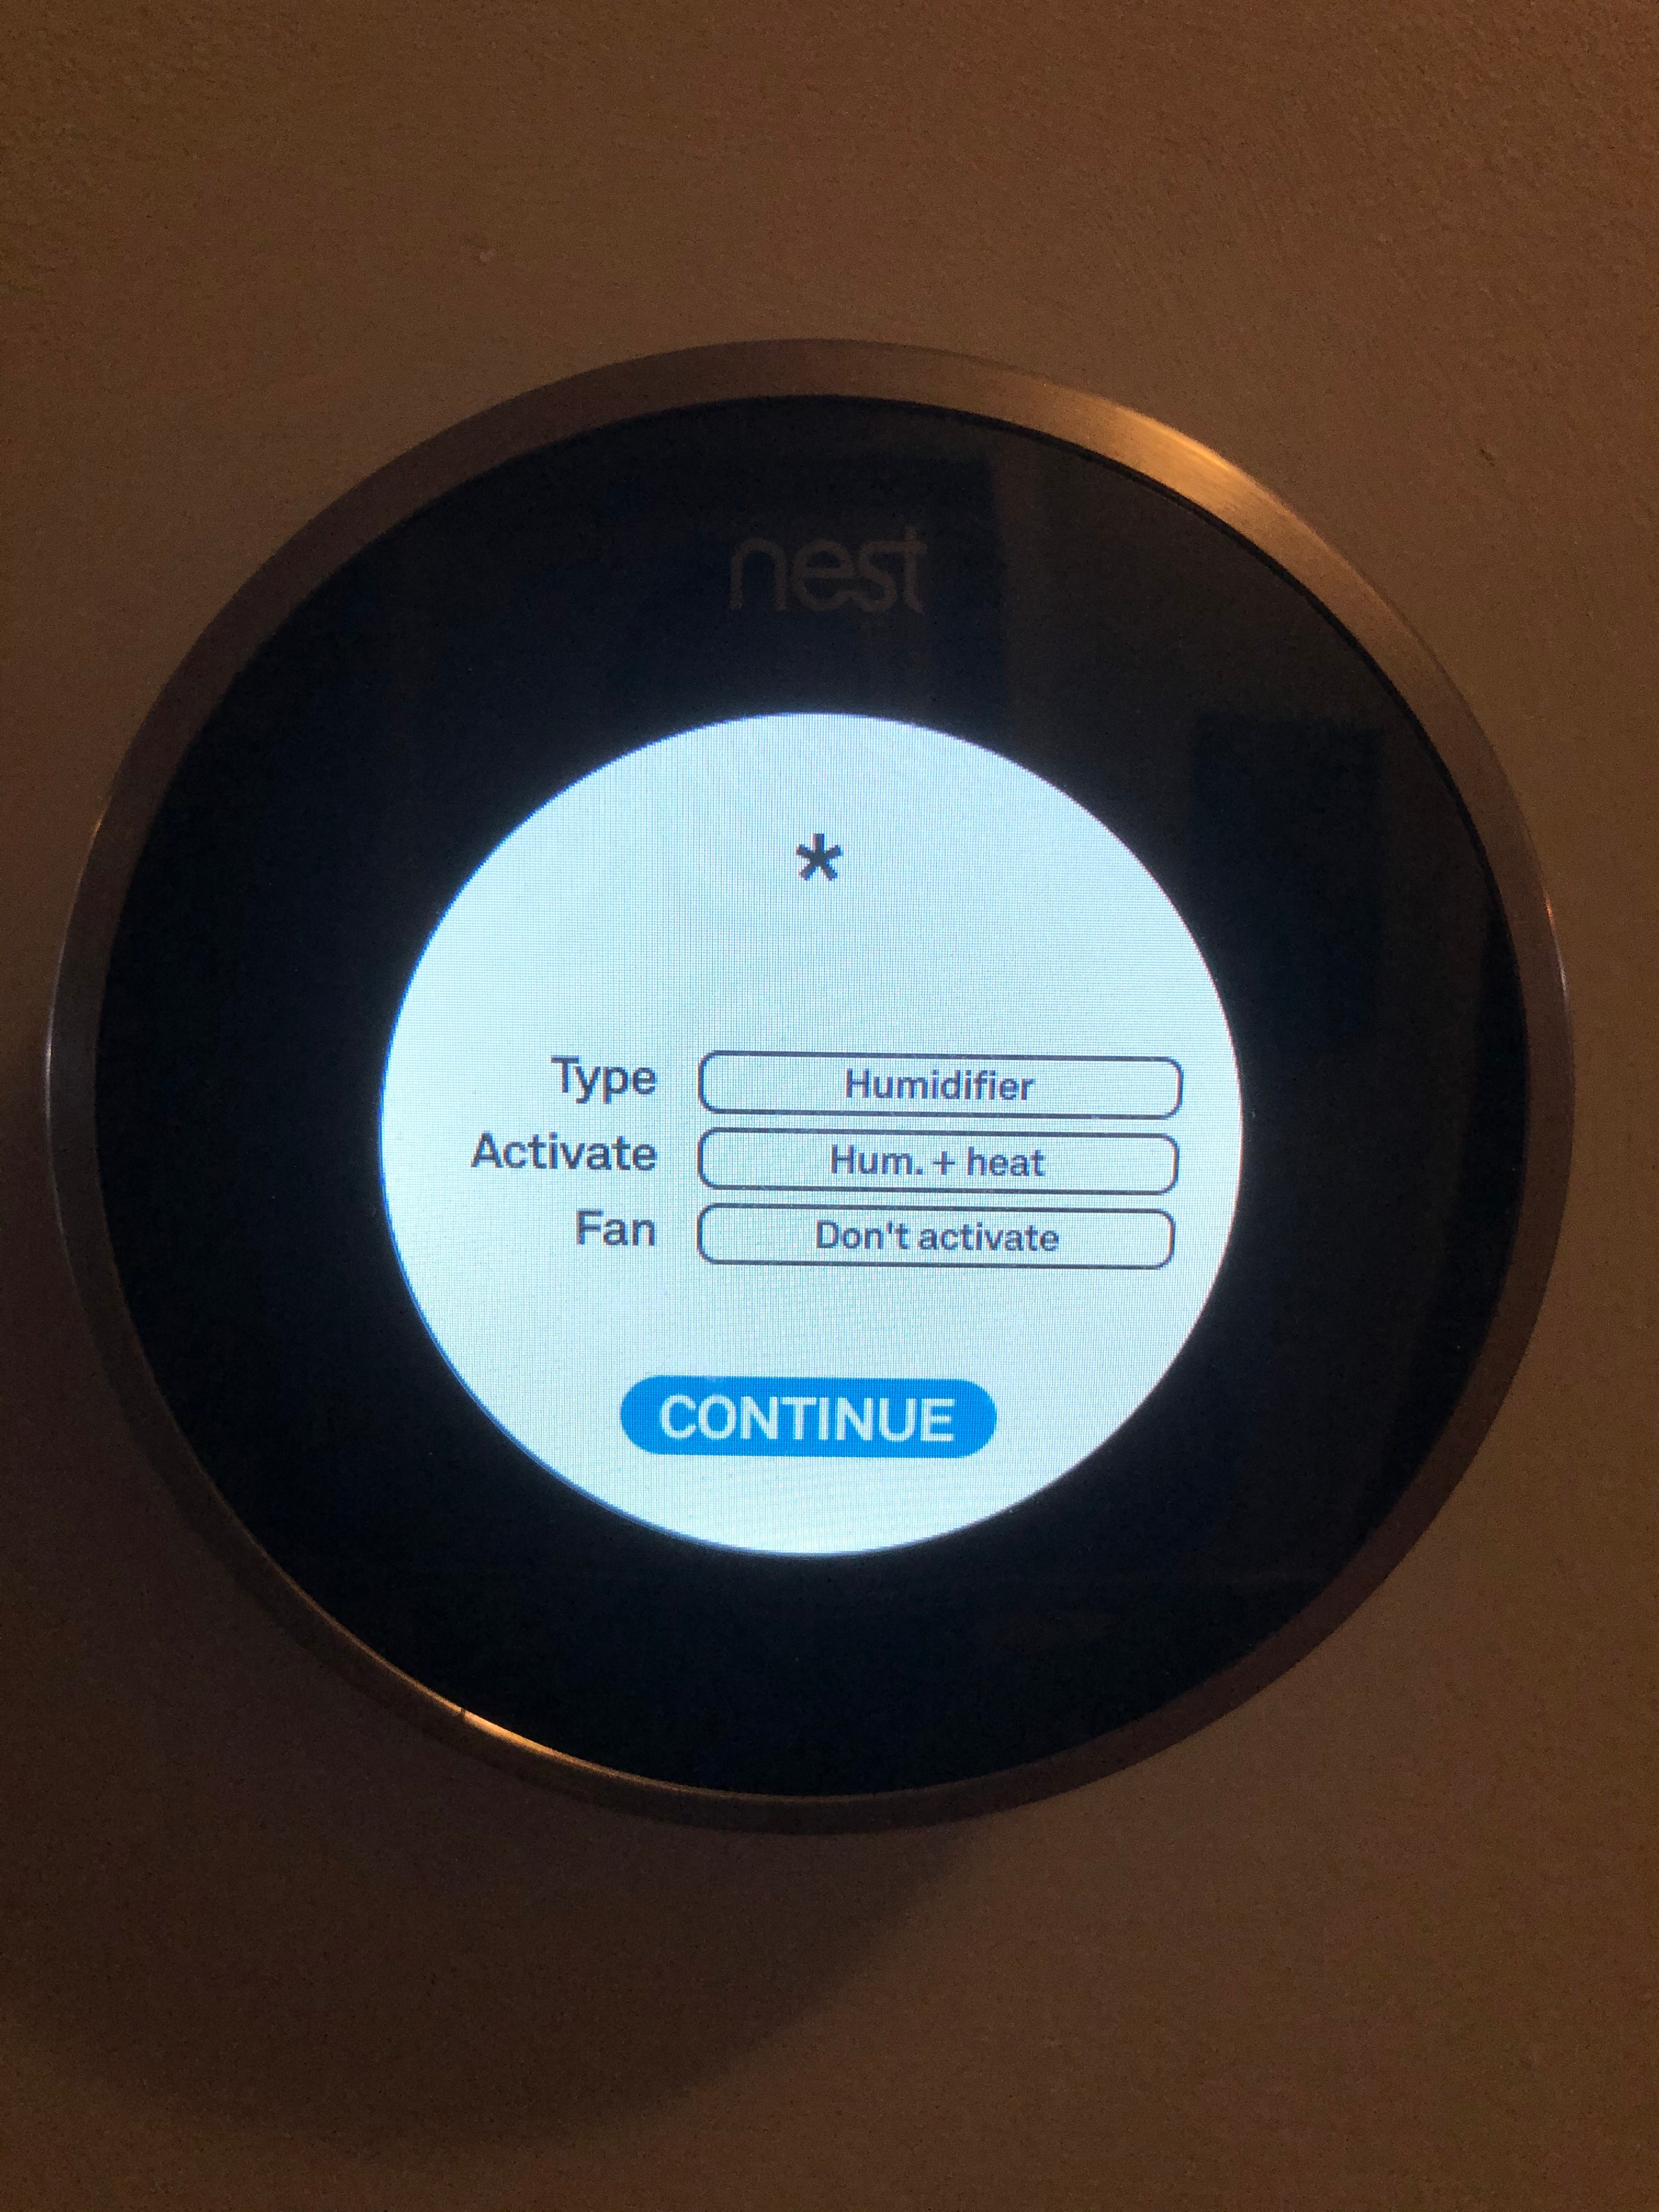
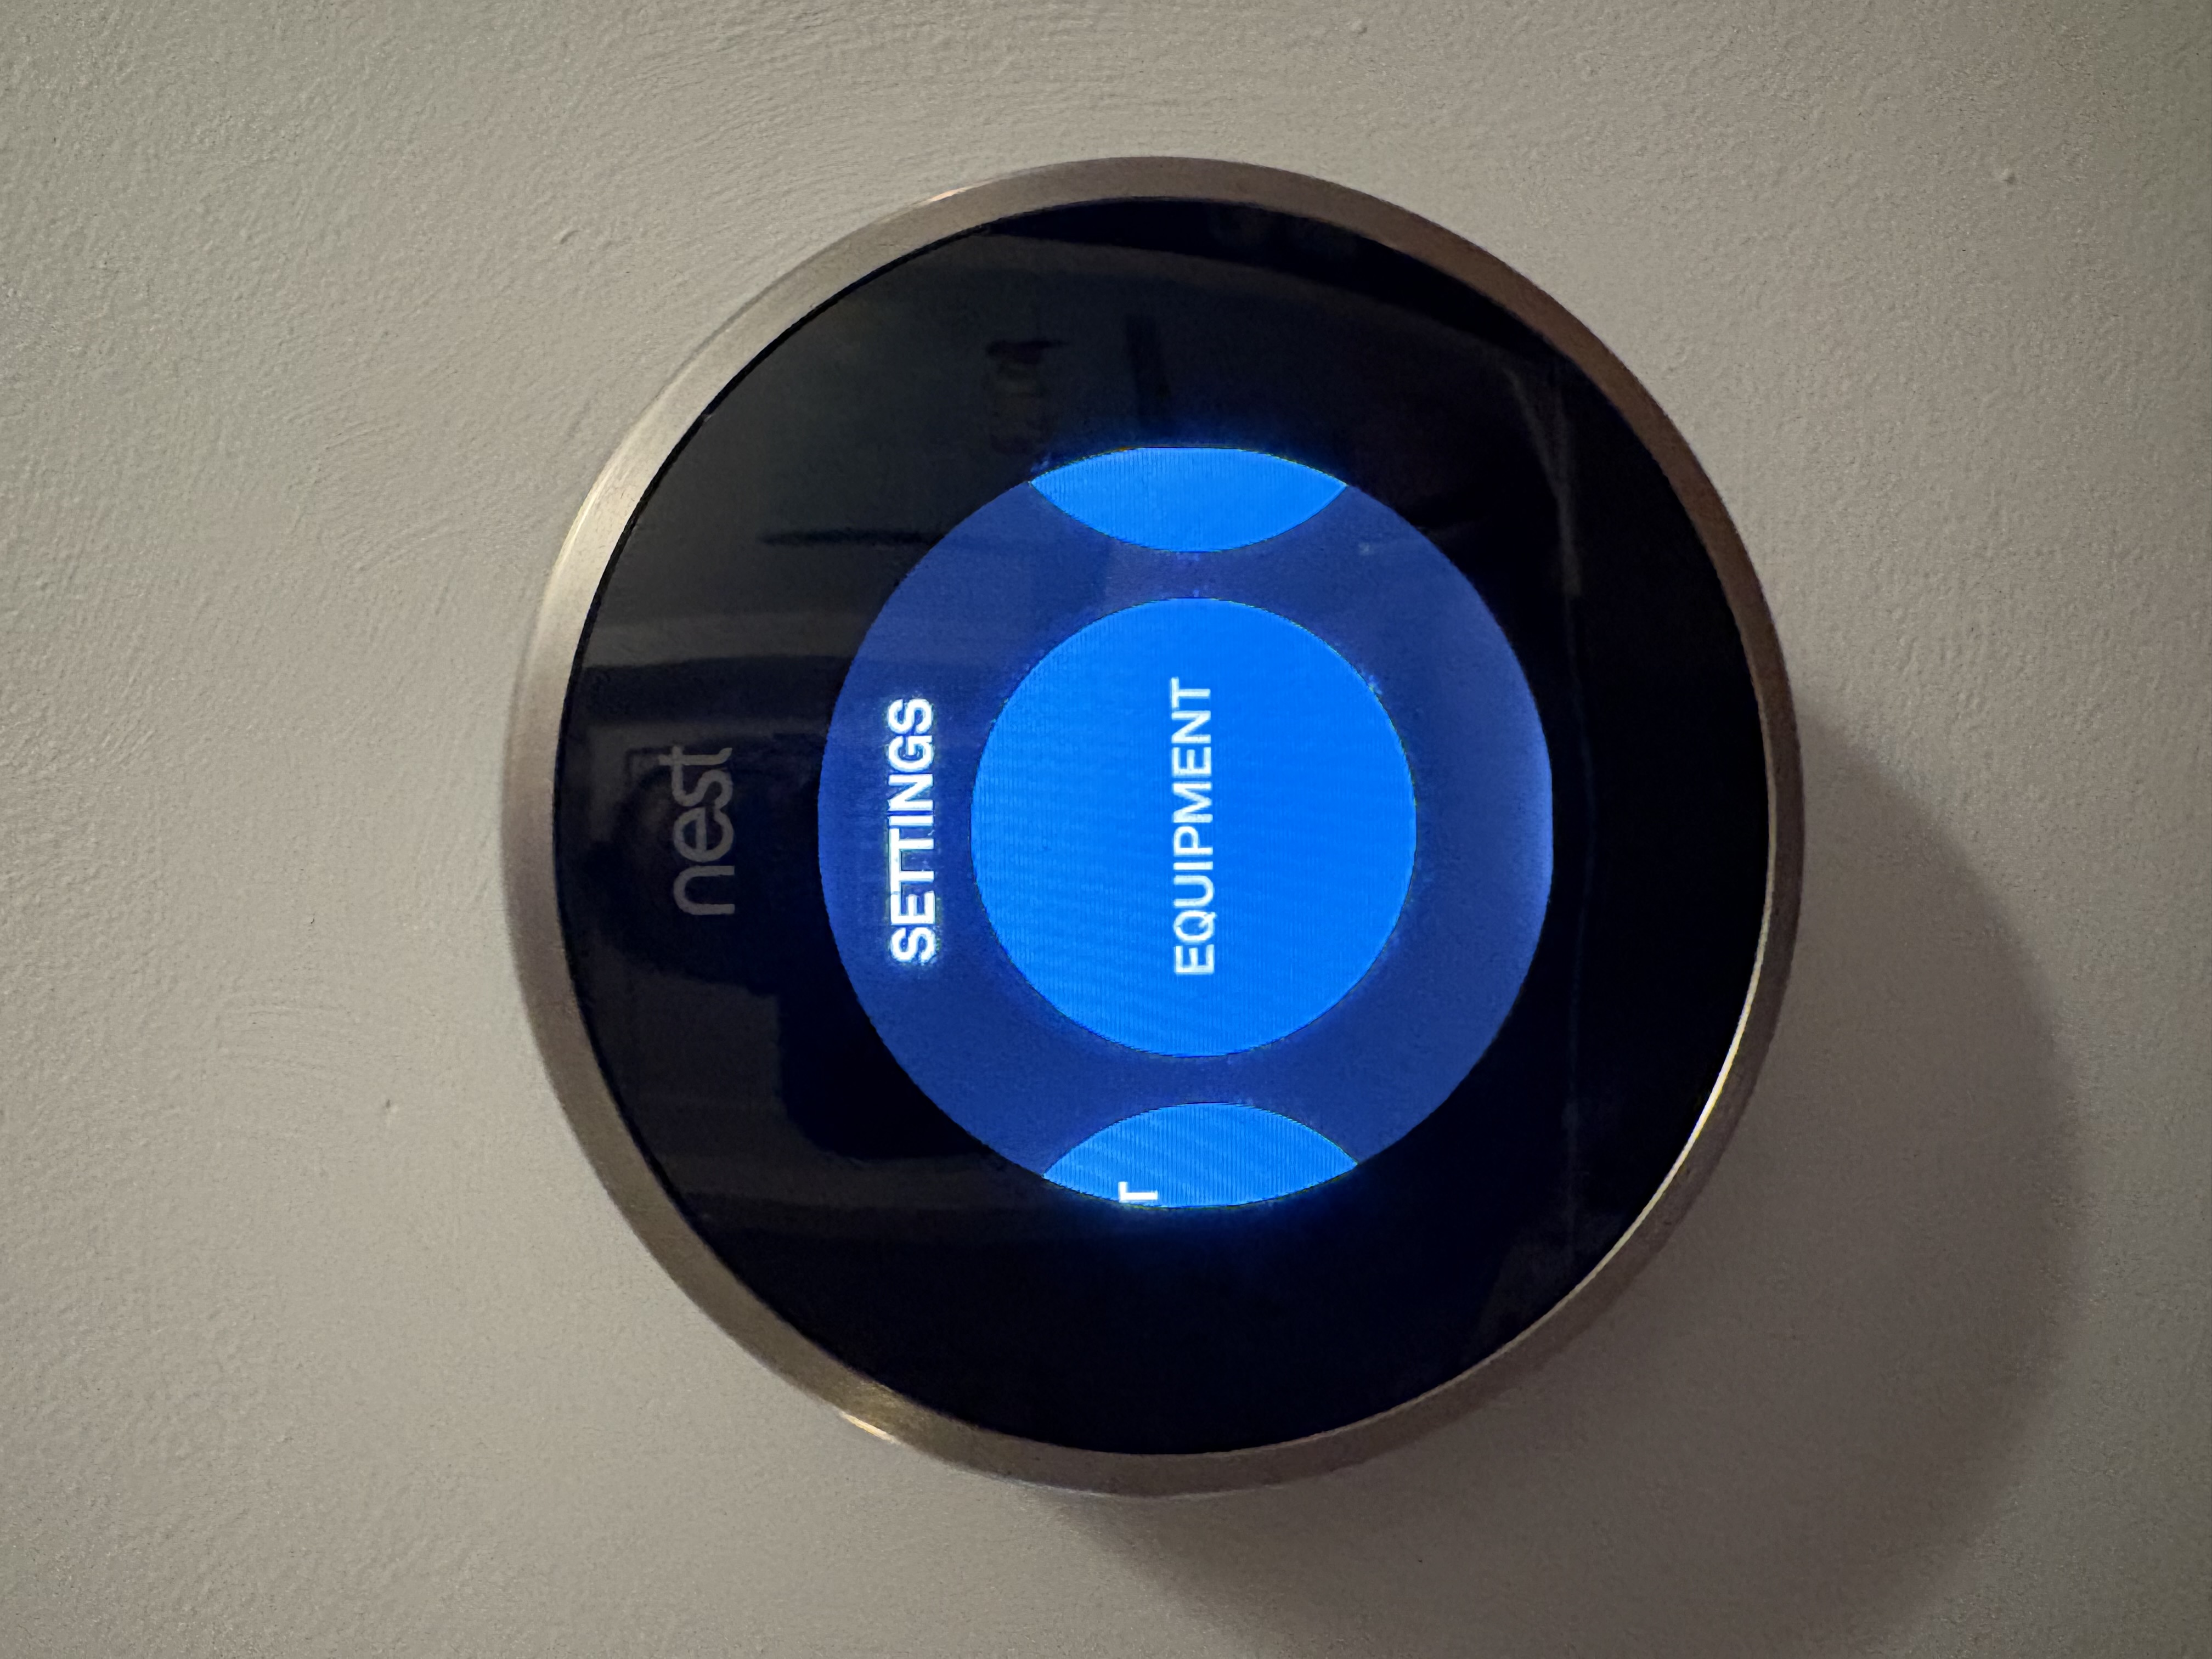
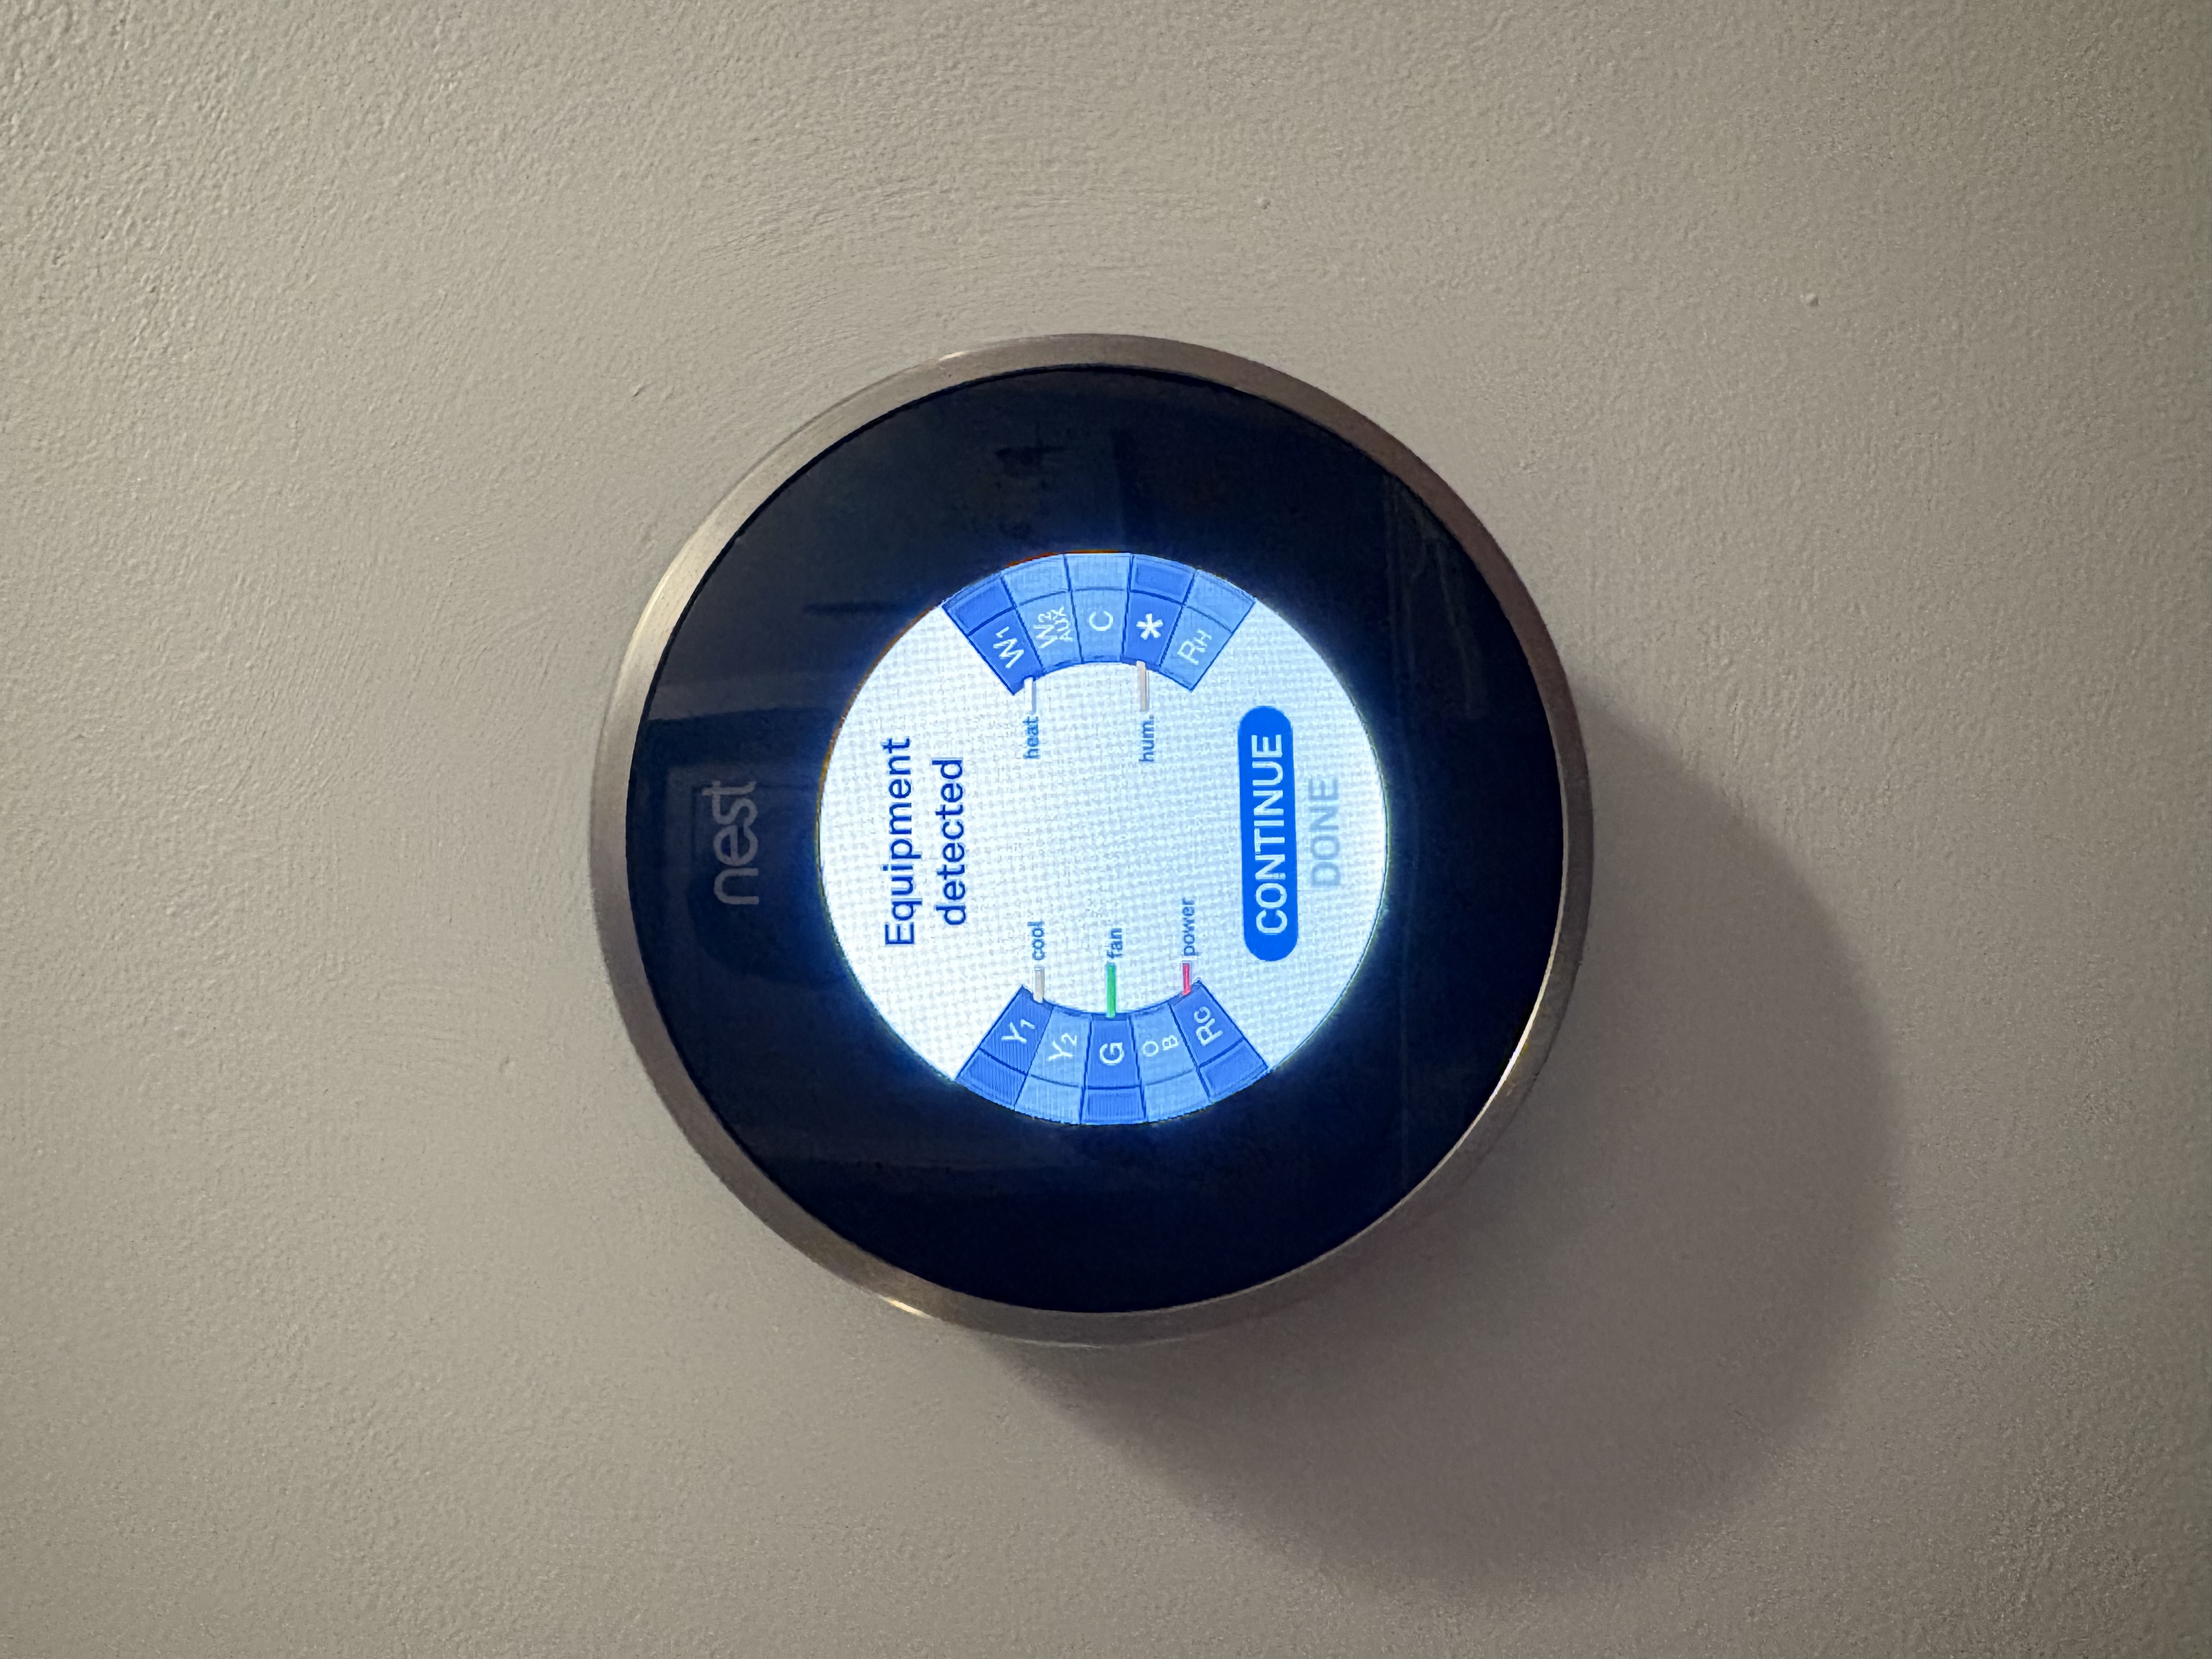
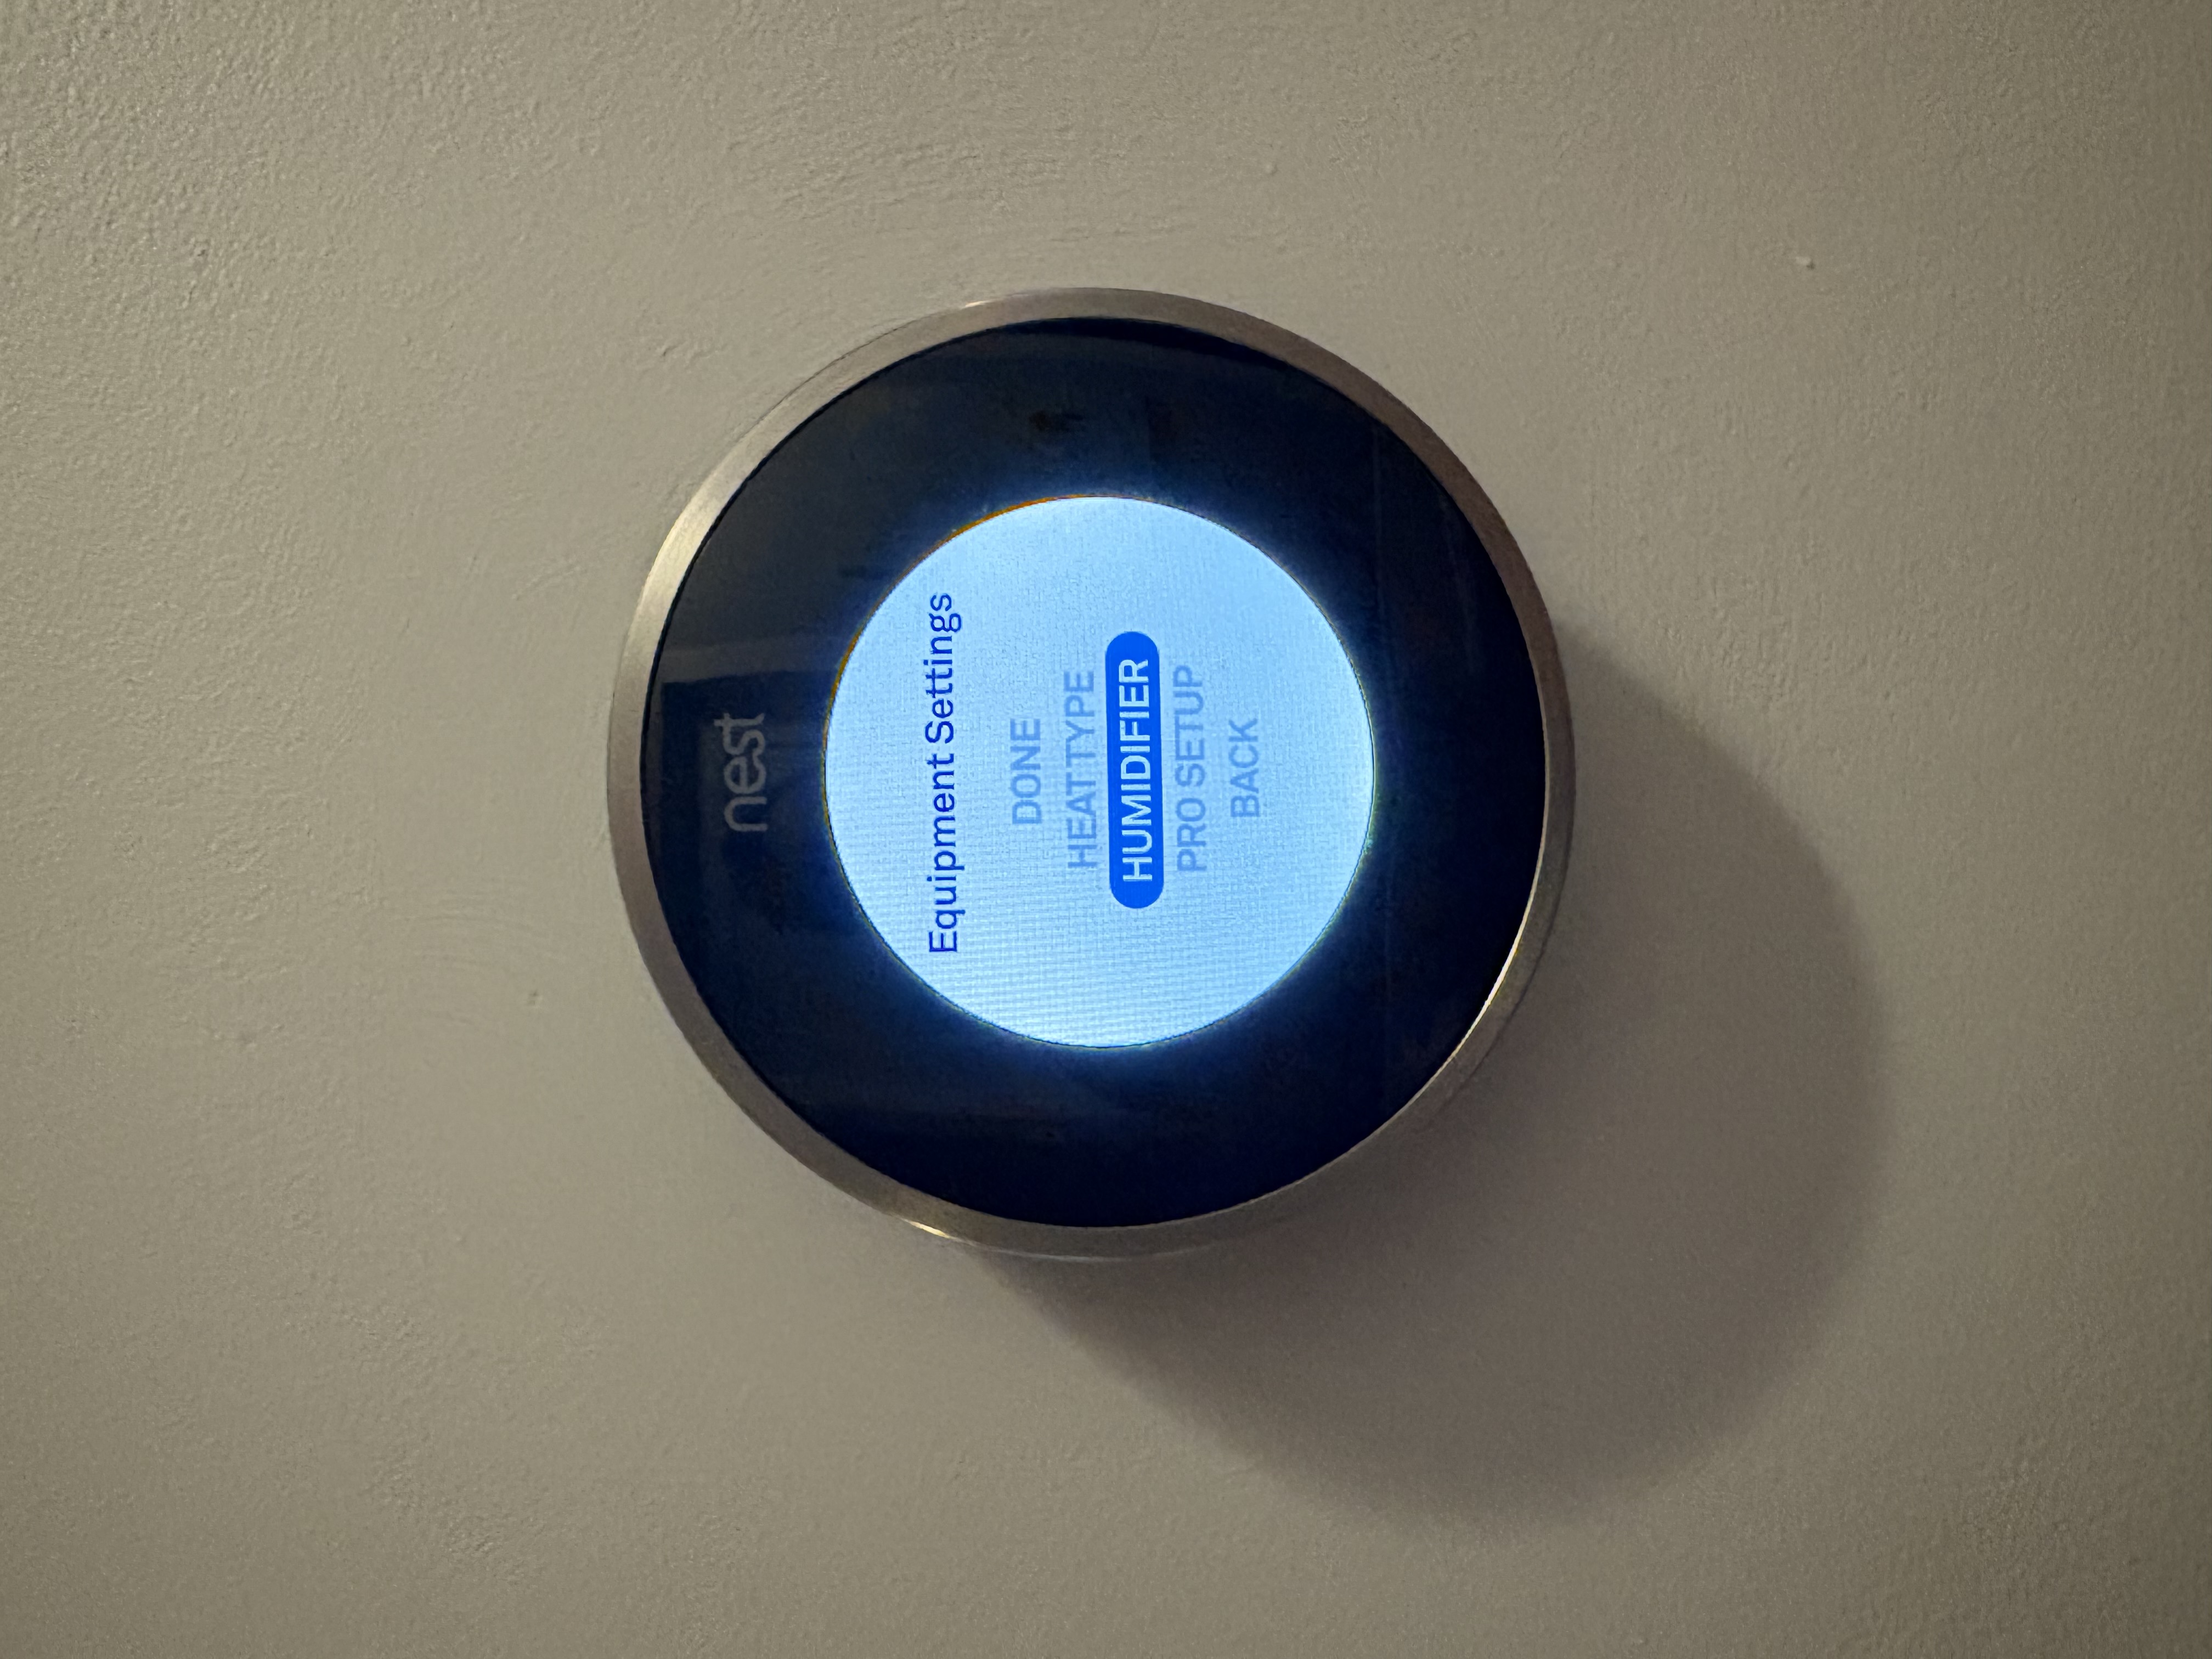
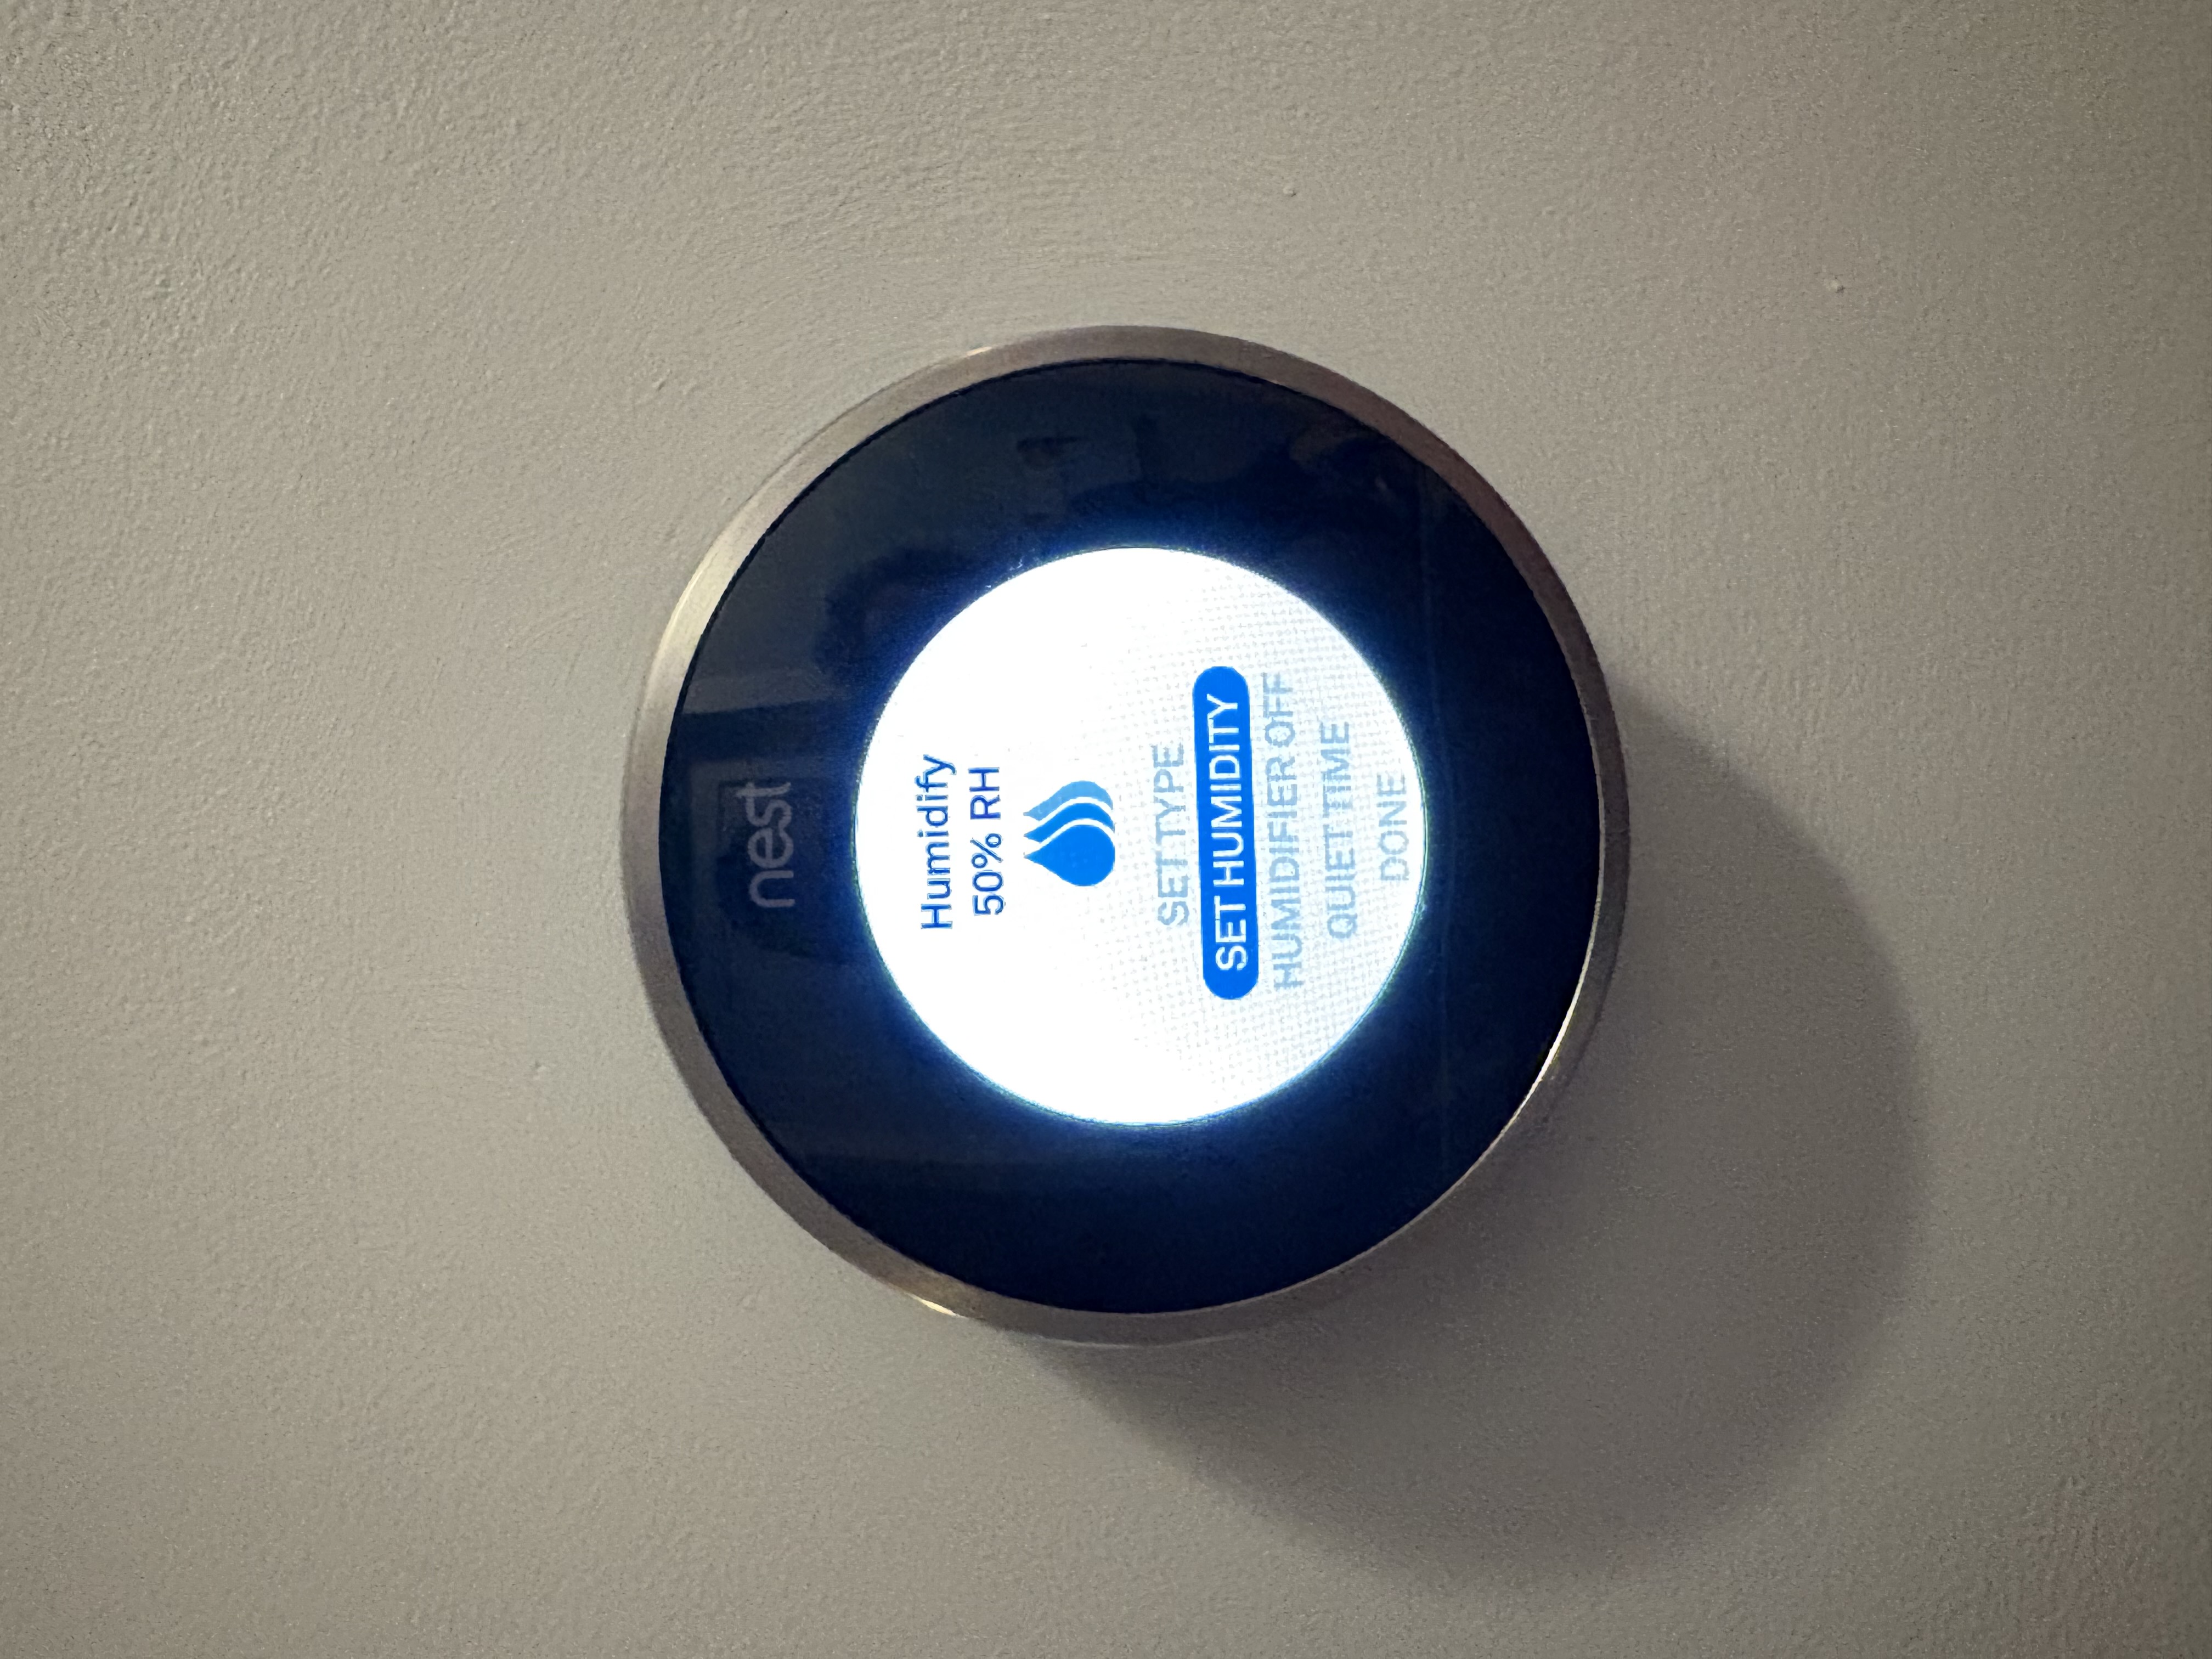
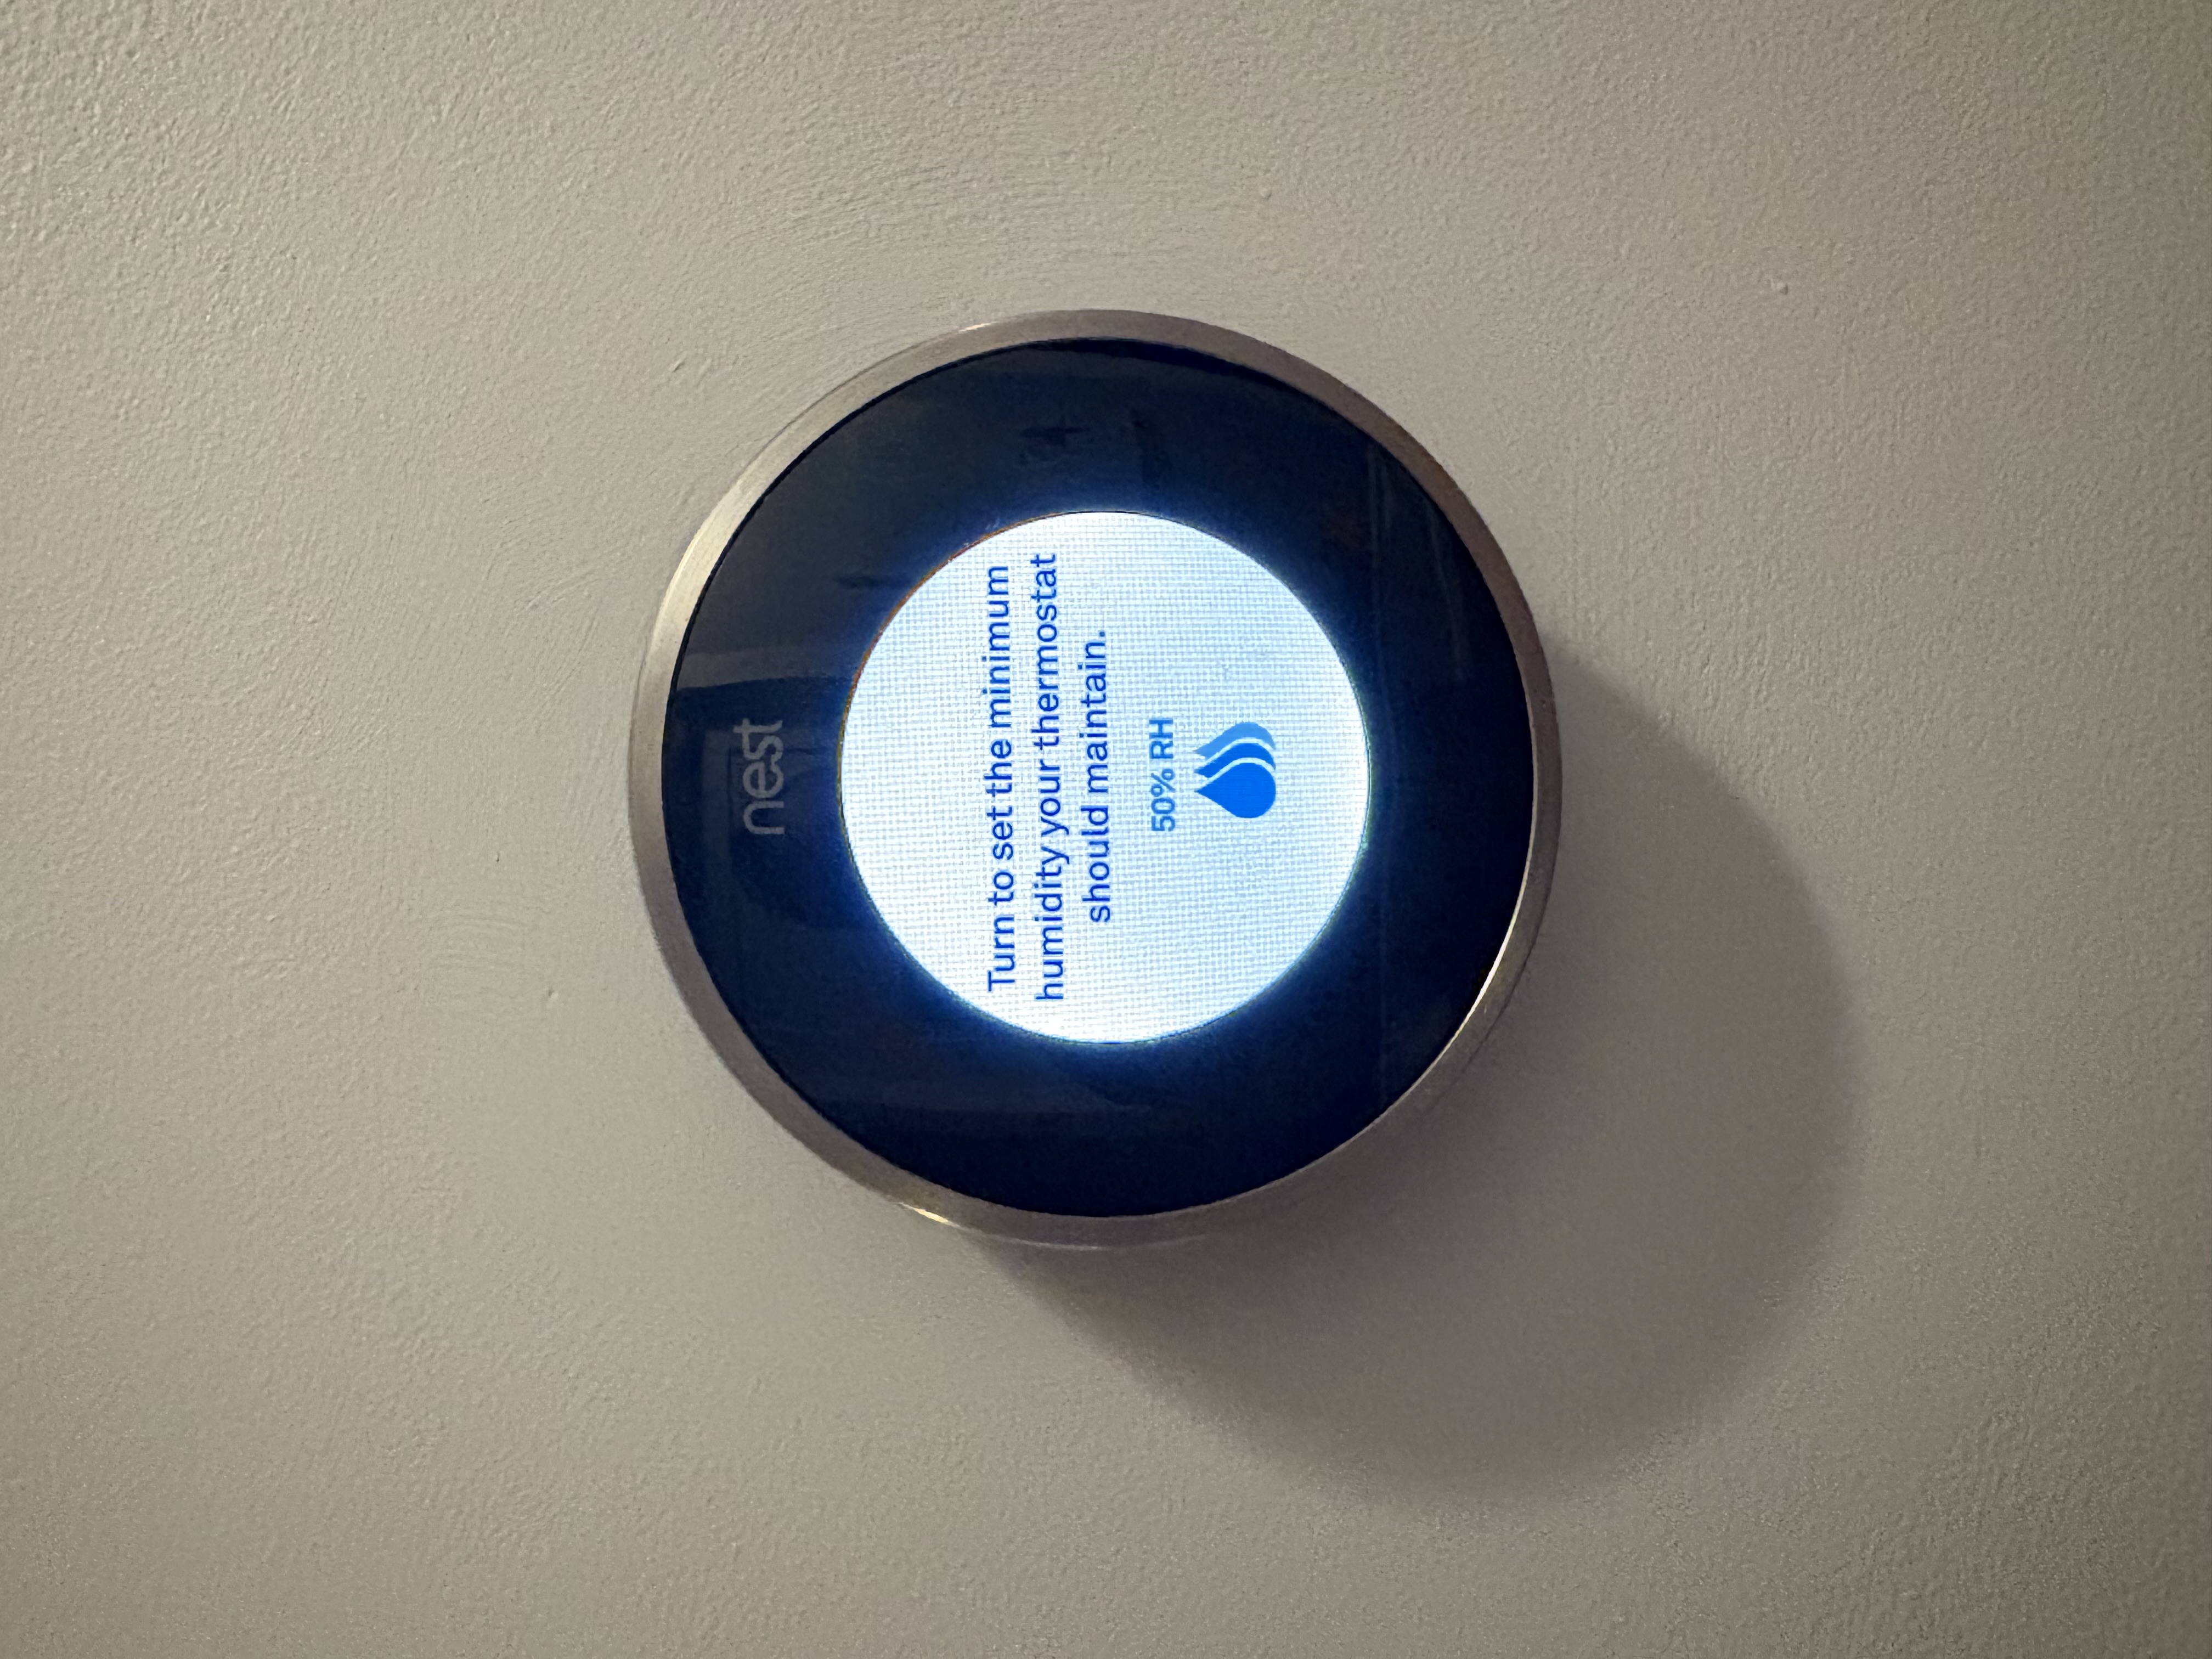
- configure the thermostat to use the humidifier
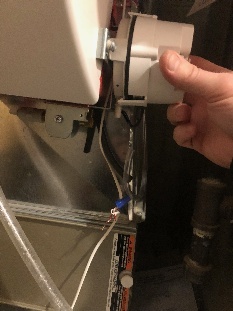
Disconnect the furnace mounted thermostat.
Remove the wire to the furnace mount thermistat at the solenoid controller.
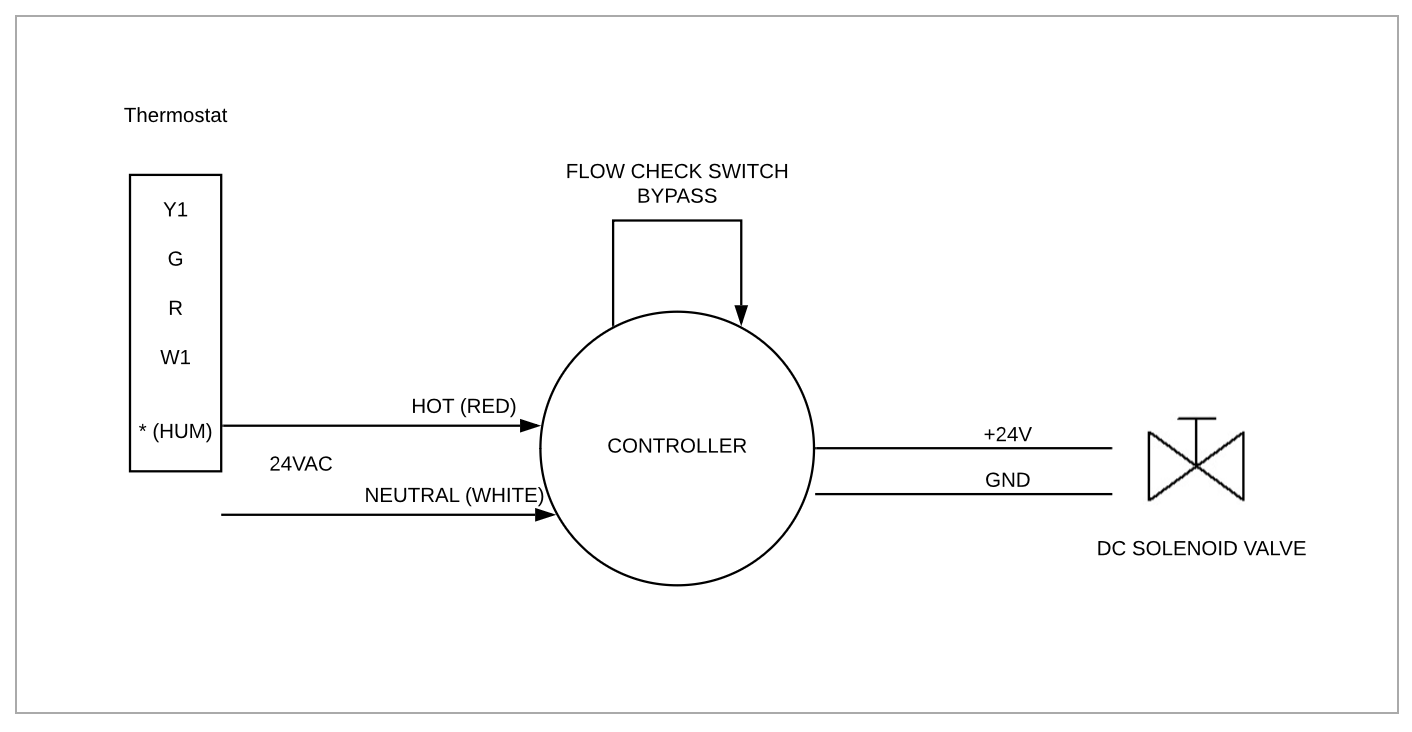
Remove the cap to the controller and cut the wires for the flow check switch and marret the connections together. The other 2 wires go to the solenoid valve.
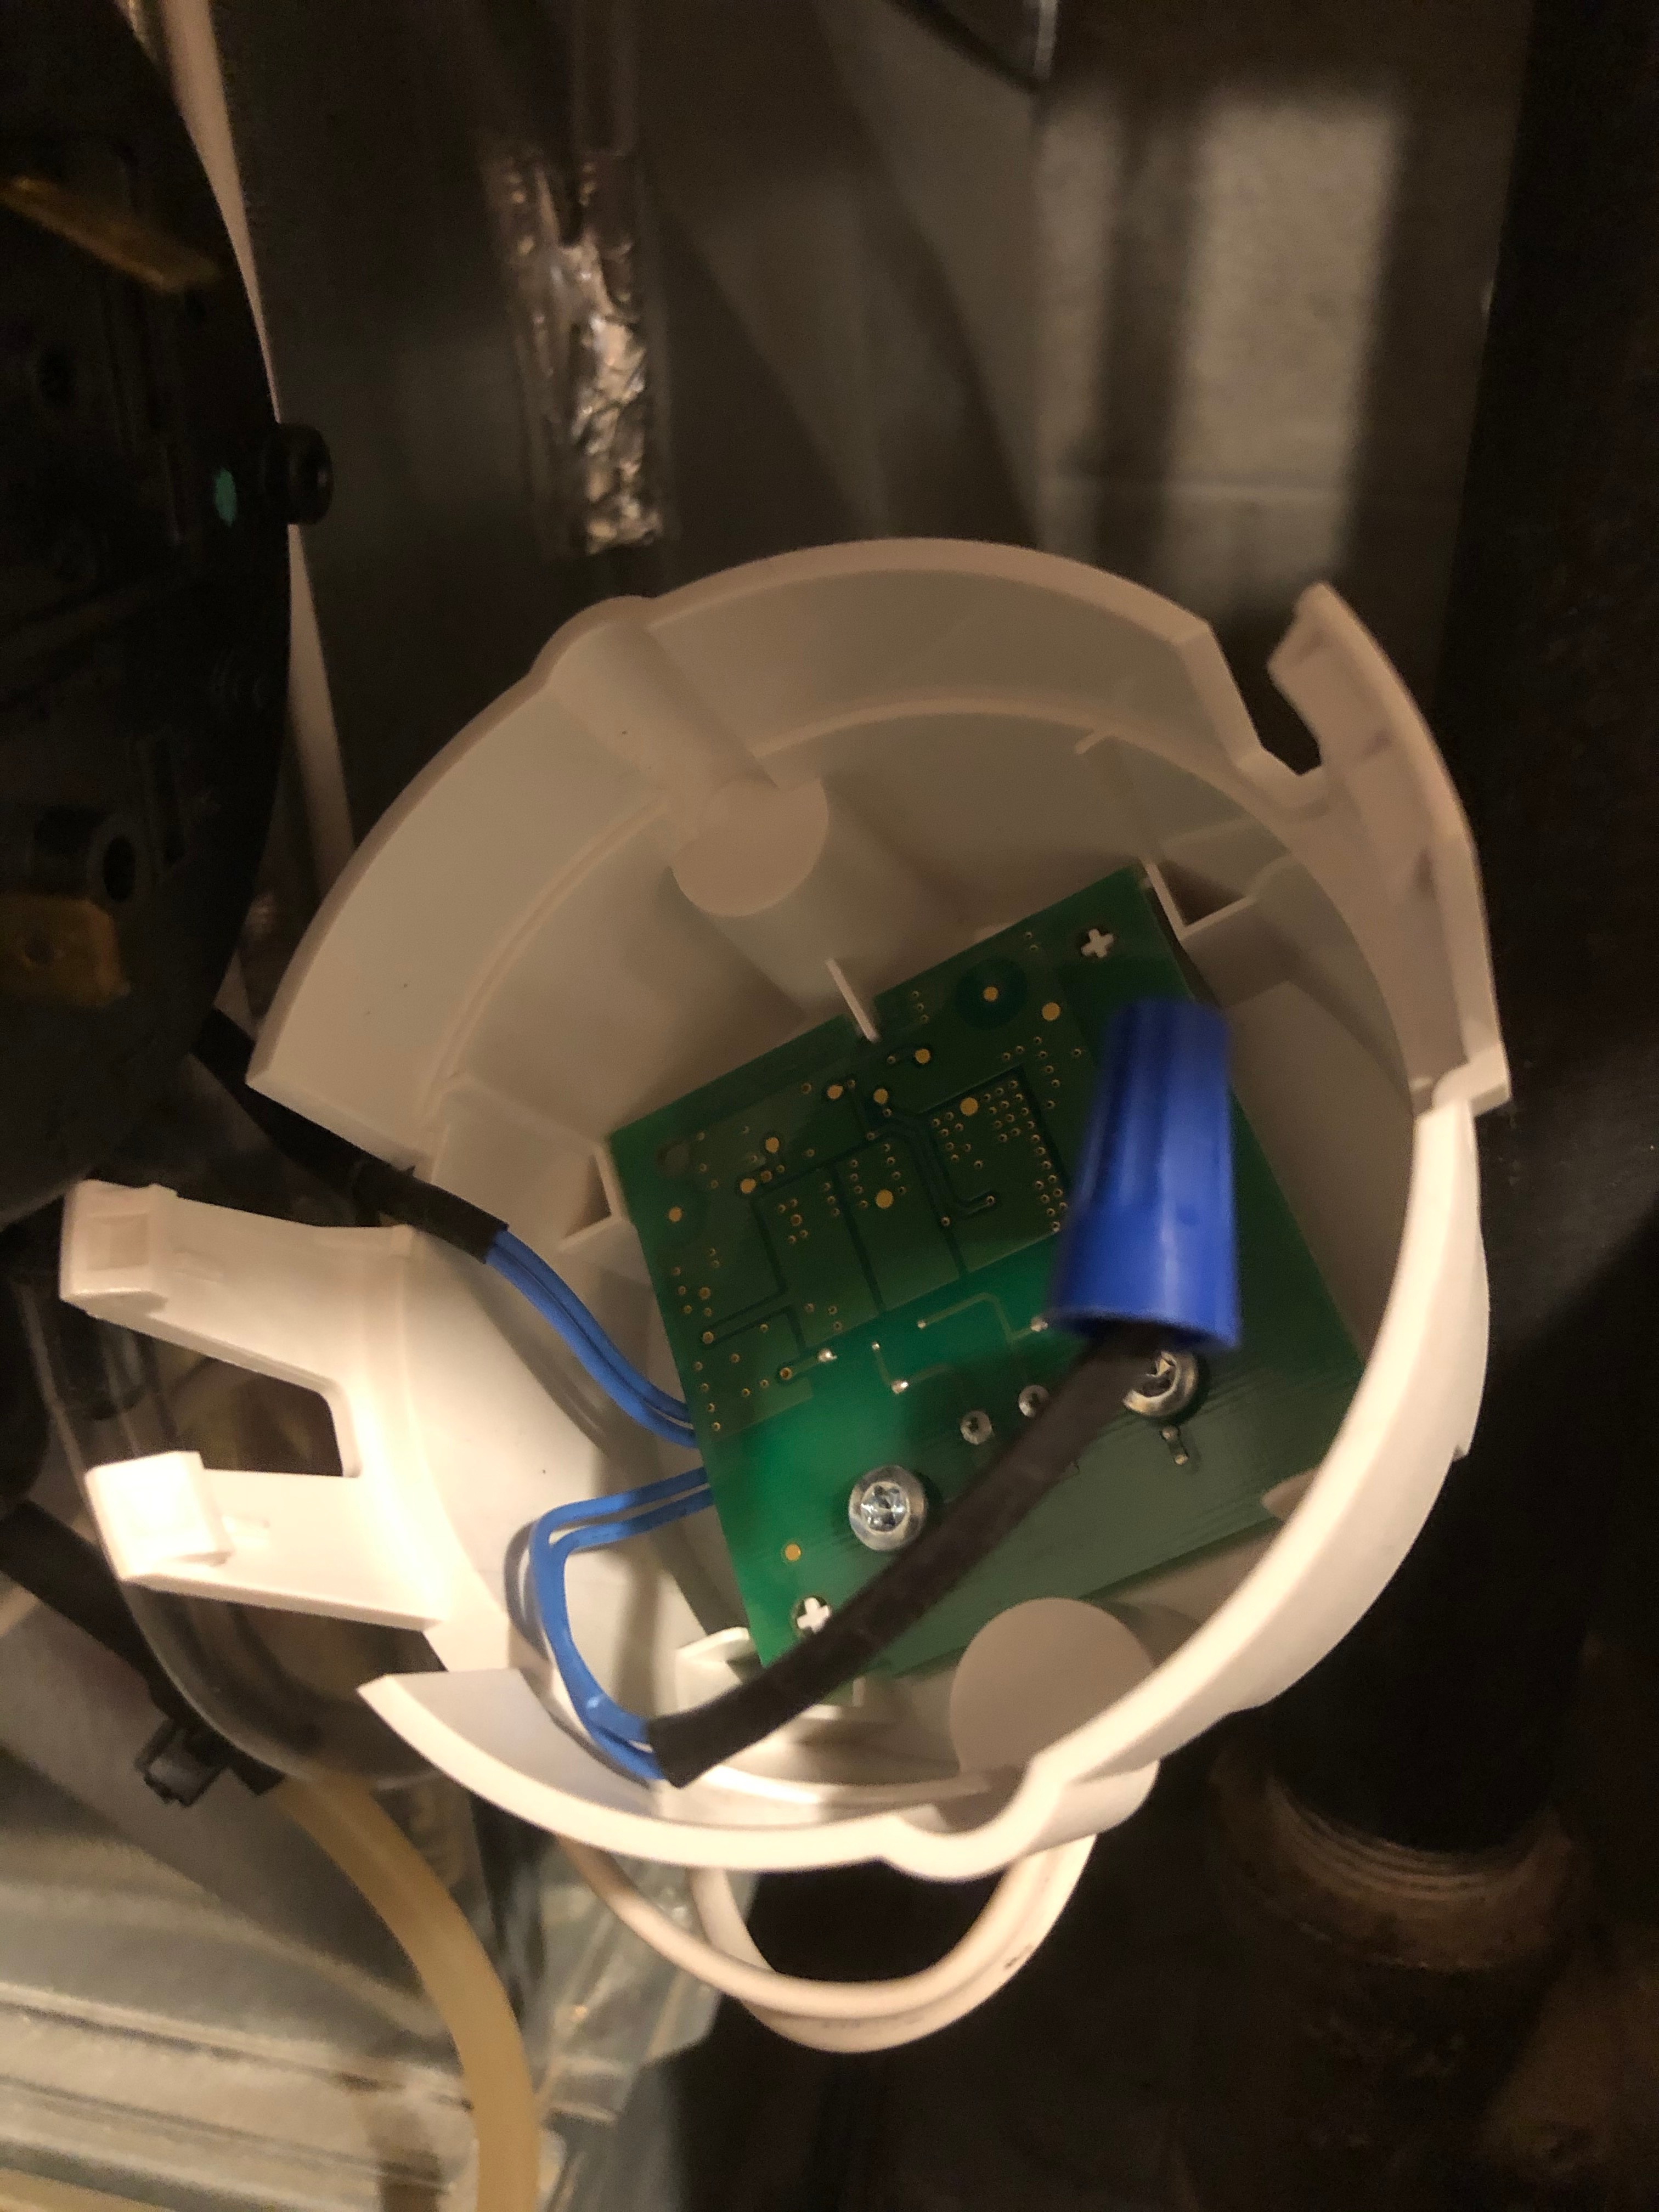
The end result should be resemble the following:
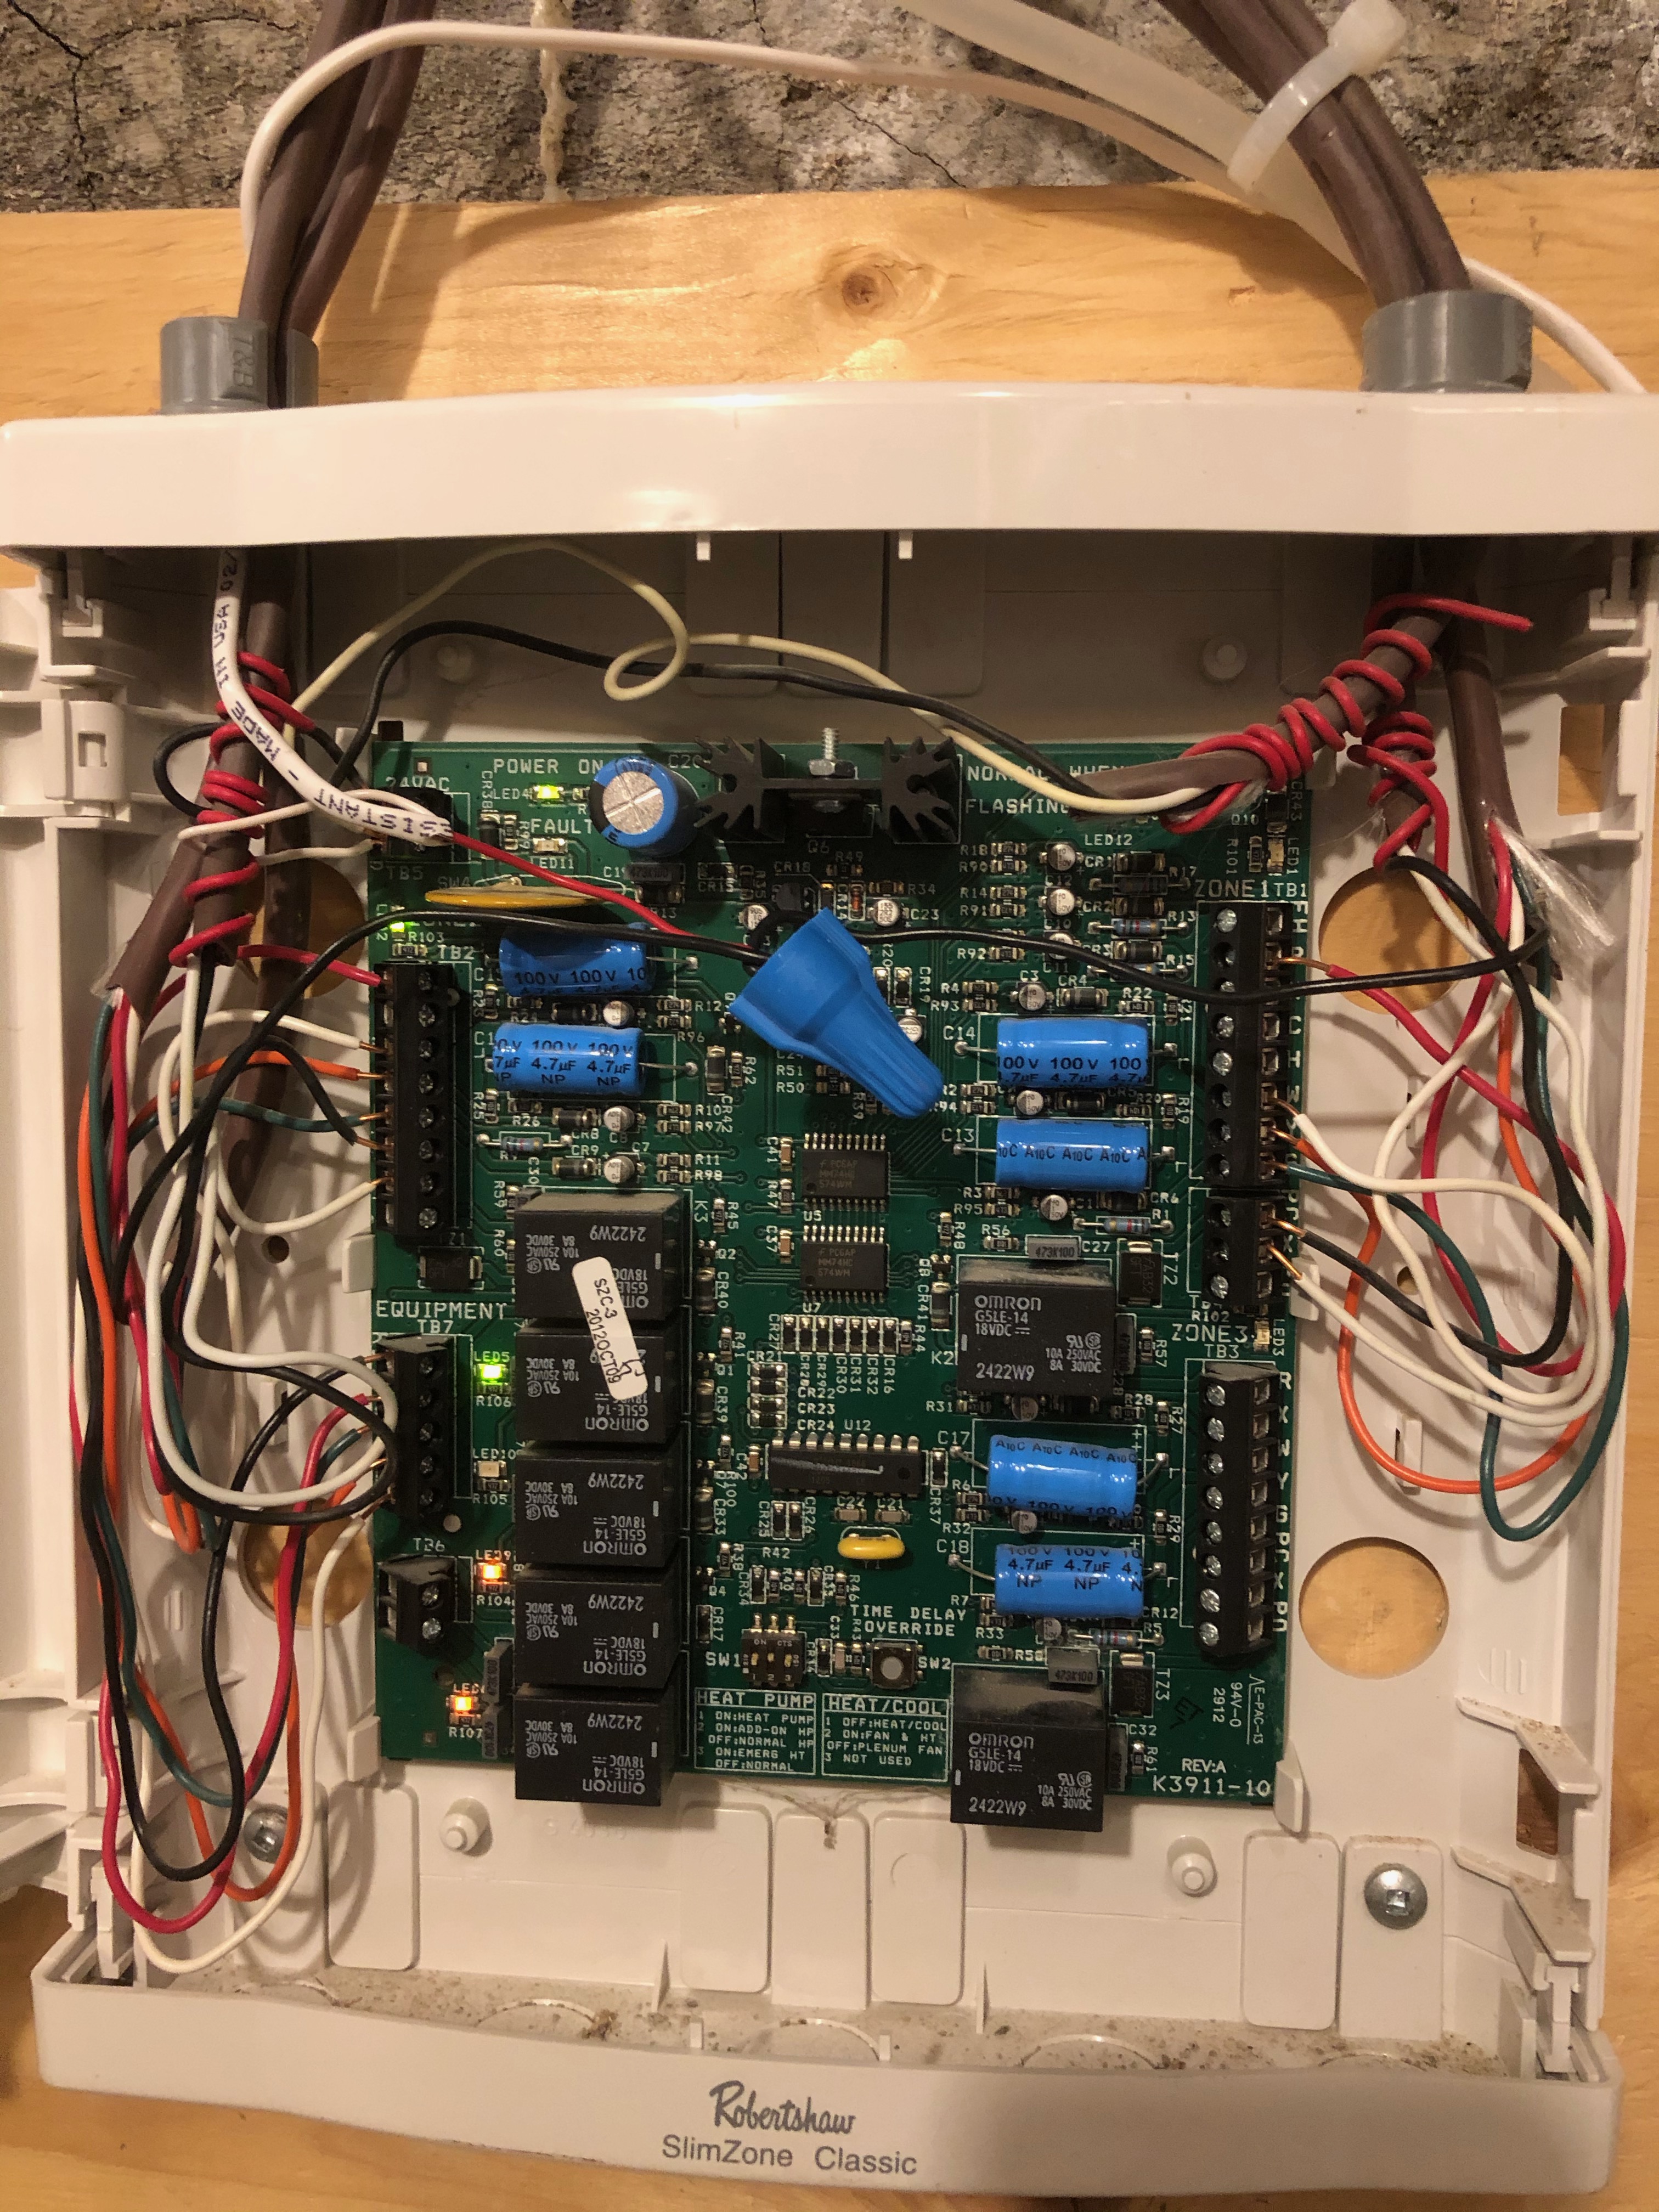
Wiring the Thermostat

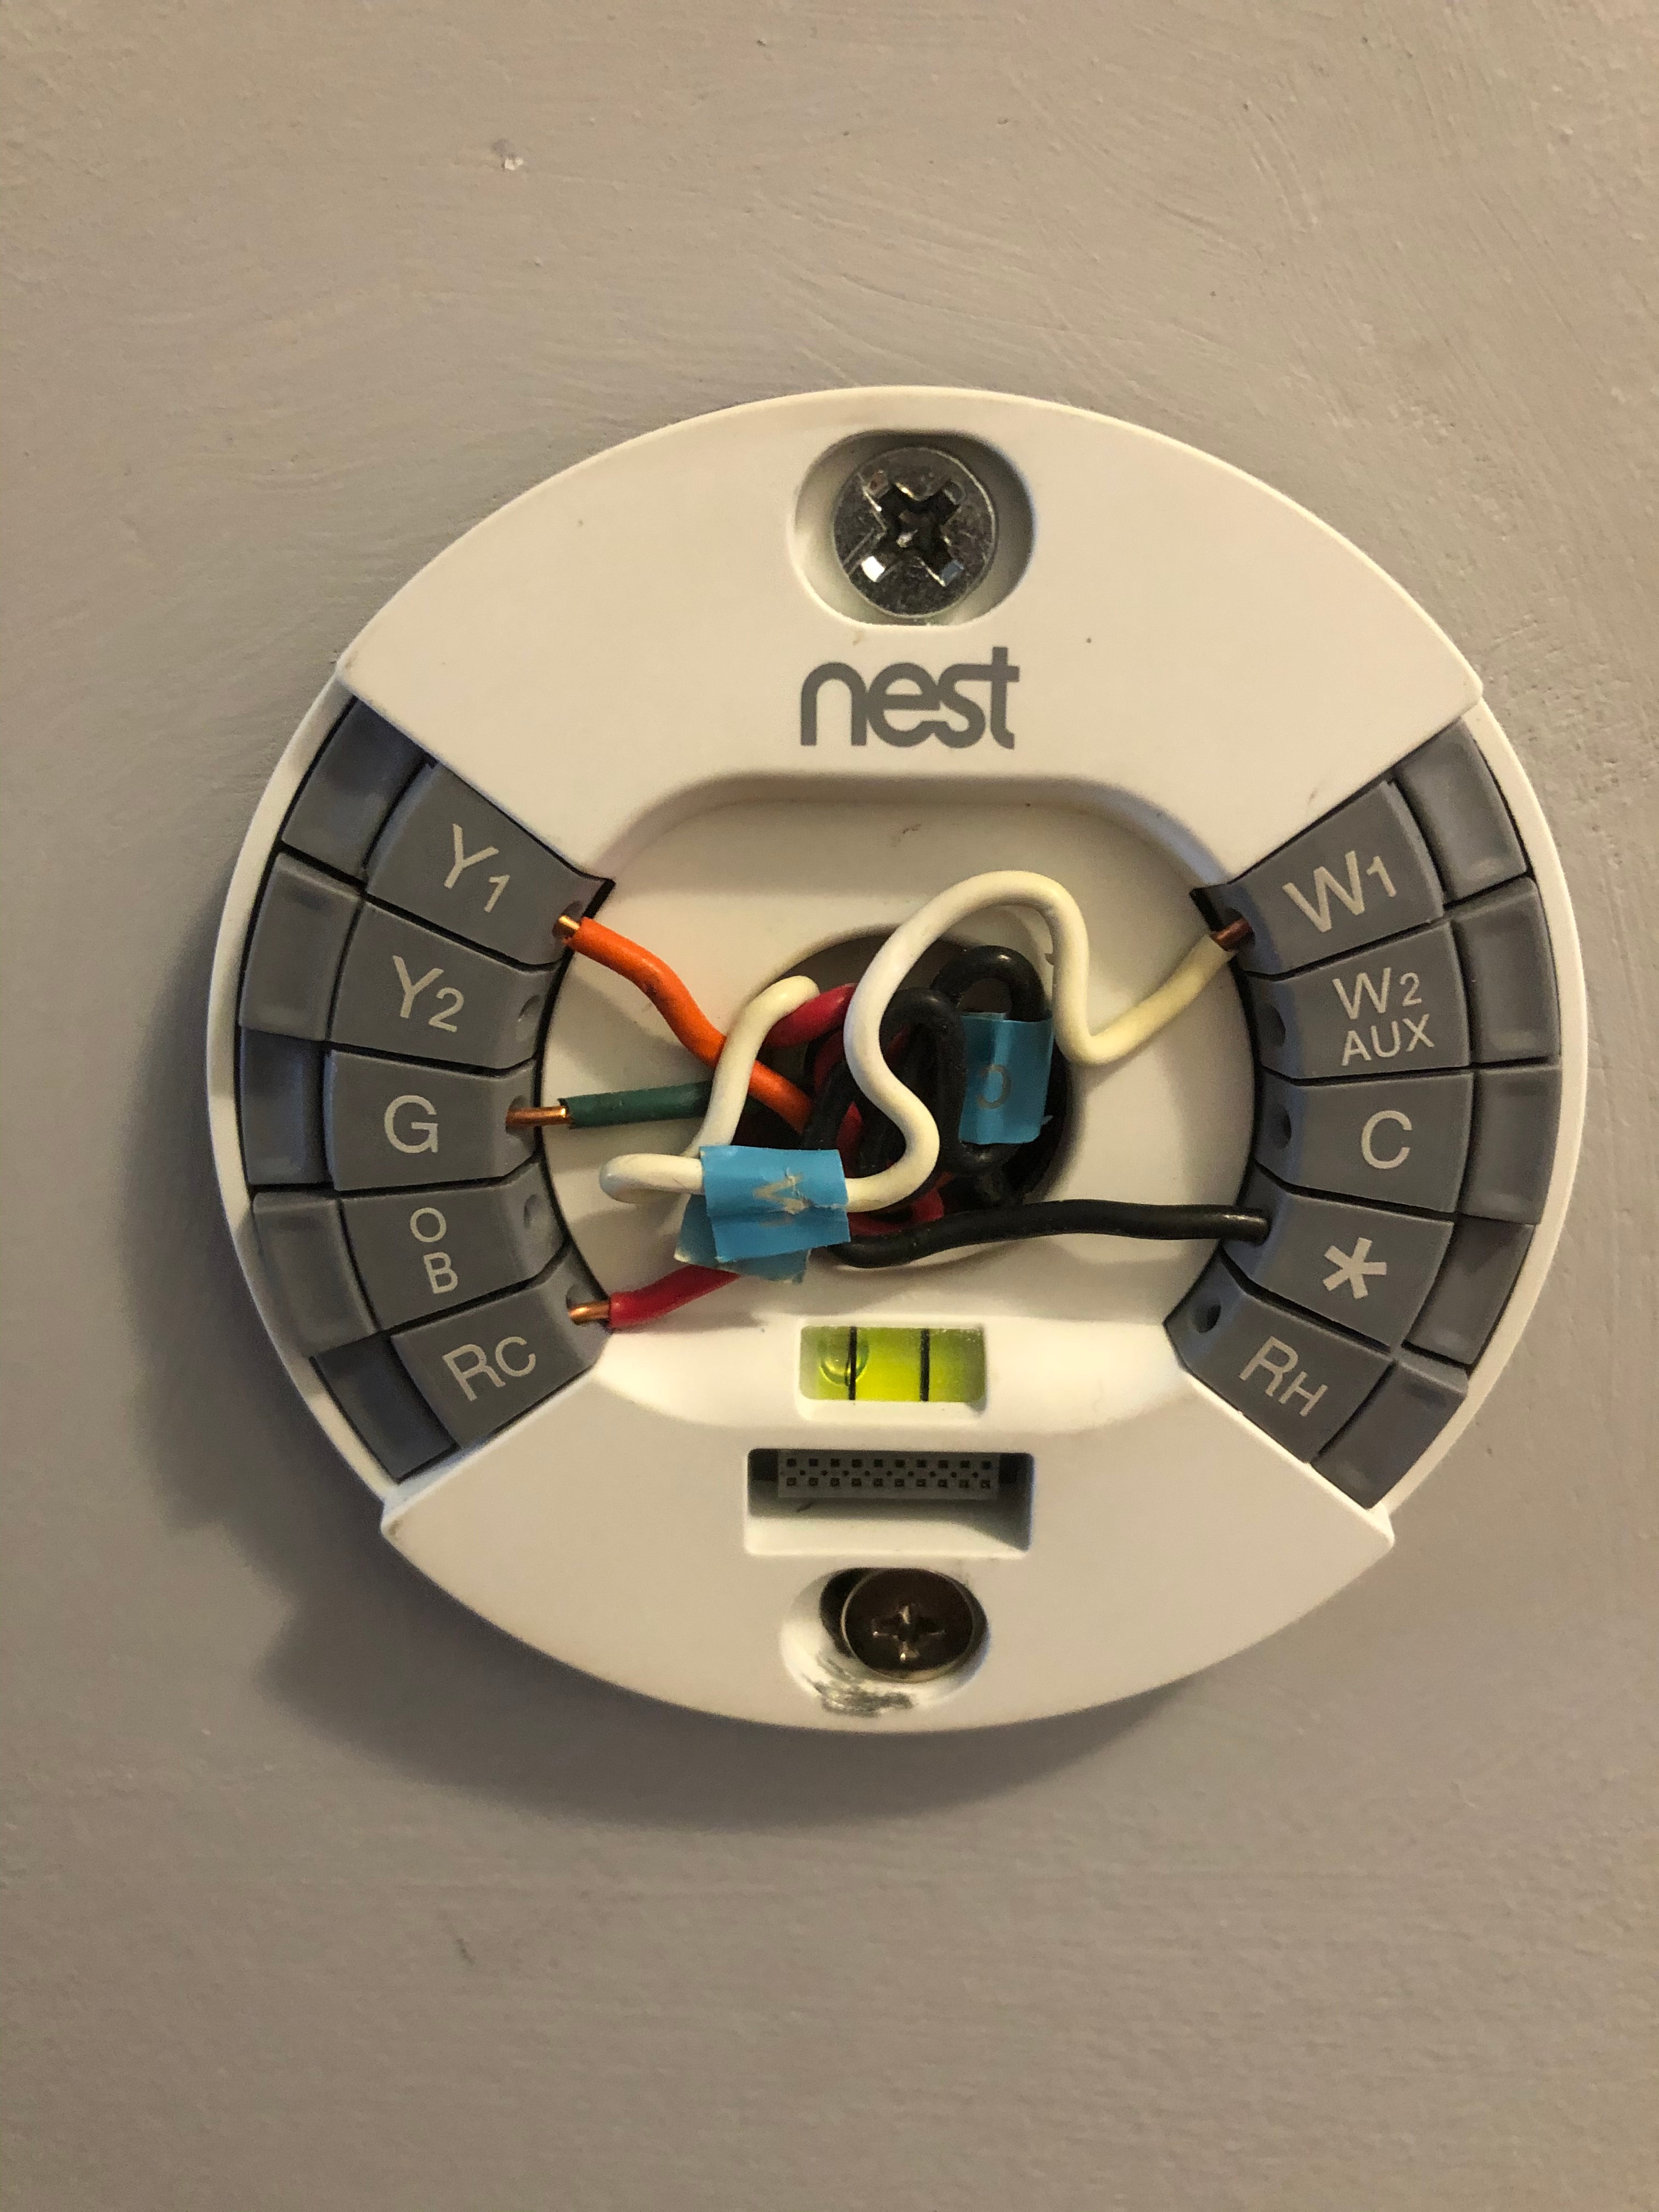
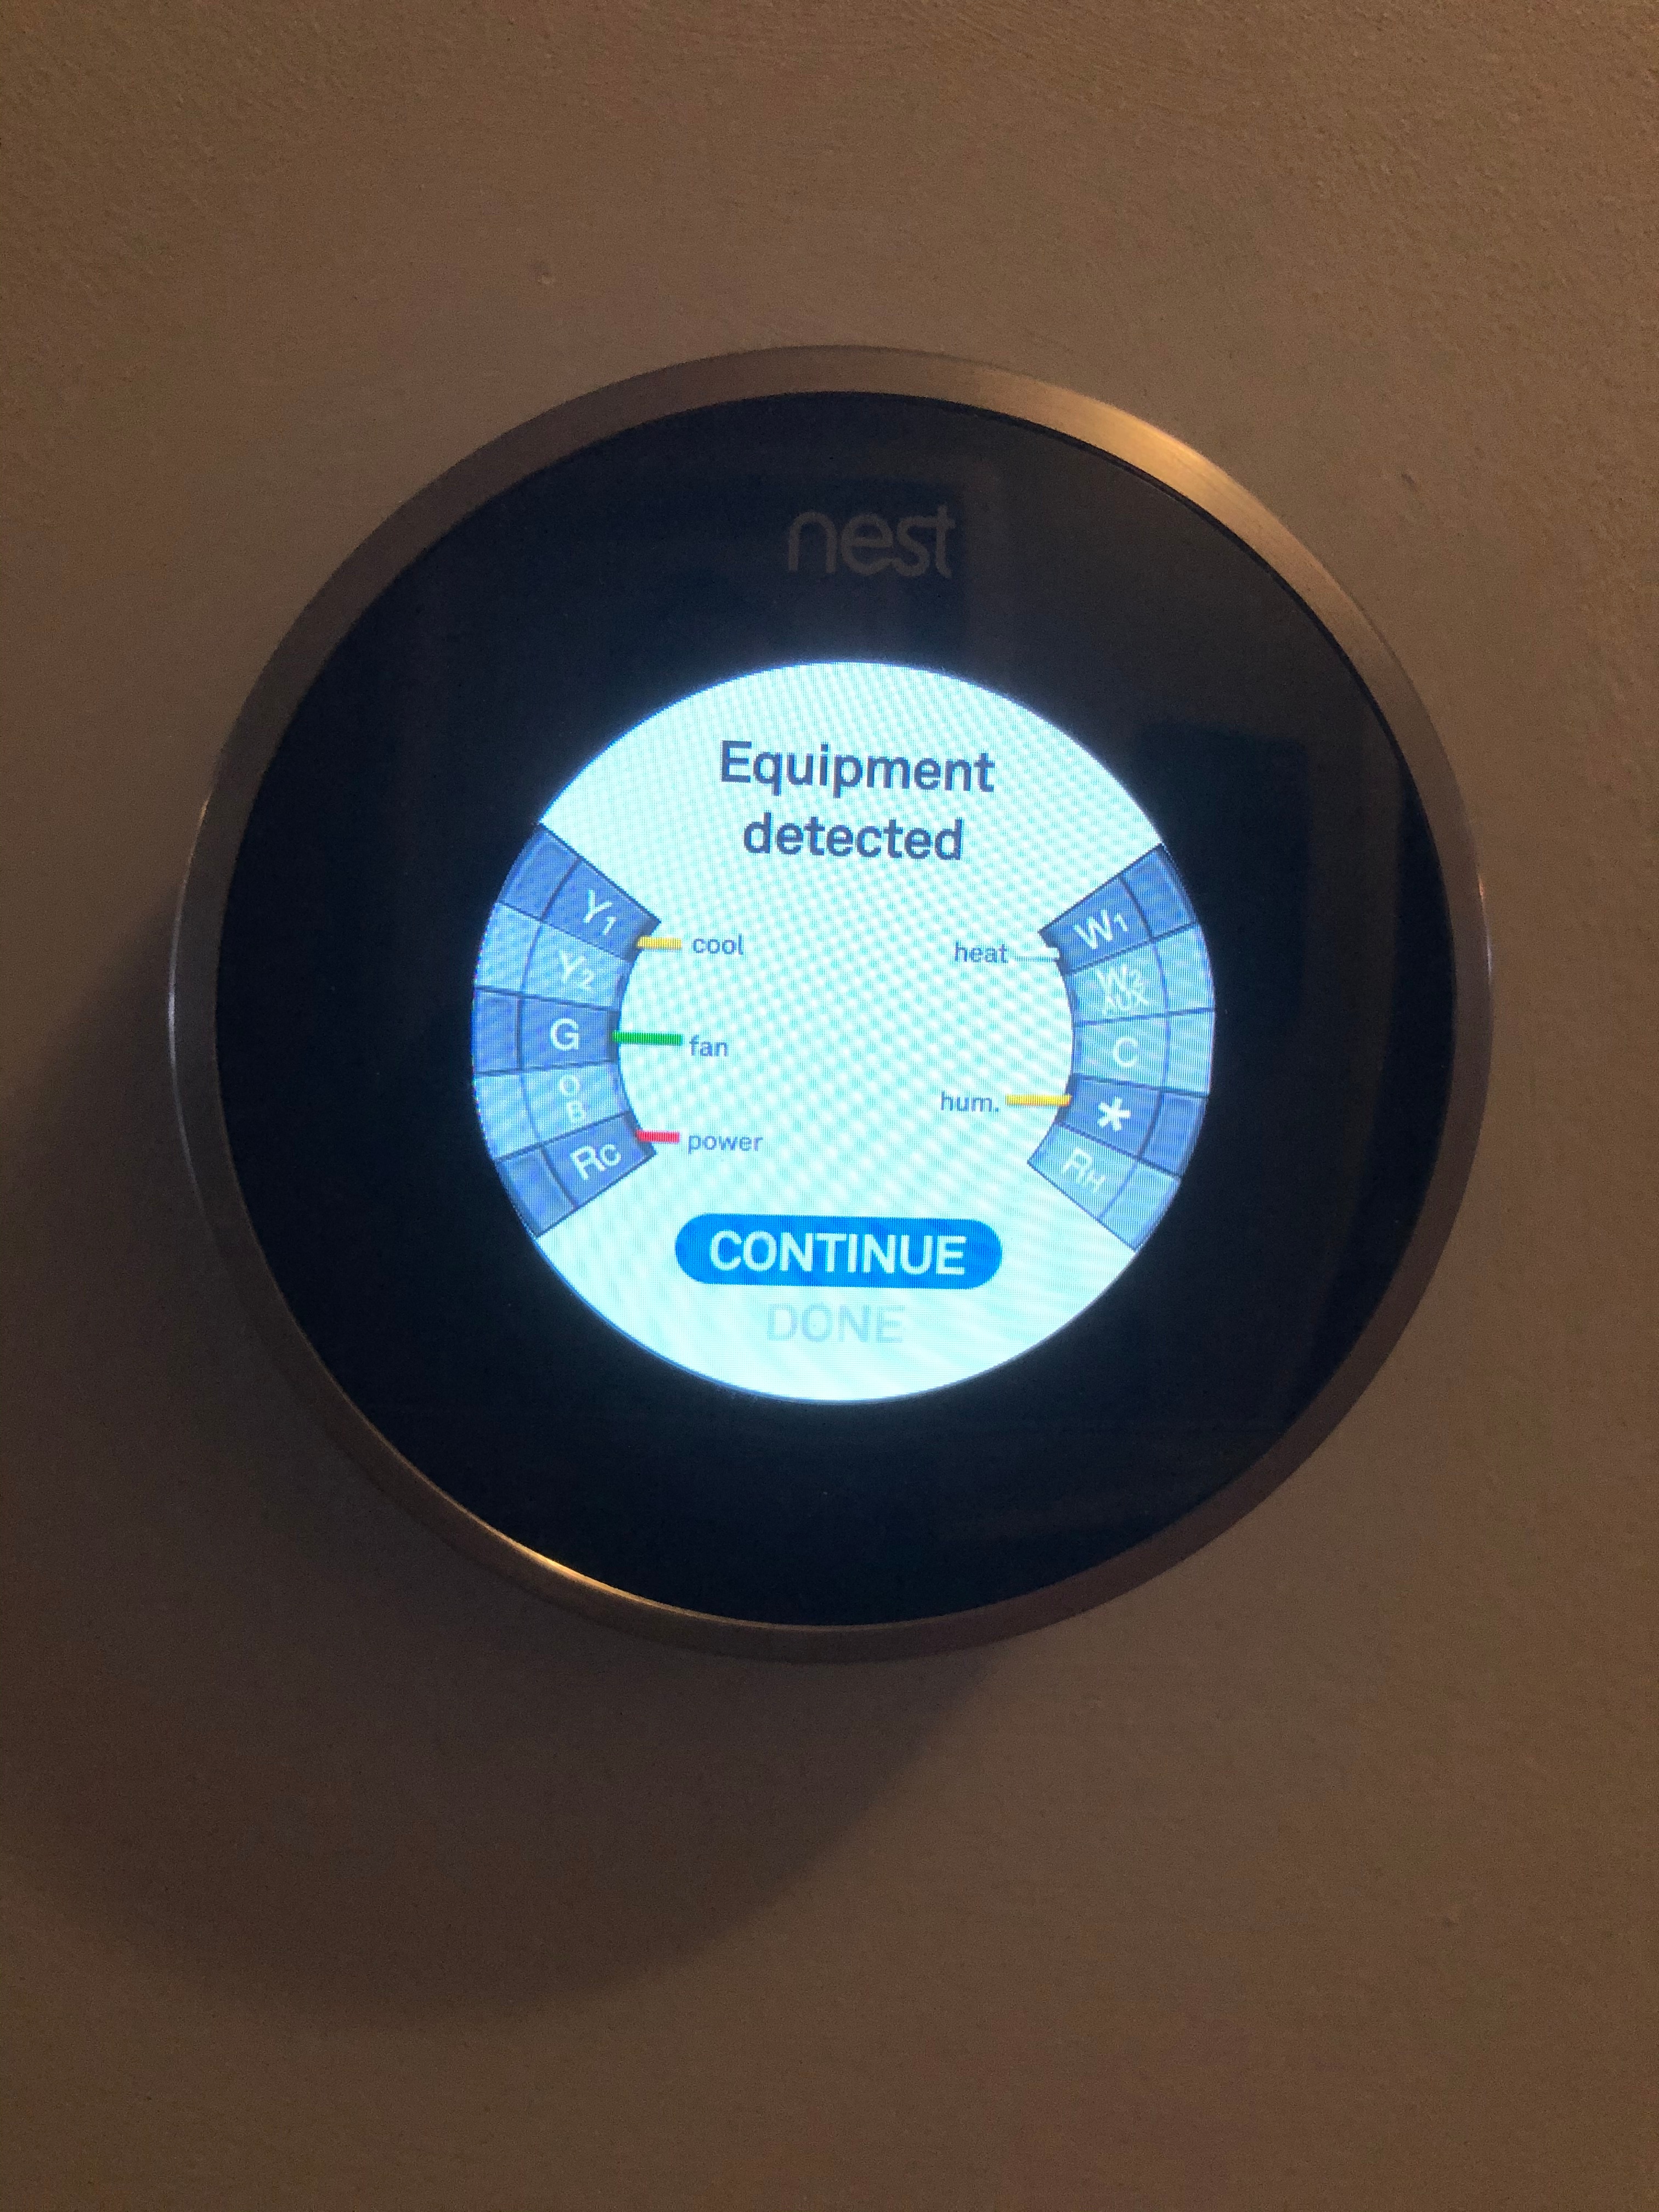
In my zone control cabinet, I connected both *(HUM) wires from the thermostats to the HOT line of the humidifier.
It turns out you can control the humidity using just the thermostat so you can continue to use the Nest thermostat after the discontinuation of the Google app.

Wiring with a Humidistat
Google stopped supporting its 1st and 2nd generation thermostat and we no longer have control over our humidity settings. Based on this, we will be wiring up our old humidistat to control our humidifier. Prior to this, we had disabled flow check in the humidifier controller.
Our furnace control board has a HUM(Humidifier) connection point that we will use to trigger our humidifier on and off.
Furnace Control Board

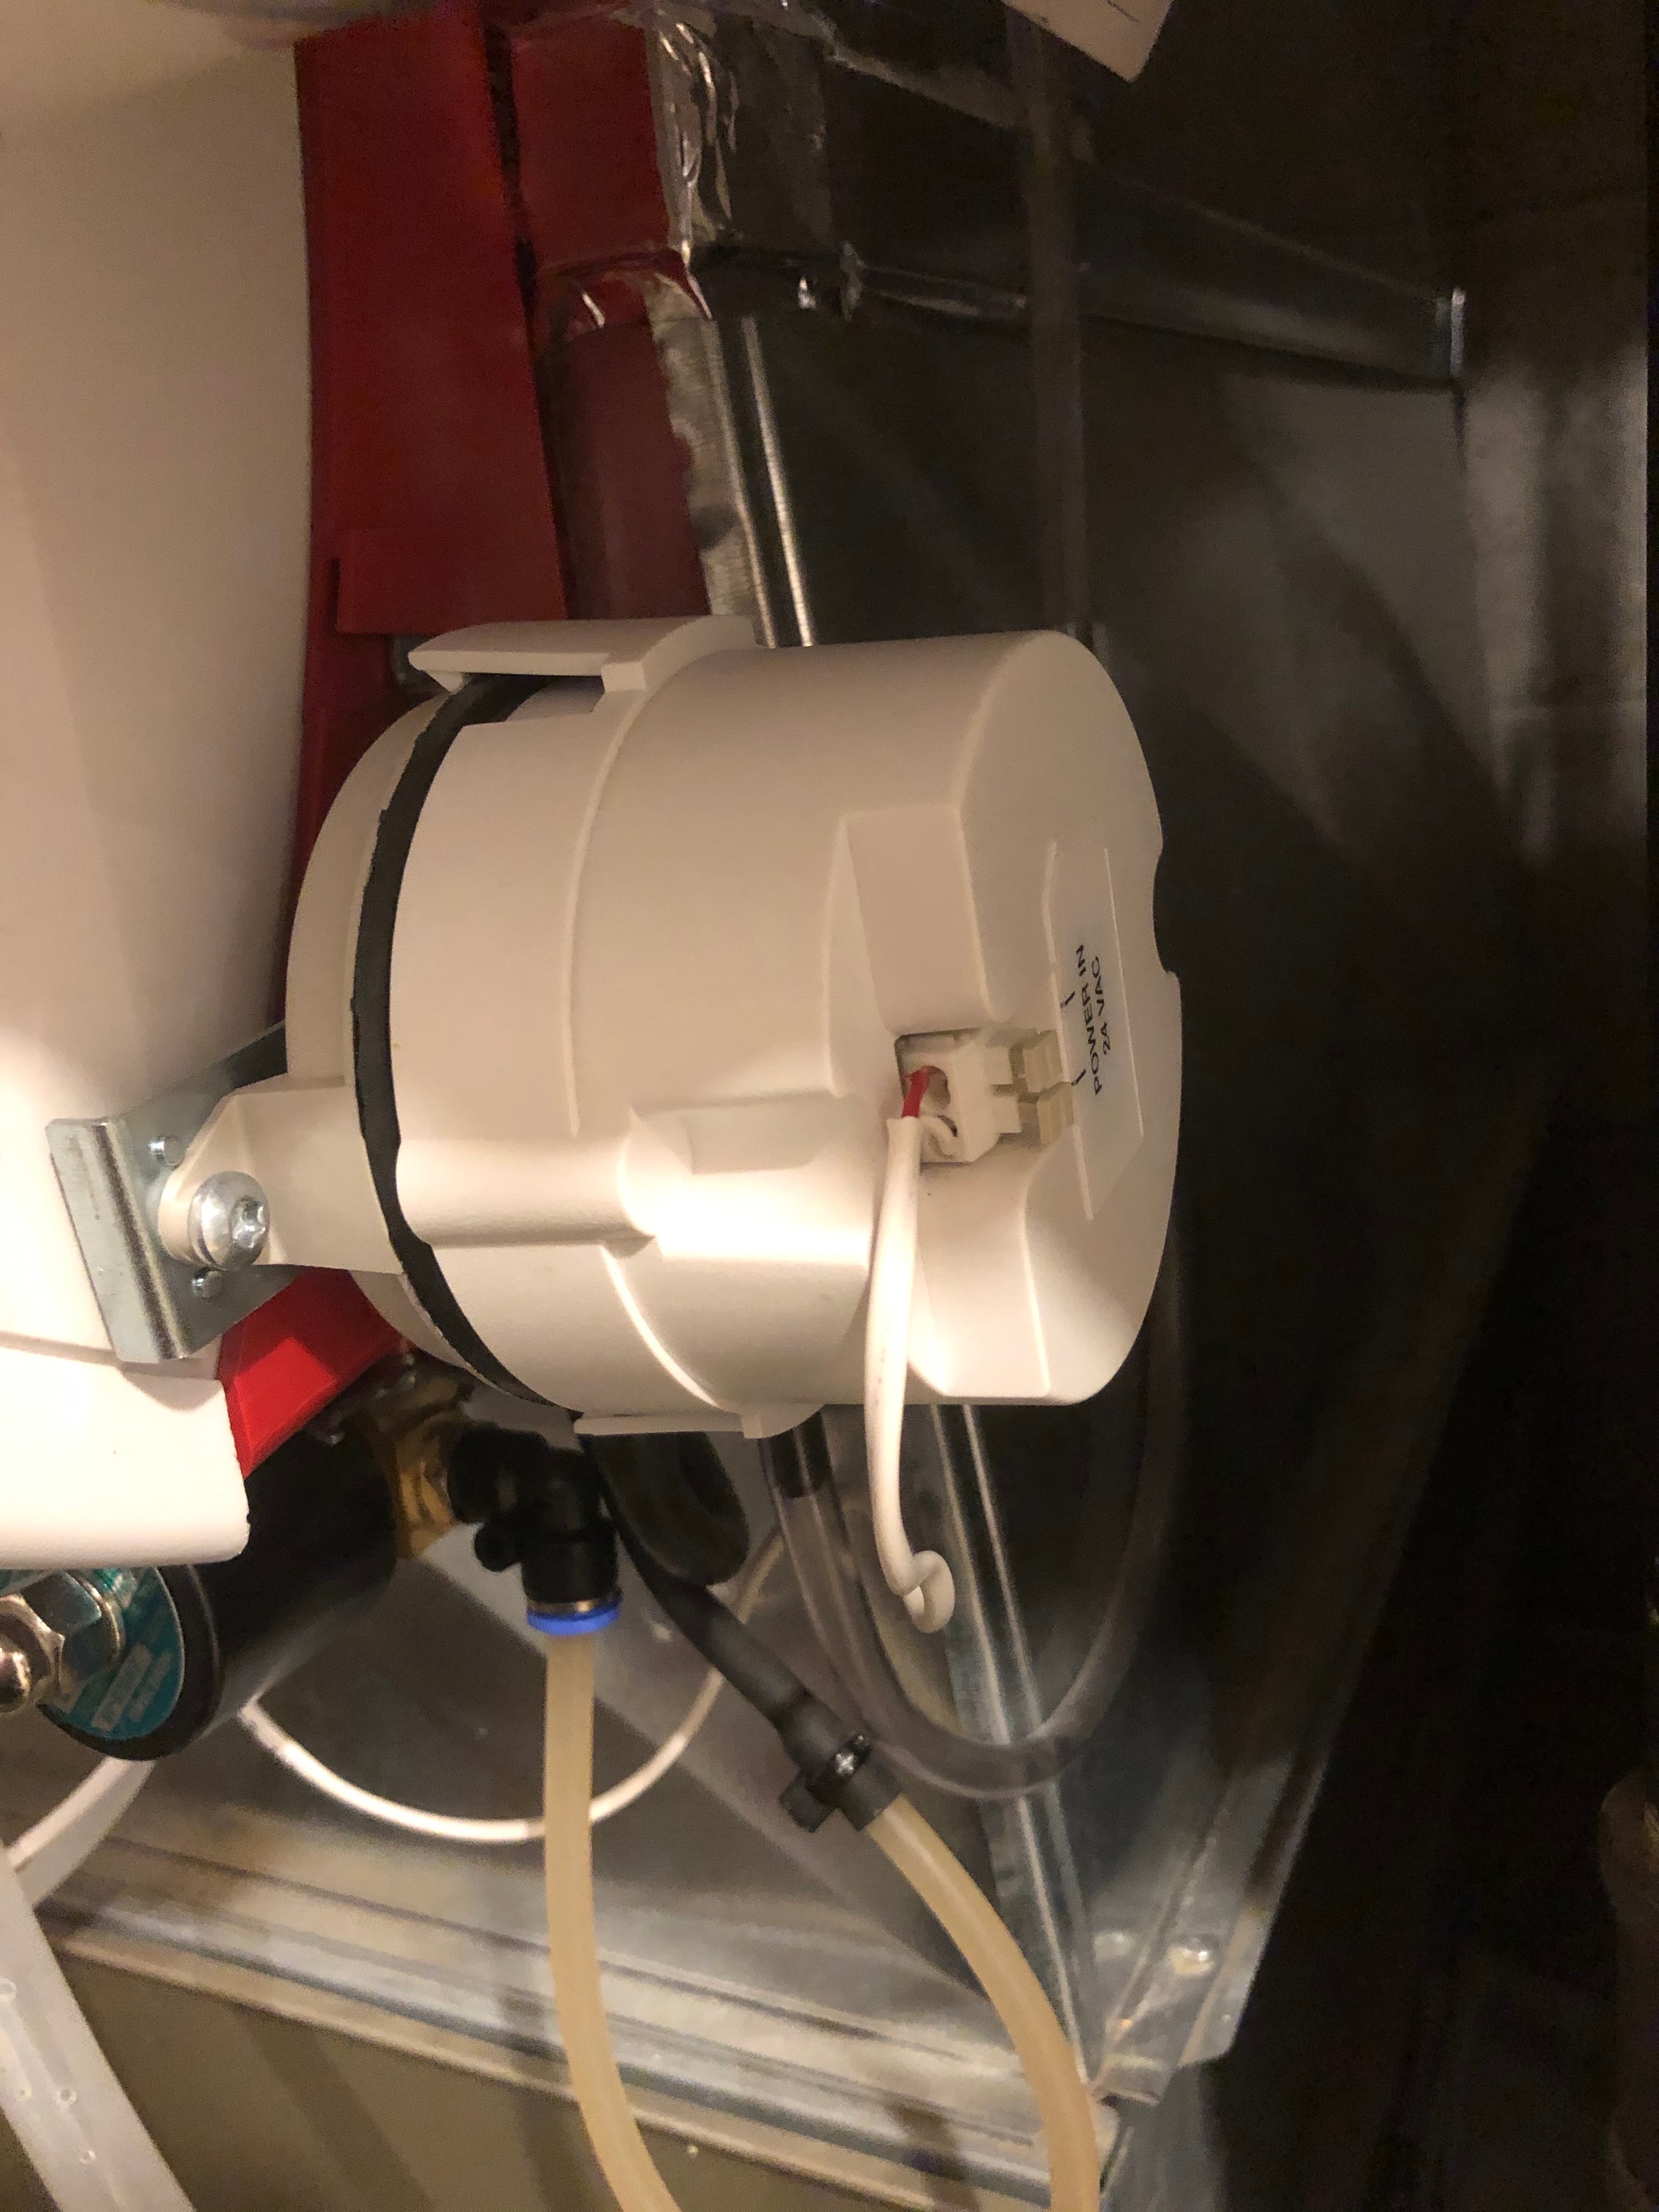
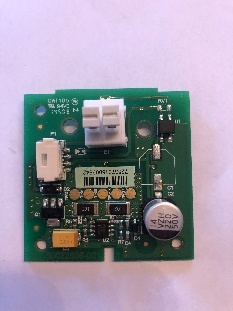
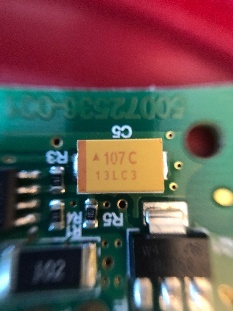
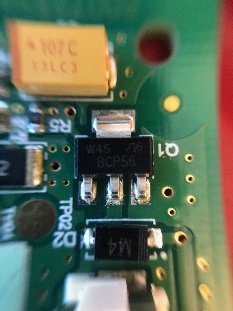
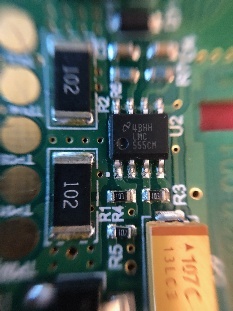
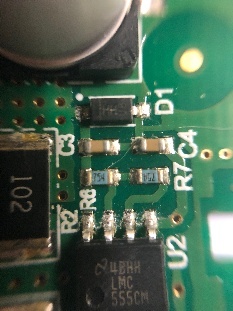
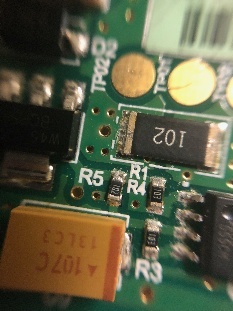
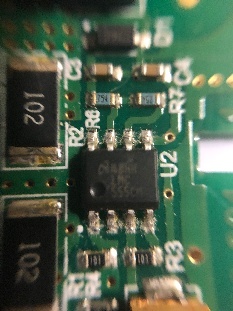
Humidifier Controller
Controller Images

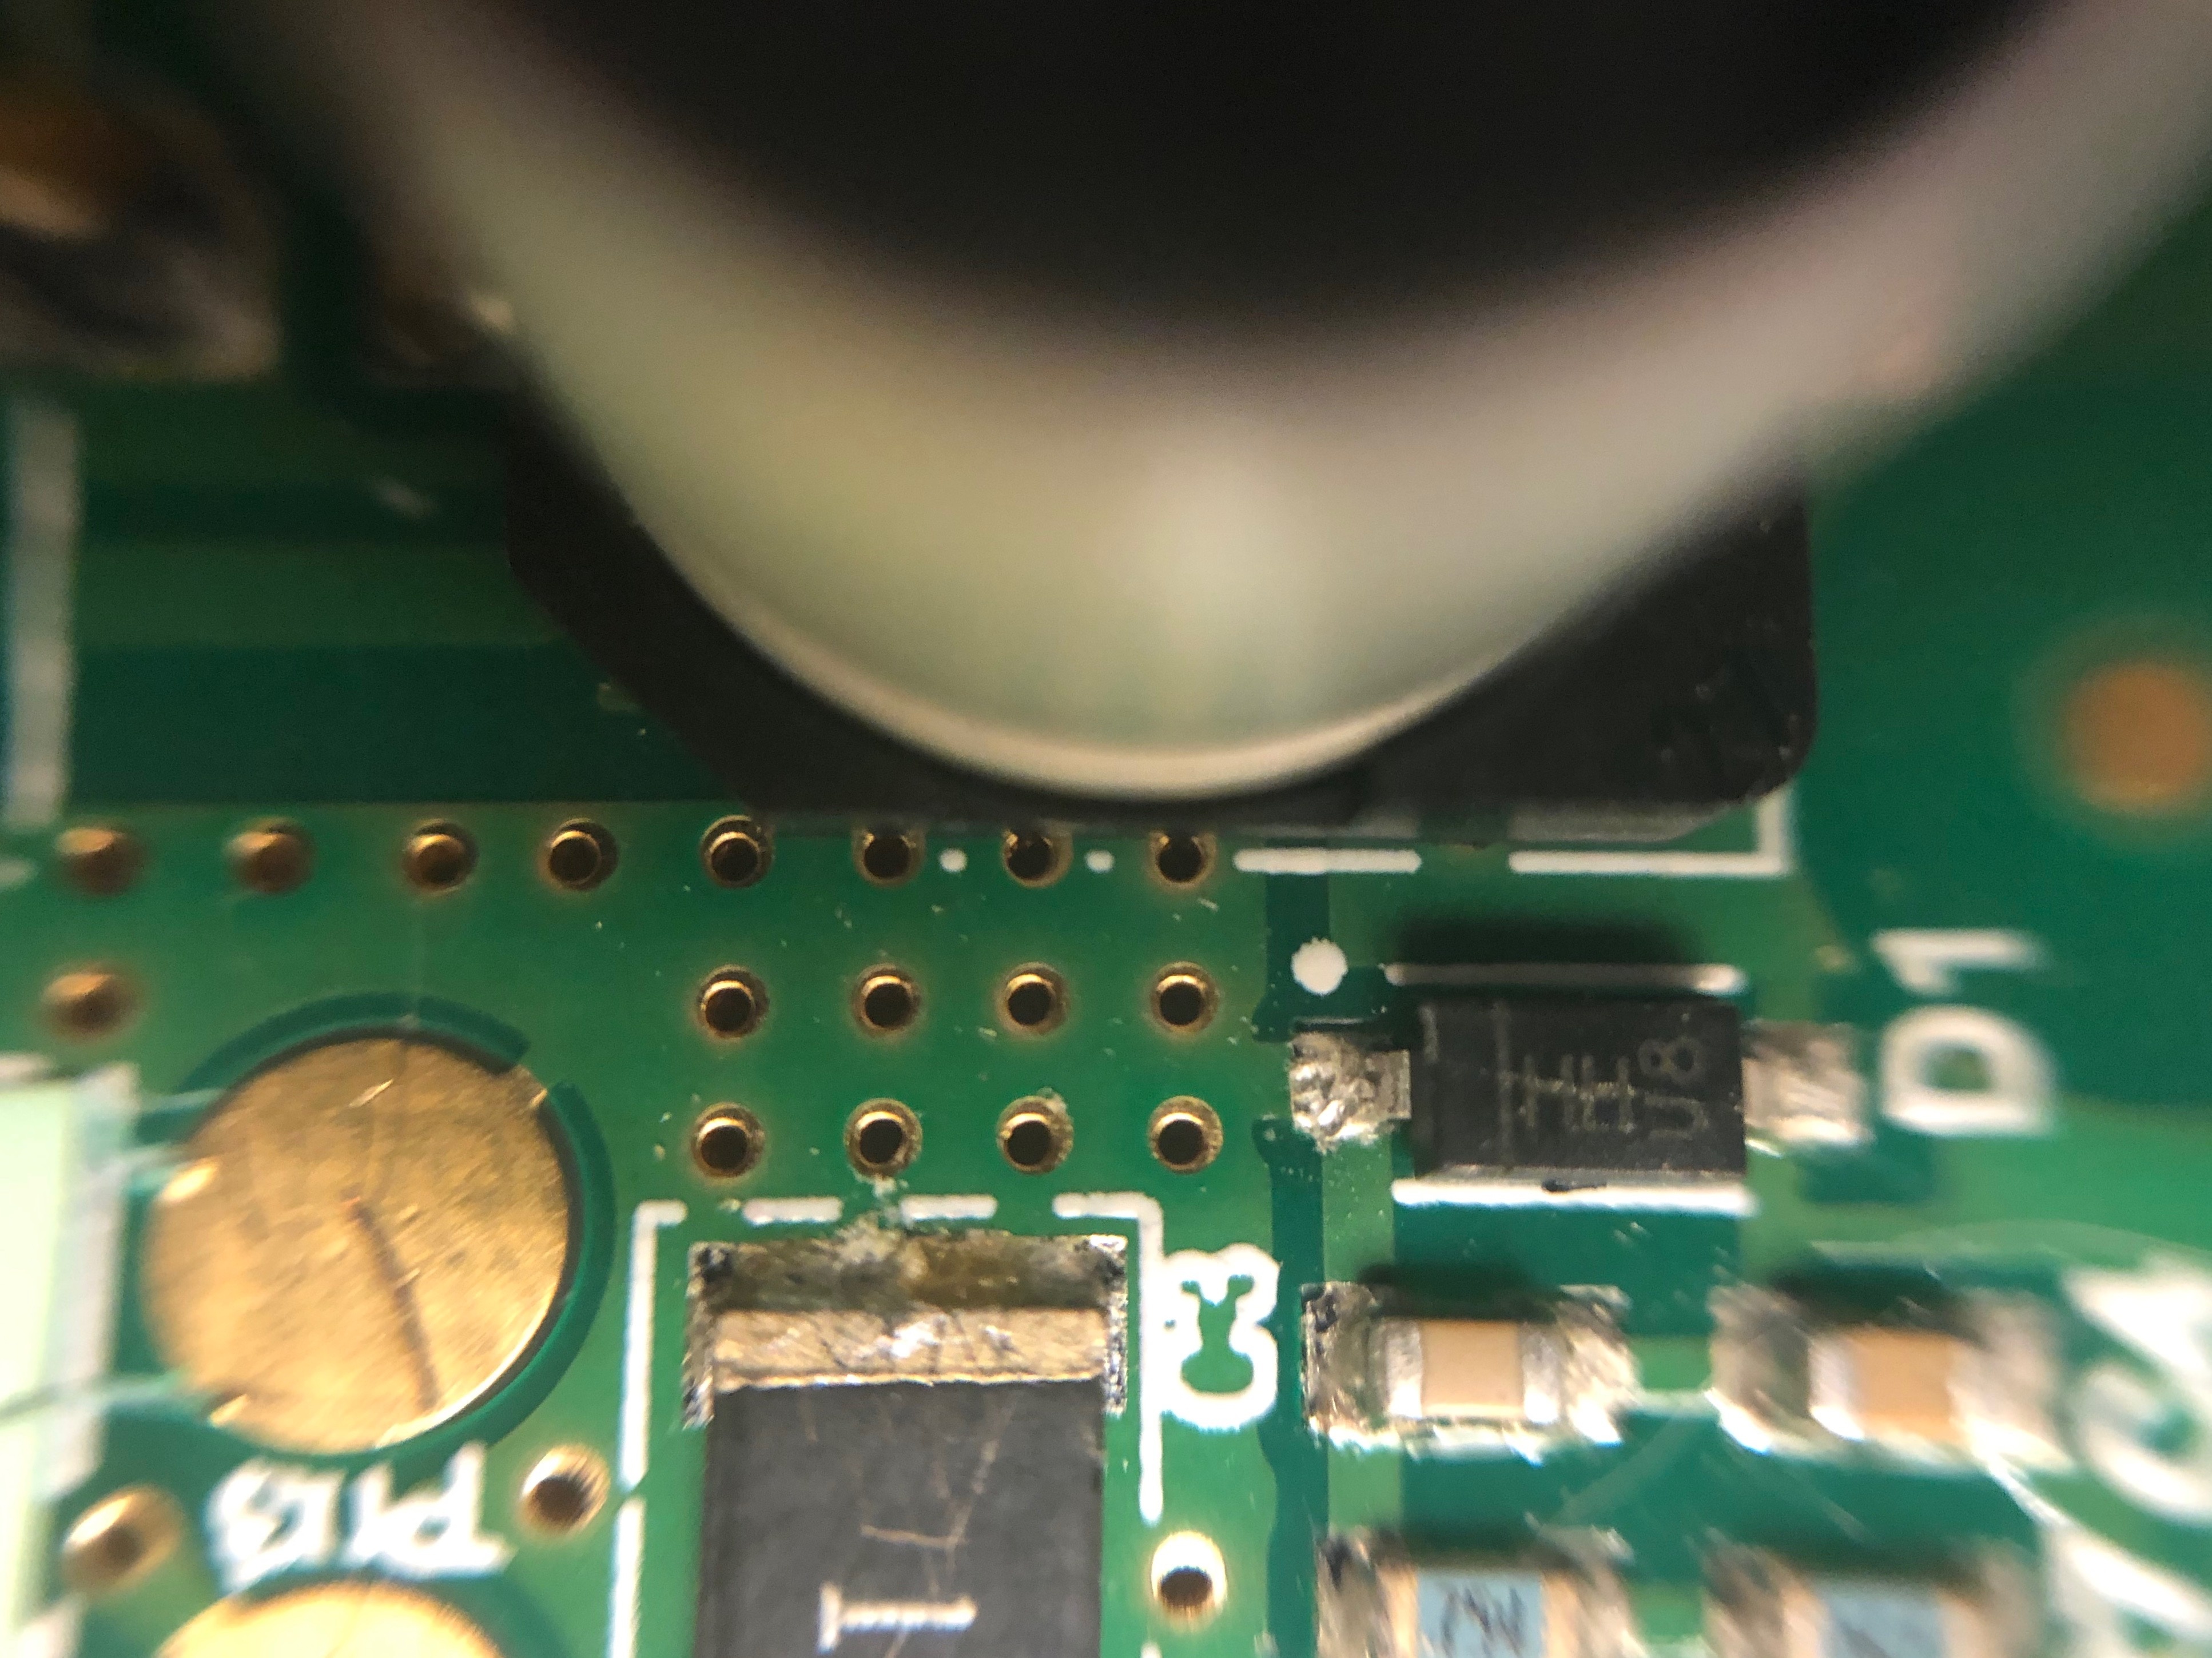
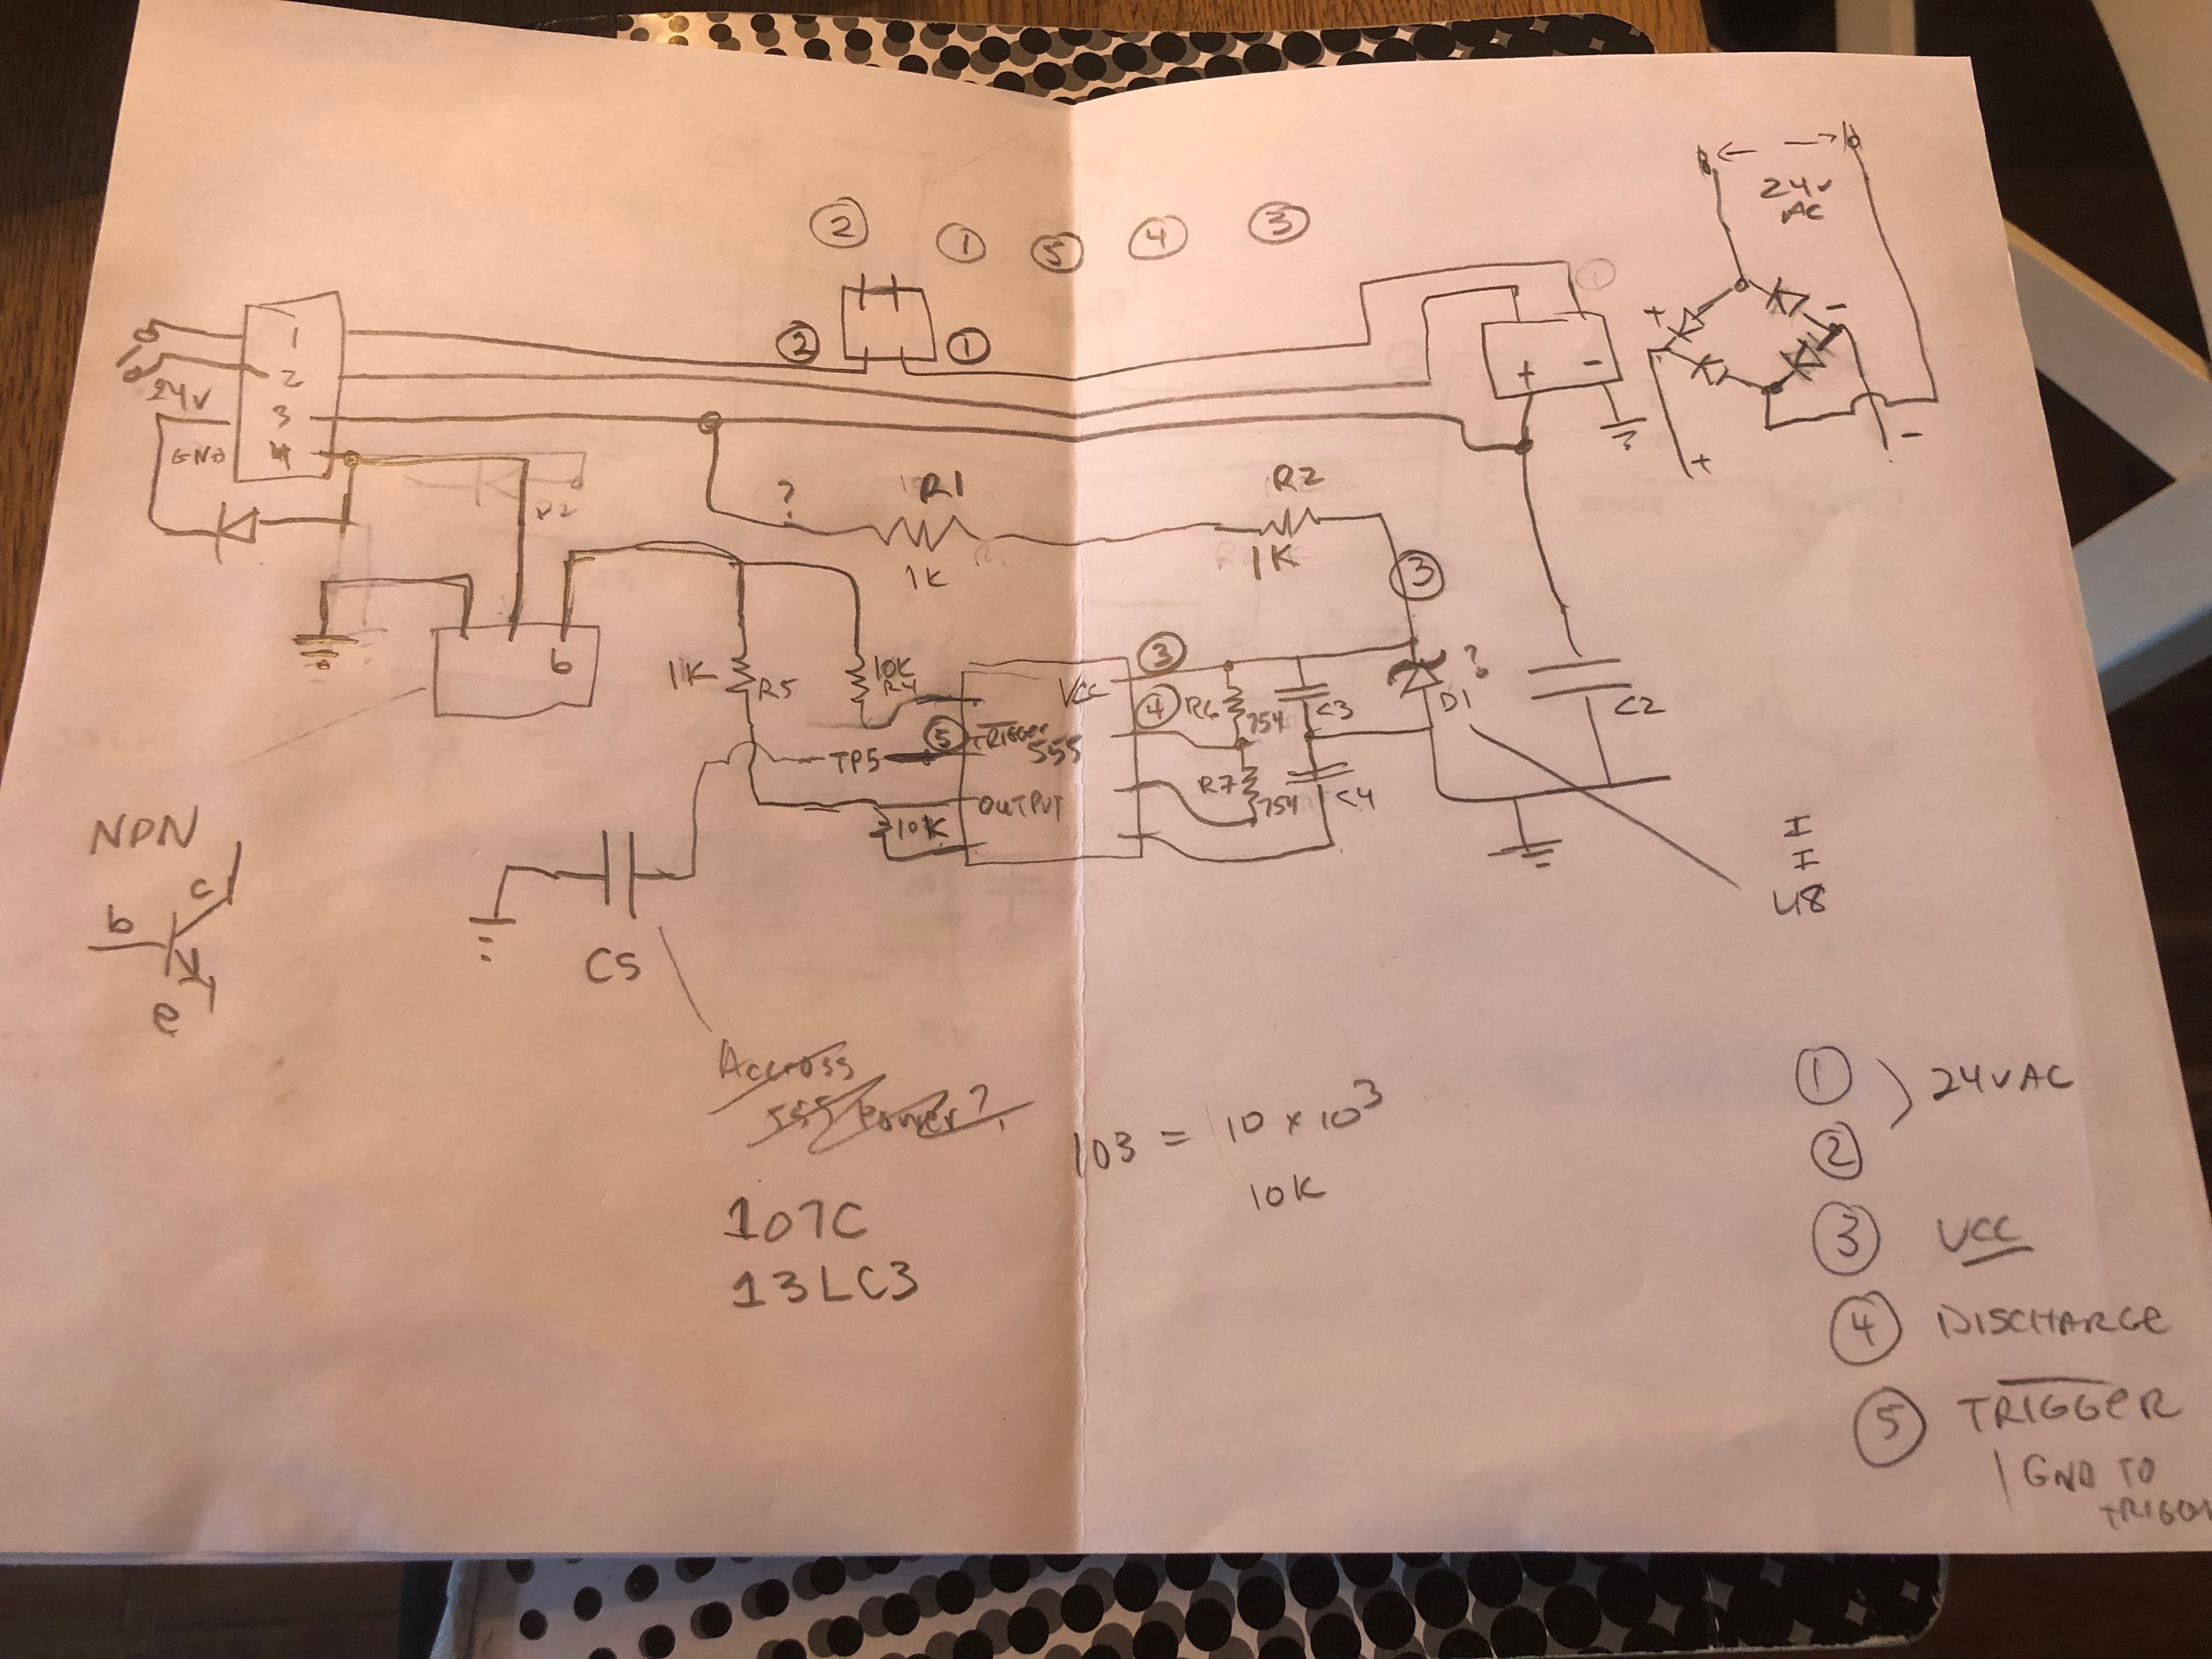
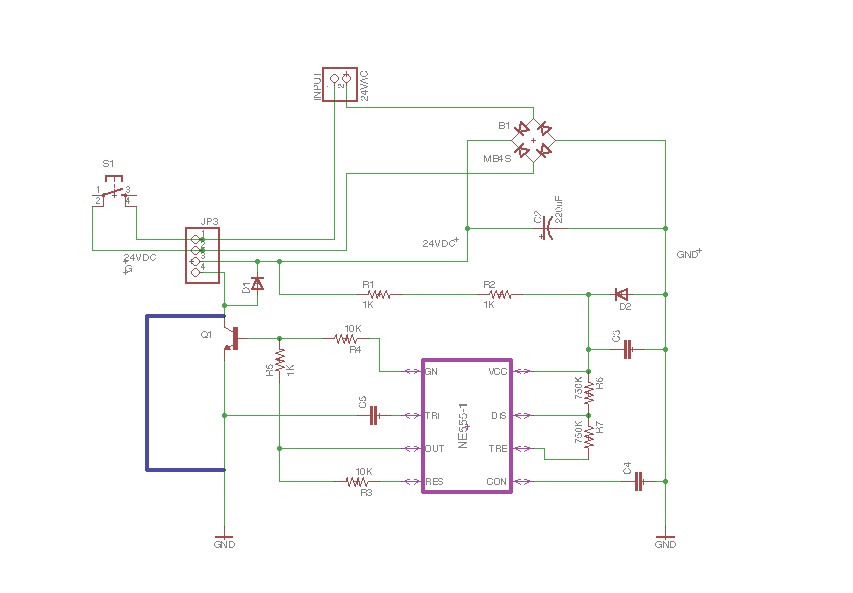
Schematic
Here is the schematic that I put together based on some testing.
You would think that the GND pin on the 555 would go to ground via a pullup and that would be that.
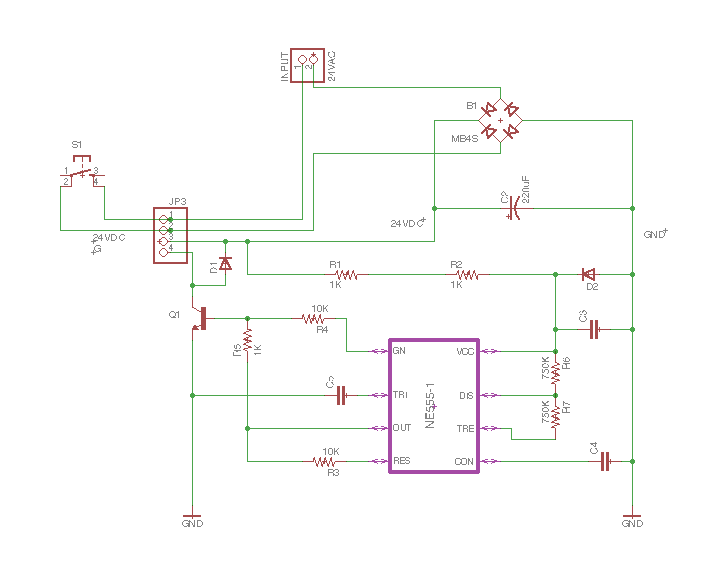
Other thoughts:
- D2 is a zener diode which acts as a voltage regulator for the 555 chip.
555 Timer Reference Diagram
Fixing the Humidifier Controller - No Water
Since the solenoid was no longer activating, it seemed like a replacing it was in order. The replacement solenoid that I purchased was rated 24 VDC but didn't activate when connected. Perhaps the transistor Q1 does support the amount of current required by the new solenoid.
I opted to bypass the 555 timer circuitry by connecting pin 4 of the internal connector (under cap) to ground. The 555 timer is not required.
New Parts
| Part | Cost | Image |
|---|---|---|
| Baomain 1/4 Inch Brass Electric Solenoid Valve for Air Water Valve N/C (Normally Closed) DC 24V | $22.00 CAN |
|
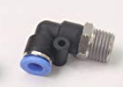
Generic Pneumatic Push in Quick Touch to Connect Fitting 1/4" OD Tube x 1/4" Male NPT 90 Deg Swivel Elbow Coupler. I would have bought straight ones but couldn't find them for a good price. | $13.00 CAN for 5 |
|

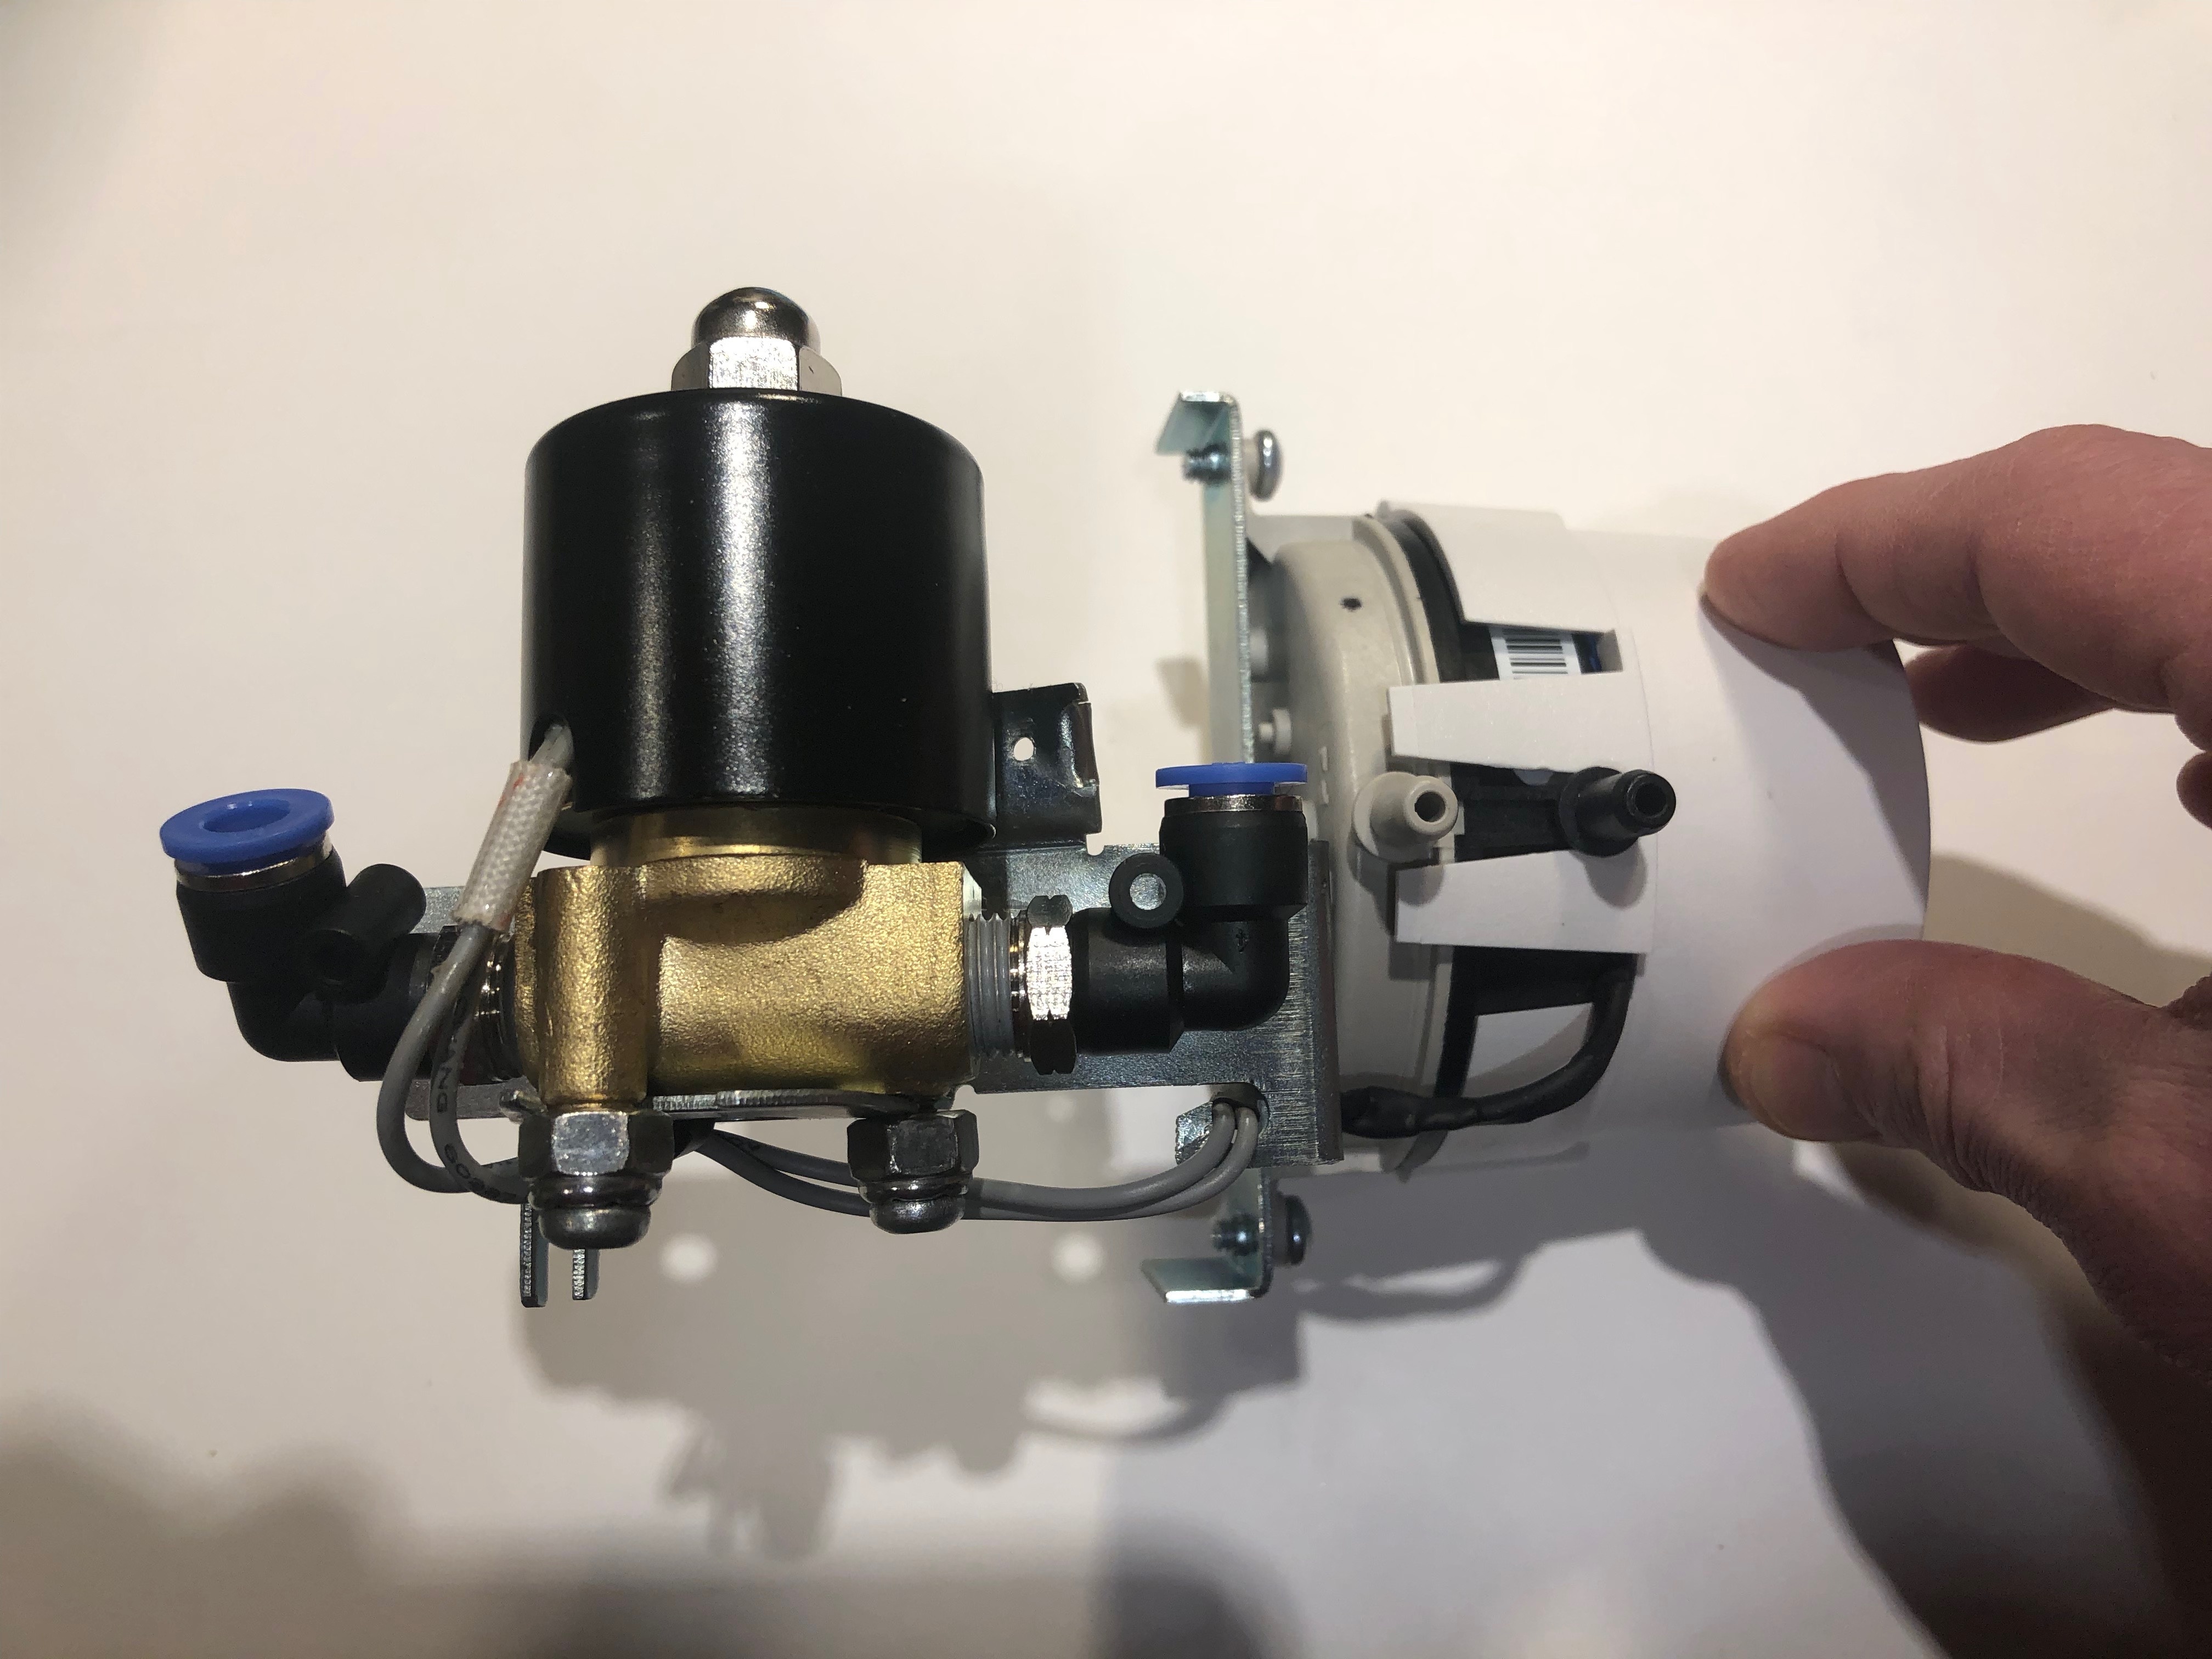
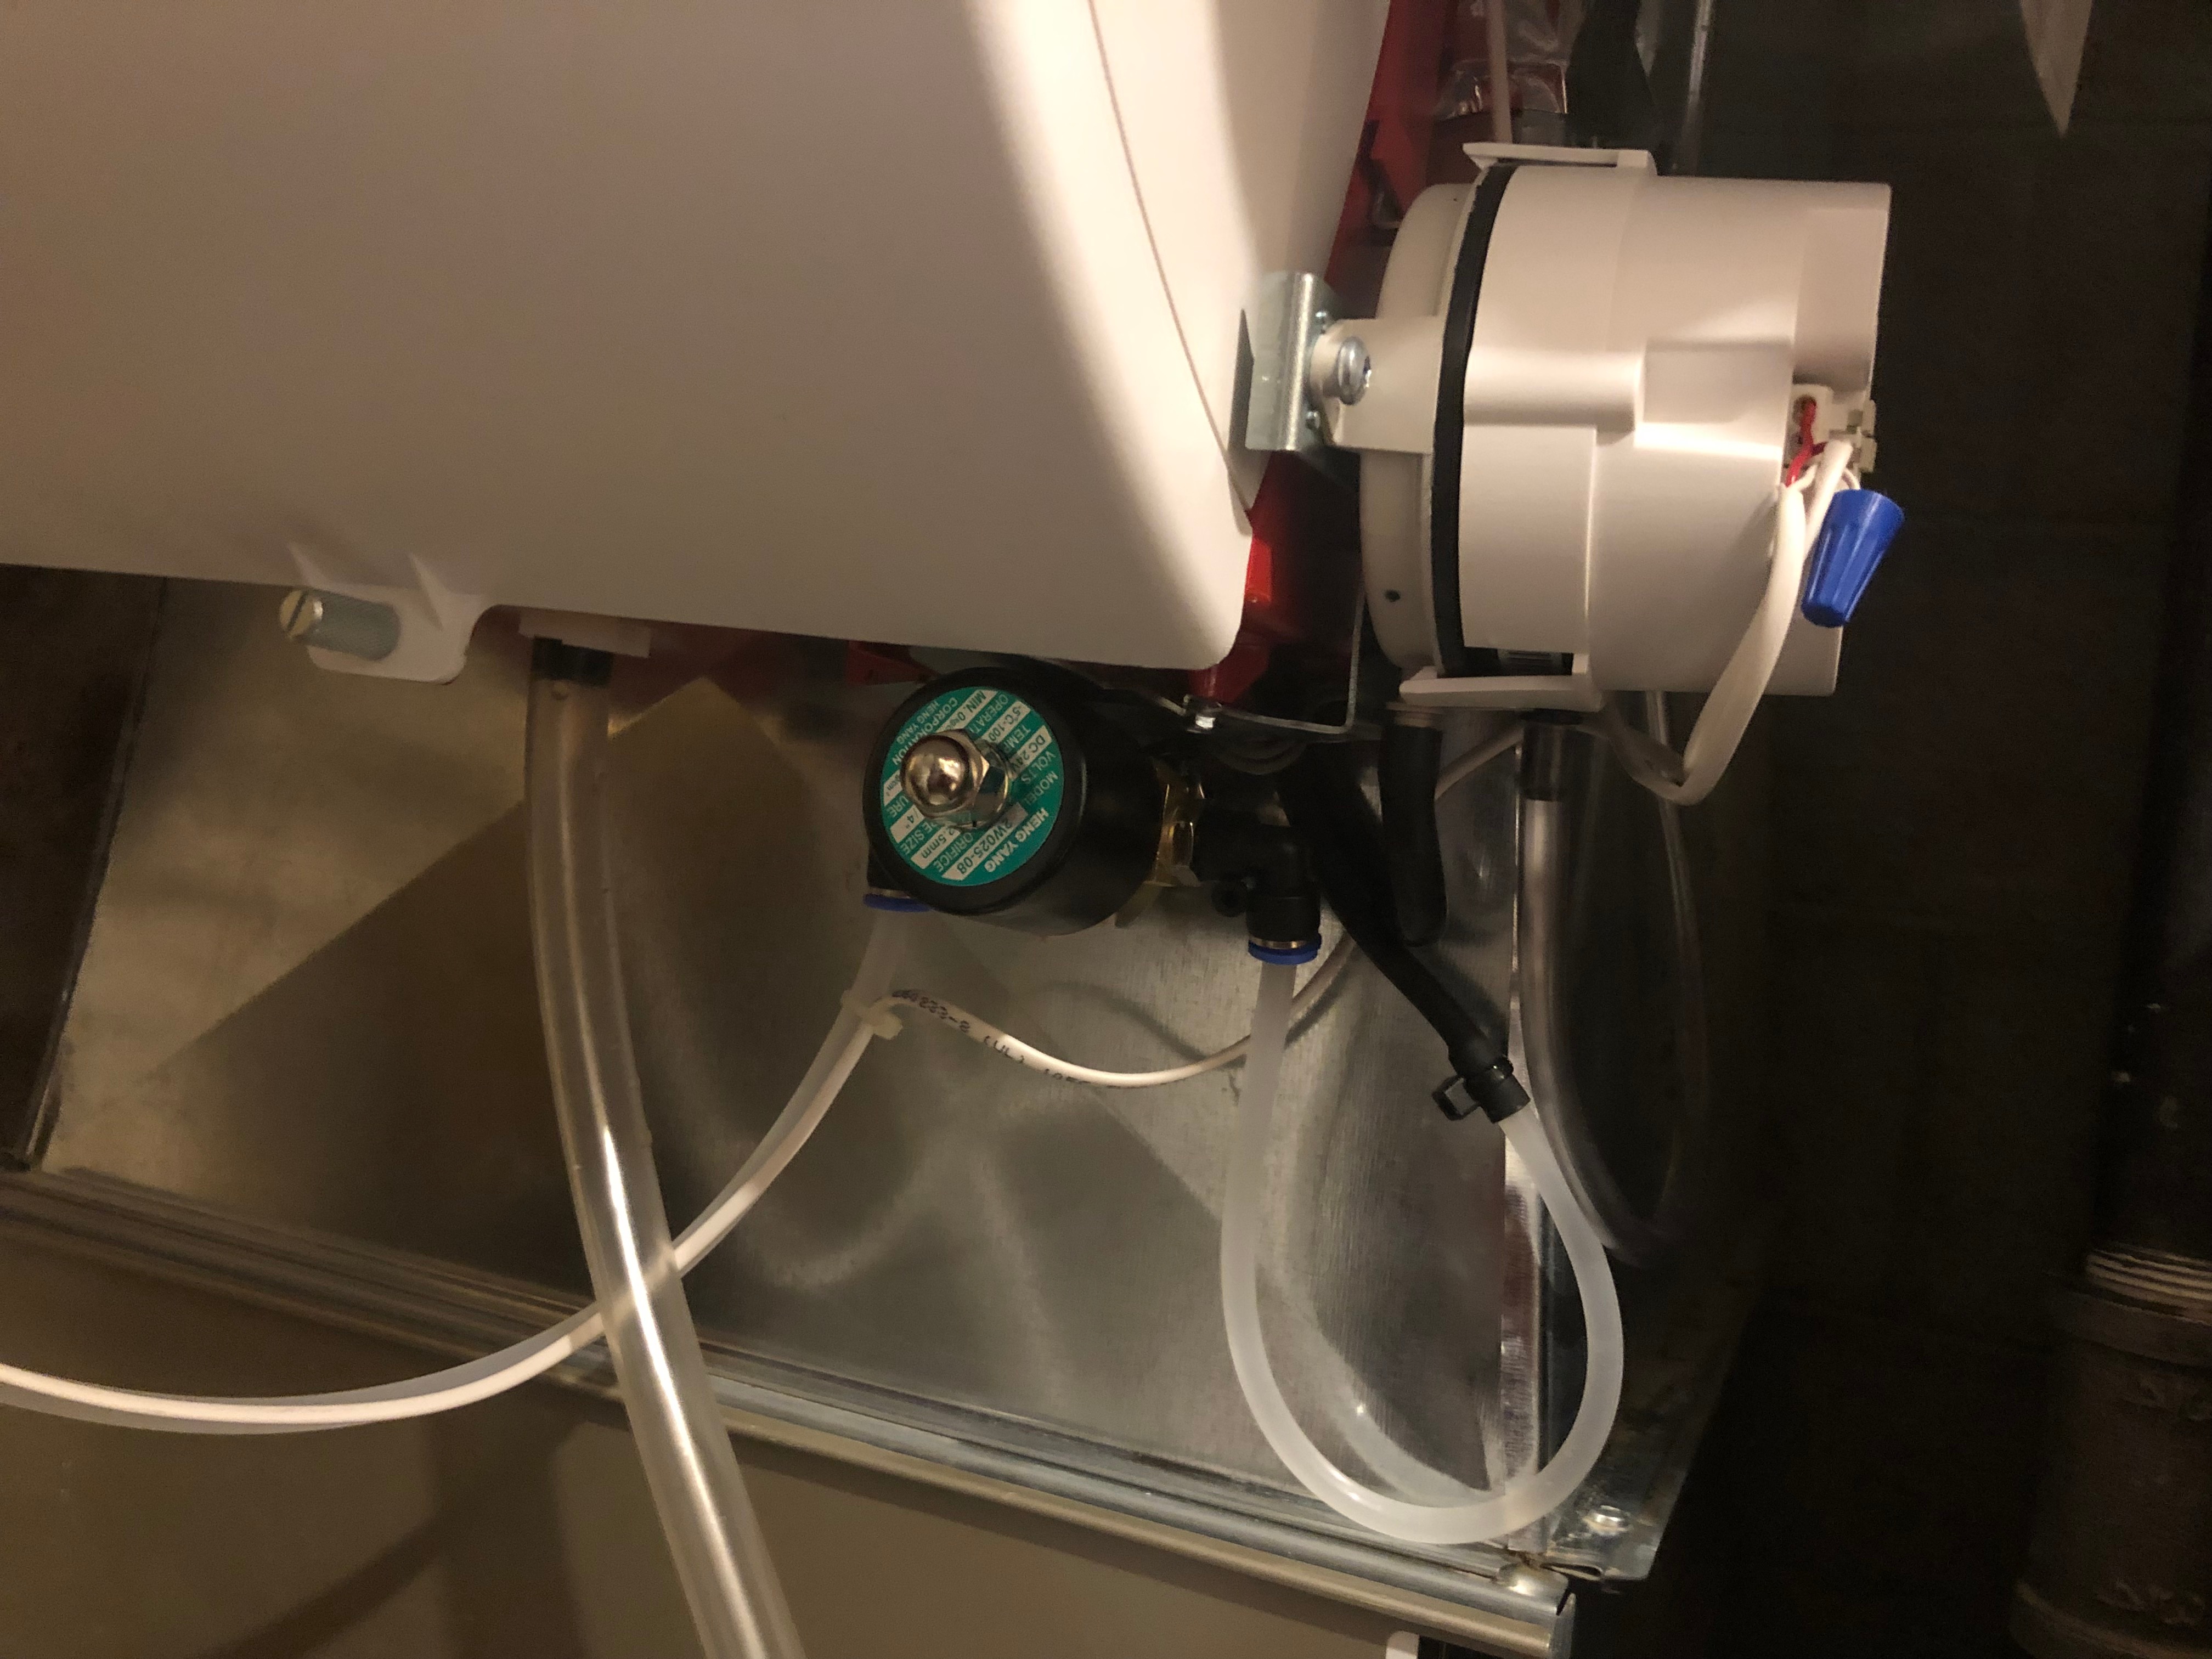
Finished Product
Here is a picture of the finished fix. Should be more maintainable now that these changes have been made. The new solenoid valve will allow a lot of water to pass so I have ball valve (not shown) limiting the flow to a trickle.
Future Updates
- Replace solenoid output connector with barbed connector
Issues
Cracked Tubing
We seem to get cracks in our water lines.
Could this be because we are running with hot water?
References
| Reference | URL |
|---|---|
Honeywell 17 Gallon Whole House Bypass Humidifier | https://www.homedepot.ca/en/home/p.17-gallon-whole-house-bypass-humidifier.1000151258.html |
| Honeywell Installation Instructions | https://customer.honeywell.com/resources/techlit/TechLitDocuments/69-0000s/69-1570.pdf |
| 555 Timer | http://www.ti.com/lit/ds/symlink/lmc555.pdf |