...
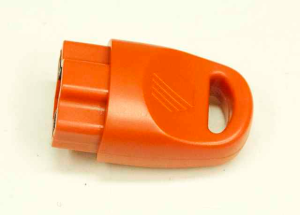
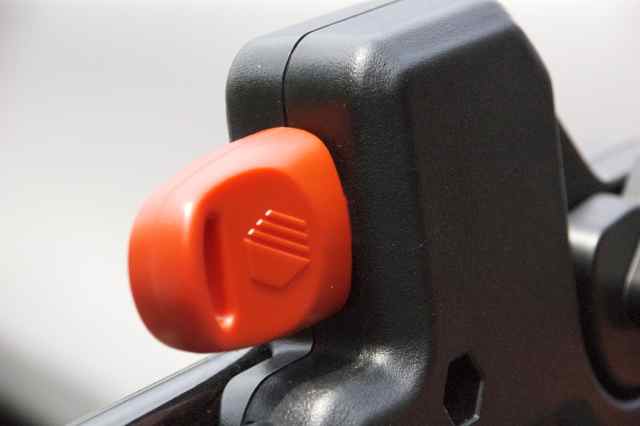
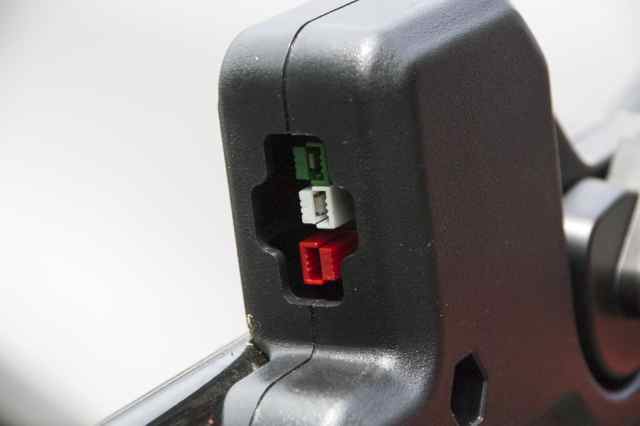
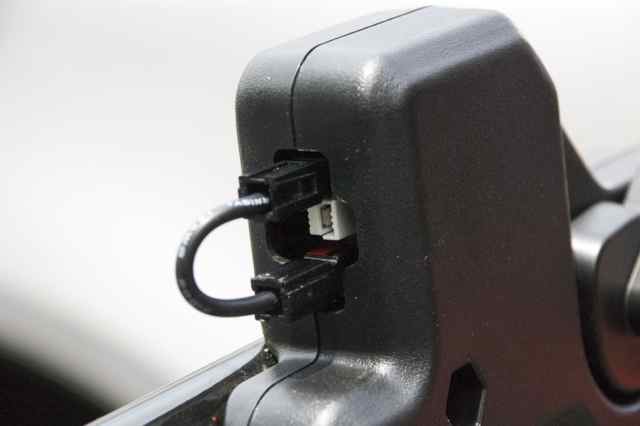
The safety key that comes with the CM/SPCM1936 installs in the safety key/charging port near the top of the handle. The key works by making/breaking the power connection between the top and bottom connectors. The third connector in the middle is for charging.
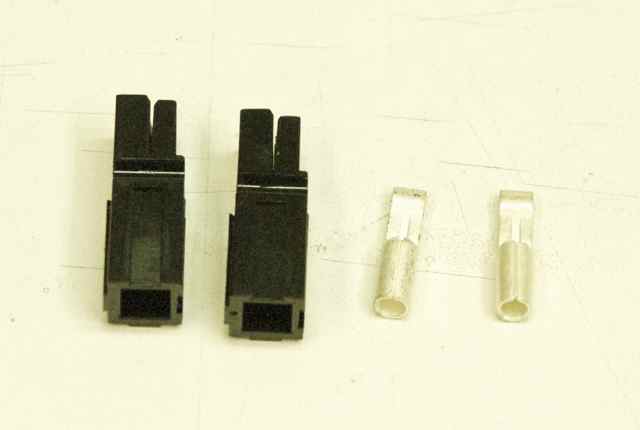
If the safety key is lost, it is possible to make a shorting lead from some 30A Anderson PowerPole connectors and a short piece of 12-14AWG wire if you have the right crimp tools or soldering skills. However, you are much better off getting another key as this fix DOES NOT STOP YOU FROM ACCIDENTALLY CONNECTING THE WRONG TWO CONNECTORS AND SHORTING THE BATTERY. I'm not sure what happens next if the wrong connection is made - maybe a breaker trips or maybe some wires melt - not good things! But this can get you going in a pinch if you are stuck and only costs a couple of bucks to implement.

Battery
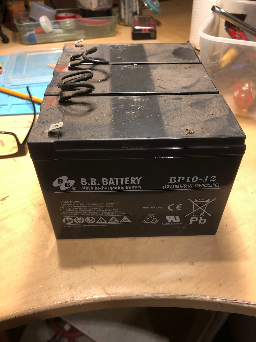
Replacing the Batteries
1. First use compressed air to blow out the six screw holes that secure the cover to the chassis. If, like me, you don't have a compressor, just tip the mower over so gravity will allow the dead grass and chaff that fills up the screw wells over time to fall out as you dislodge the stuff with a screw driver or a stick.
2. After the debris is removed, use a T20 Torx driver to loosen the screws. There is a slot in the cover screws that allow the use of a blade screwdriver, but you'll need the T20 driver to remove the battery anyway. The screws need not be removed from the screw wells in the cover, but they have to disengage from the chassis.
3. The cover should easily lift away from the chassis once the screws are loose. Expect to find a lot of grass clippings and cobwebs on the motor housing and the rest of the chassis that could benefit from some cleaning while you've got the cover off.
4. As mentioned before, a T20 driver will be required to remove the two screws securing the battery bracket. No slots in these screws. Make note of the positive and negative terminals of the old battery so you can make the same connections to the new one.
5. My replacement battery was smaller (not as tall) as the original. I made a shim out of some old cardboard to allow the bracket to be sufficiently tight. Without the shim, the bracket screws were too long. A piece of 1x wood might work as well, but I liked the give in the cardboard to get a snug fit with the bracket.
6. Replace the cover, tighten the screws, and you should be good to go.
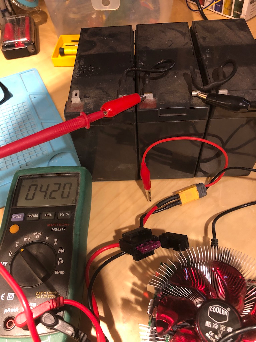
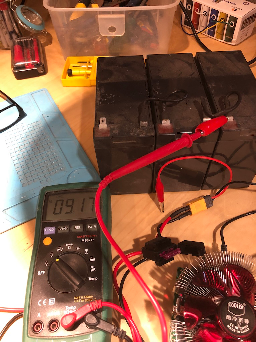
Battery Testing
Initial Values
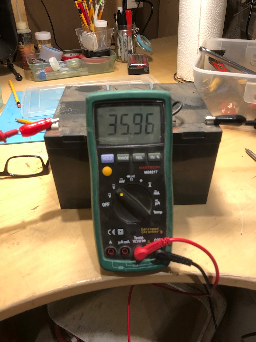
Results
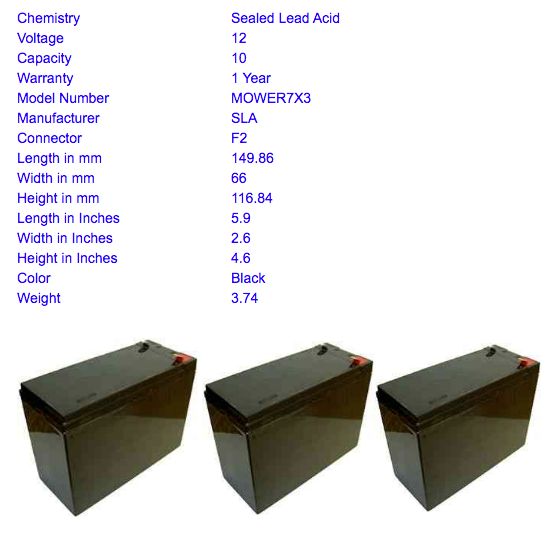
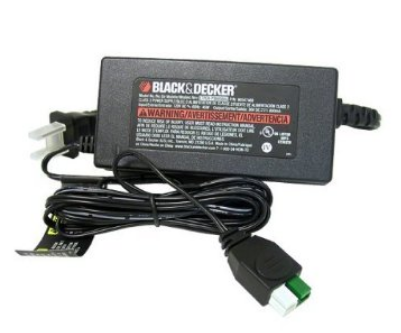
Parts
| Part# | Image | Description |
|---|---|---|
P360080U 90604959 |
| Charger |
...