
Specifications
| Specification | Details |
|---|---|
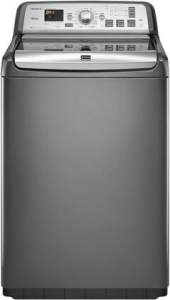
| Make | Maytag Bravos XL |
| Model | MVWB950YG0 |
Pictures
Repairs
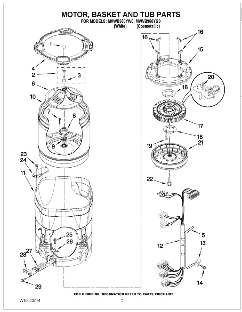
Replacing the Bearings
The replacement of the bearings can be a complicated task but reviewing the following videos will help.
Parts
| Part | Description | Image |
|---|---|---|
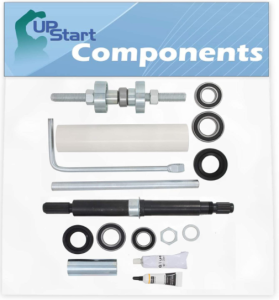
| Bearing Kit | W10447783 Washer Tub Bearing Installation Tool & W10435302 Tub Seal and Bearing Kit Replacement for Maytag MVWB750YW0 Washing Machine - Compatible with W10447783 Tool Kit & W10435302 Bearing Kit
|
|
Steps
| Step | URL |
|---|---|
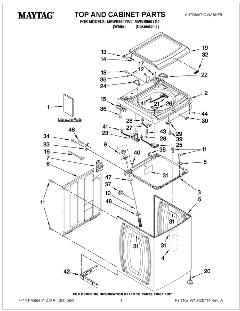
Open Bravos Cover | Remove the top 2 screws at the back of the washer. Slide the top forward and lift. |
| Main Repair Video | Some difference. Model is slightly different. Agitator is different, see next step. |
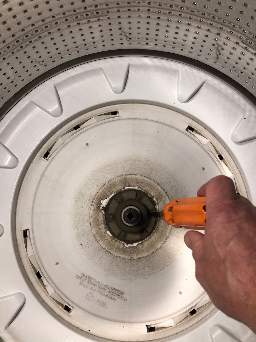
| Removing the tub if stuck | I had to do this. Just keep jacking until it comes out. |
Pictures
Bearings Again!
So less than 2 years later, I am re-doing the bearings. Hopefully this time we have better luck.
Process Changes:
- Added a lot of glue and let it cure overnight before finishing assembly.
Notes:
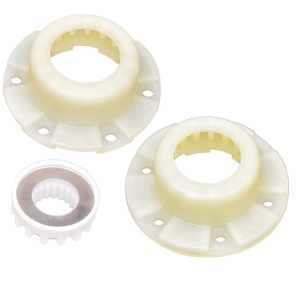
- When adding the top tub mounts as depicted in the picture, they should seat up tightly against the tub. You may have to pull the tub up or tighten the screws a little bit each to bring the tup up.
- When attaching the agitator, I discovered that the top screw doesn't press hard enough against the shaft. This would cause the agitator to make a big GRRRR sound when spinning down.
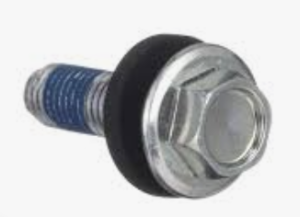
- Turns out the washer has become compressed.
- Thickness: 7mm
- Printed a washer using TPU with a thickness of 10mm and it still slips...
- Rubber washer dimensions should to be roughly:
- Thickness: 10mm
- OD: 20 mm
- ID: 10.5 mm
- Rubber washer dimensions should to be roughly:
- Added a stainless steel washer above the rubber washer to make a better fit.
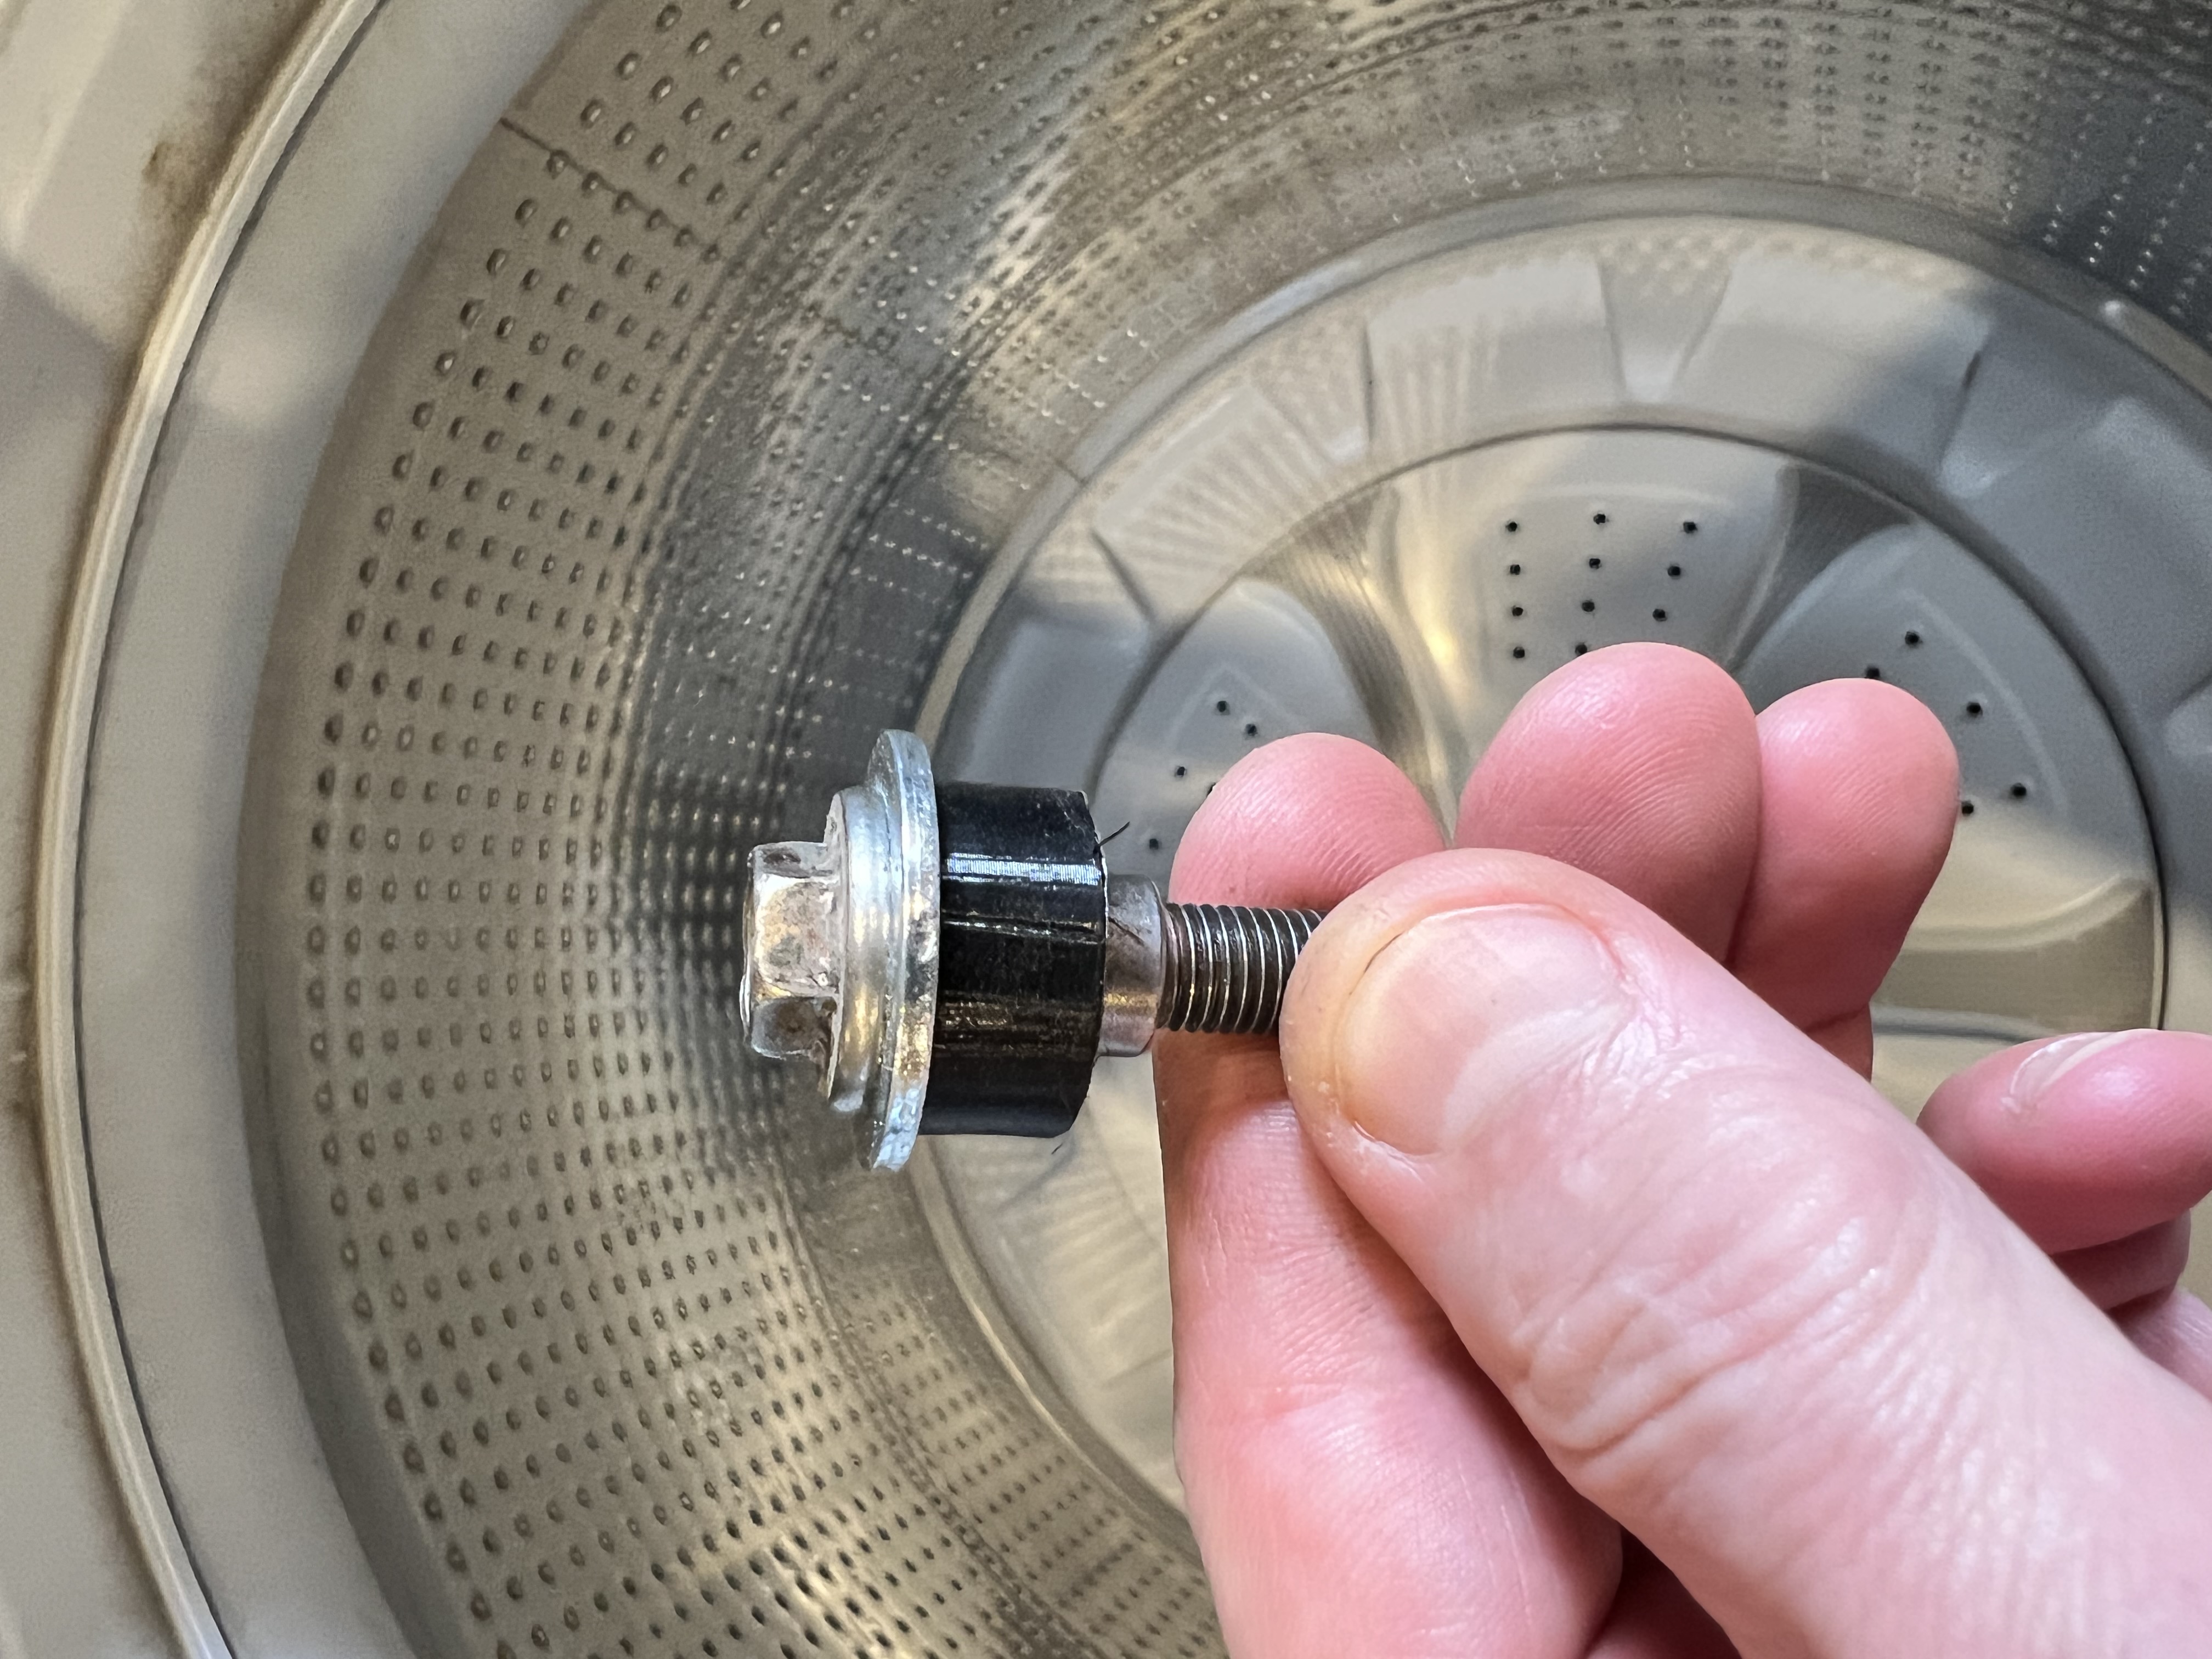
- Could have replaced the washer hub but didn't. It still can slip a bit.
LF (Long Fill) Error Code
LF flashes when the water level does not change for a period of time OR water is present but control does not detect the water level changing.
- Is water supply connected and turned on?
- Are hose screens plugged?
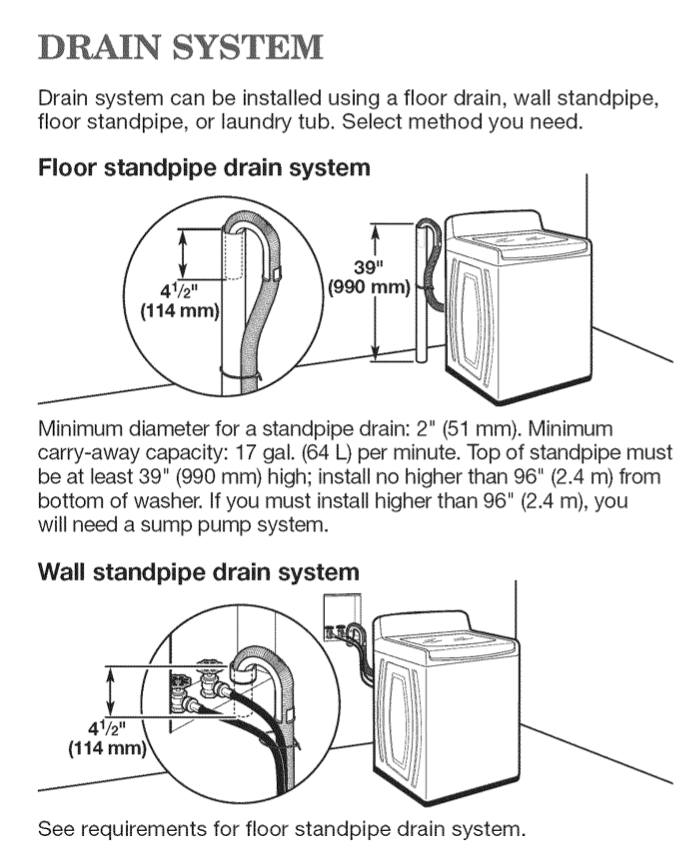
- Is water siphoning out of the drain hose? Check for proper drainhose installation.
- Is the pressure hose connection from the tub to the machine/motor control pinched, kinked, plugged, or leaking air?

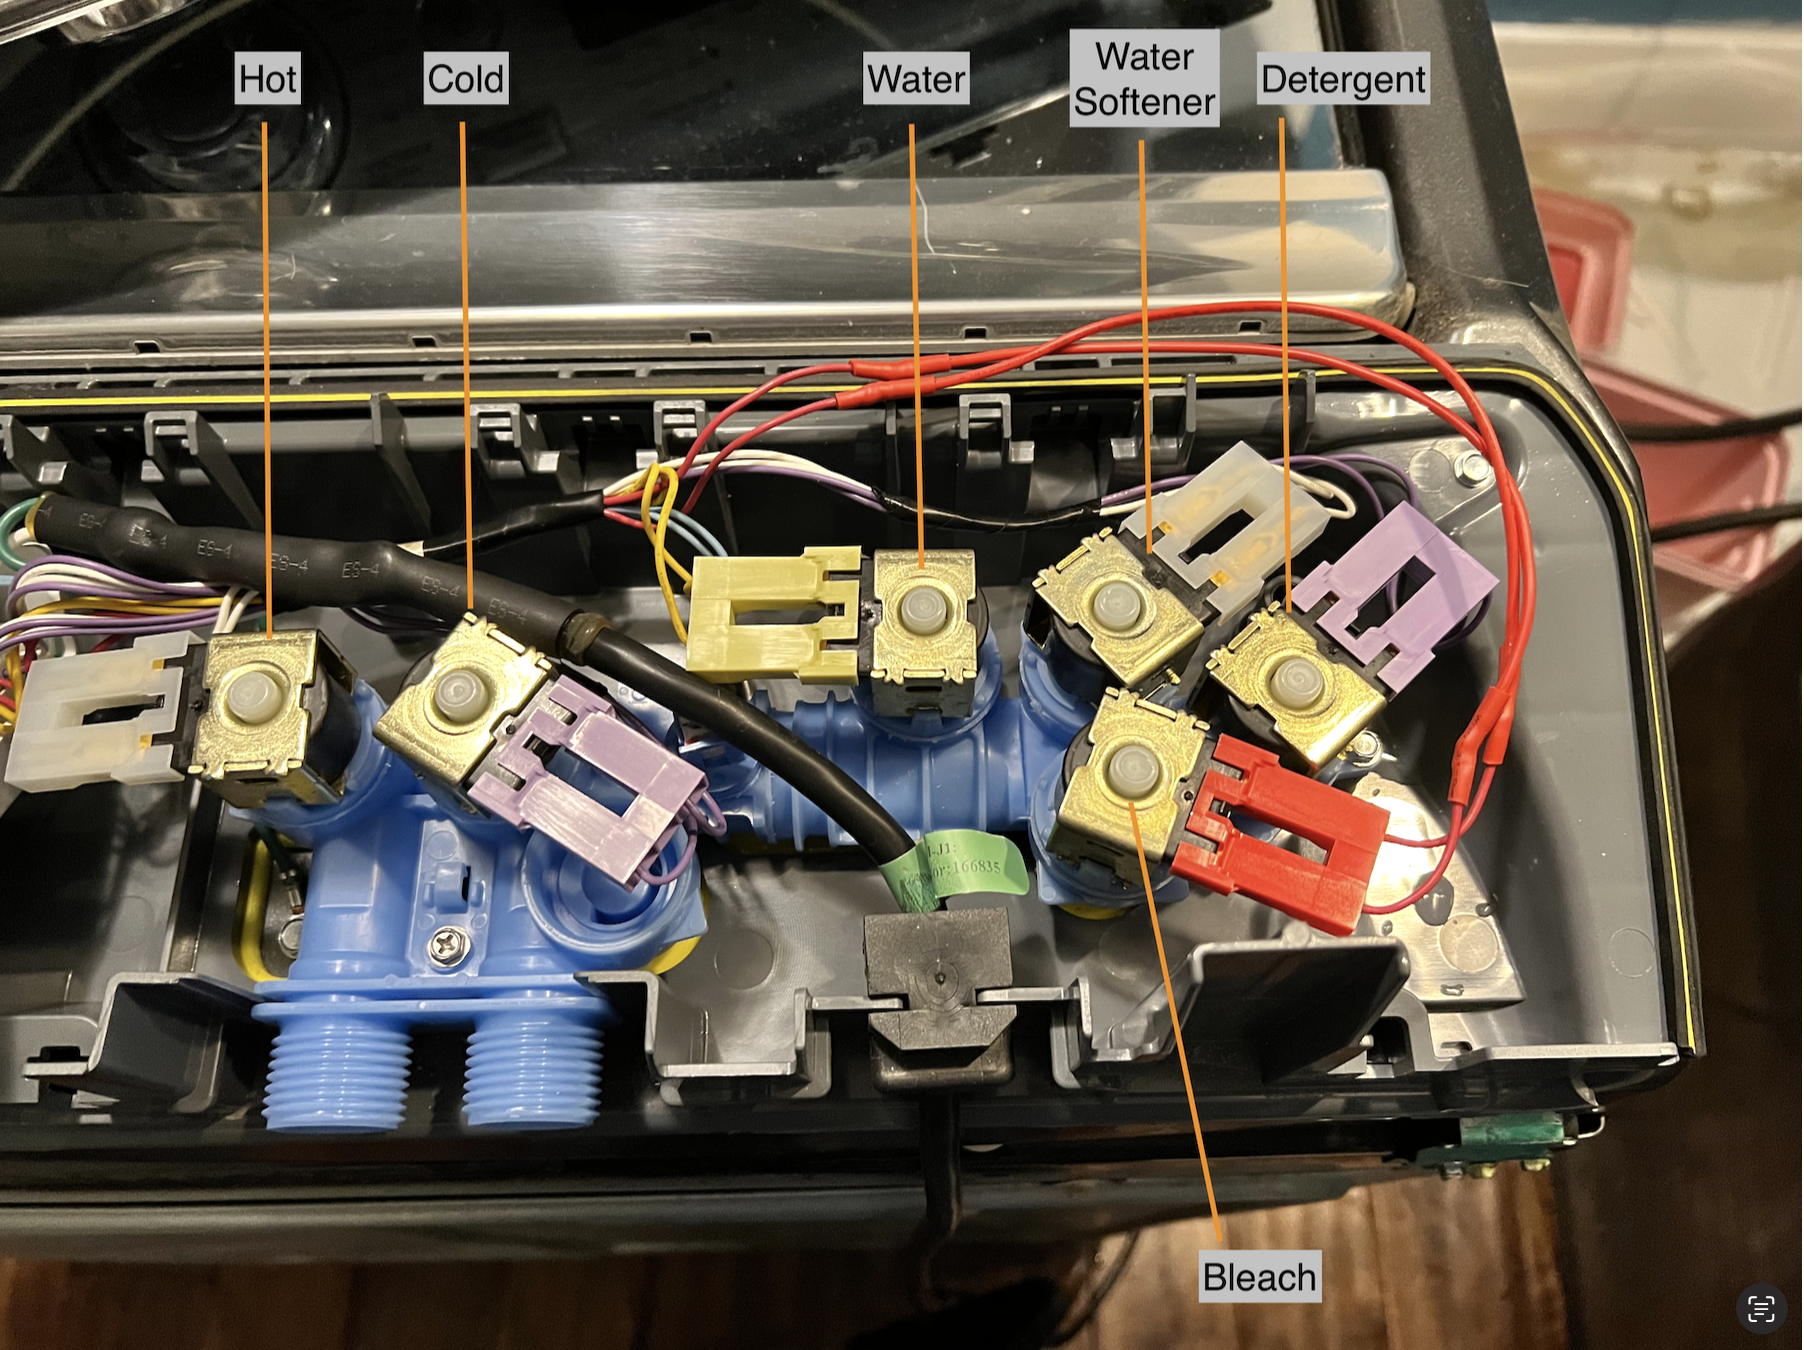
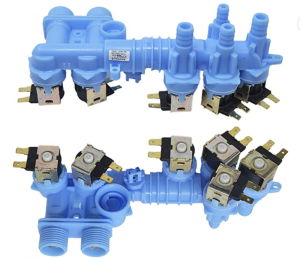
Replacing the Inlet Valve
https://www.youtube.com/watch?v=yje3SS9fIbE&t=6s
Old Valve
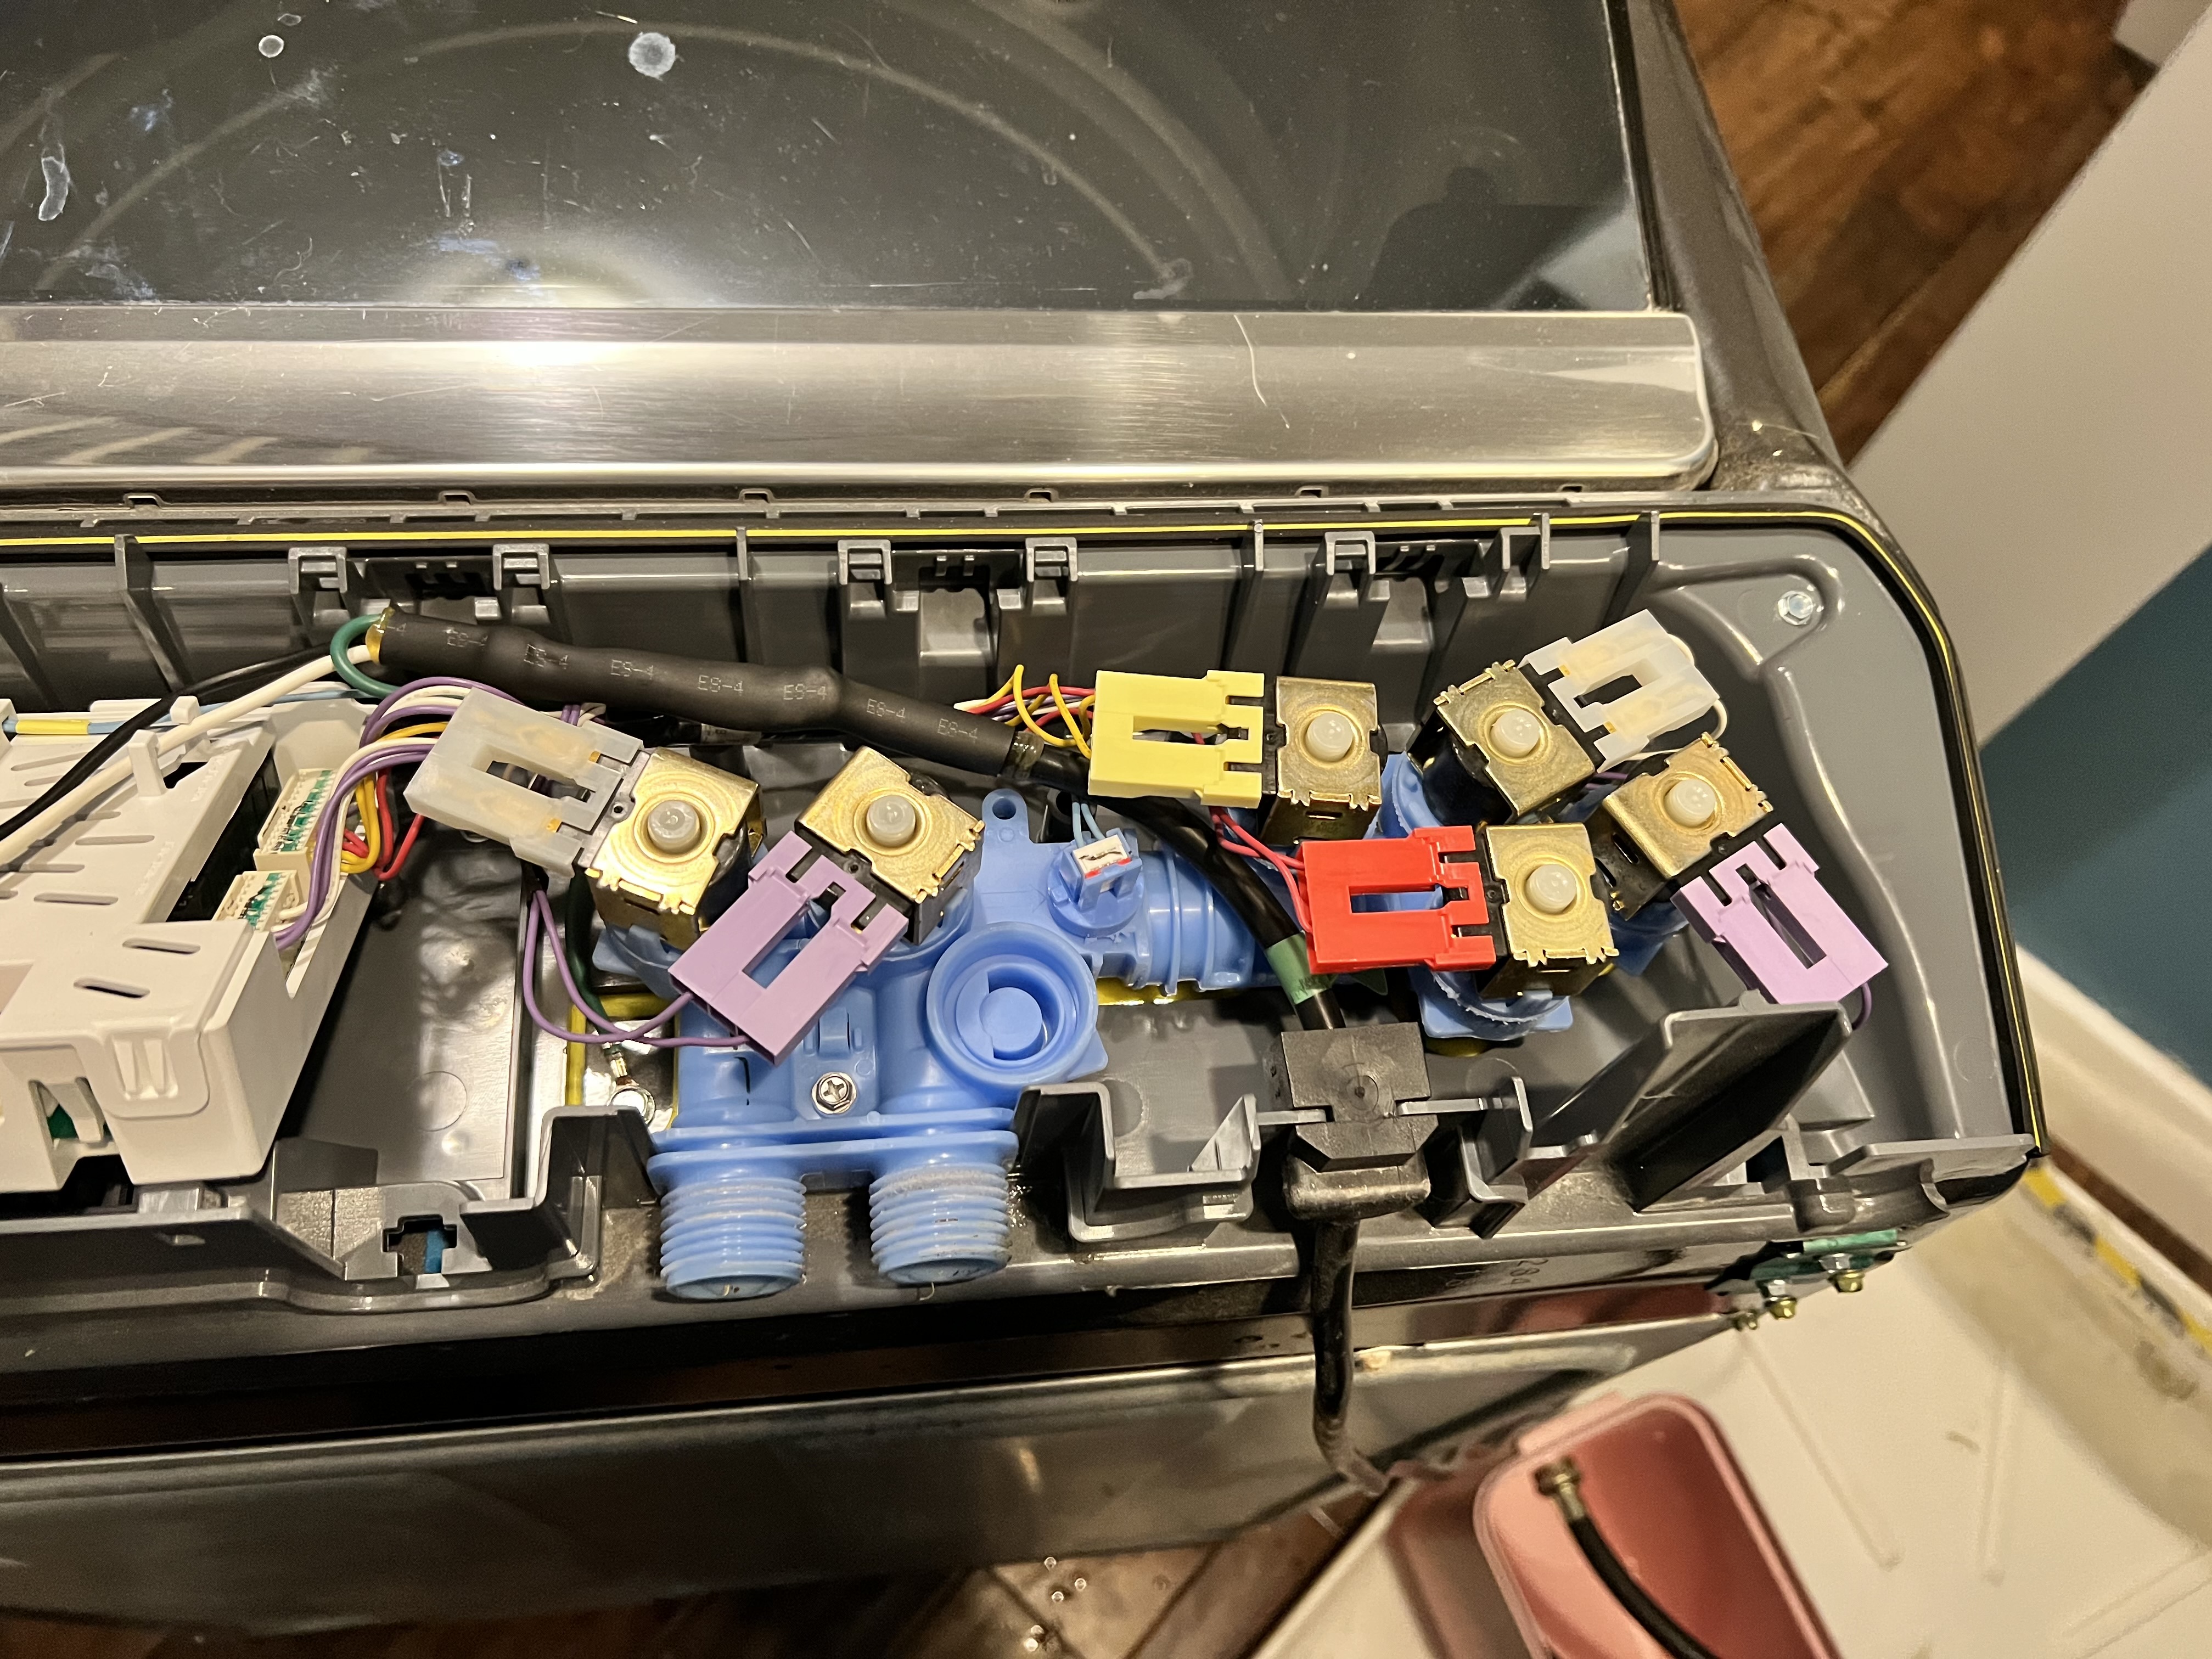

The red relay wires were not long enough so I had to extend them.
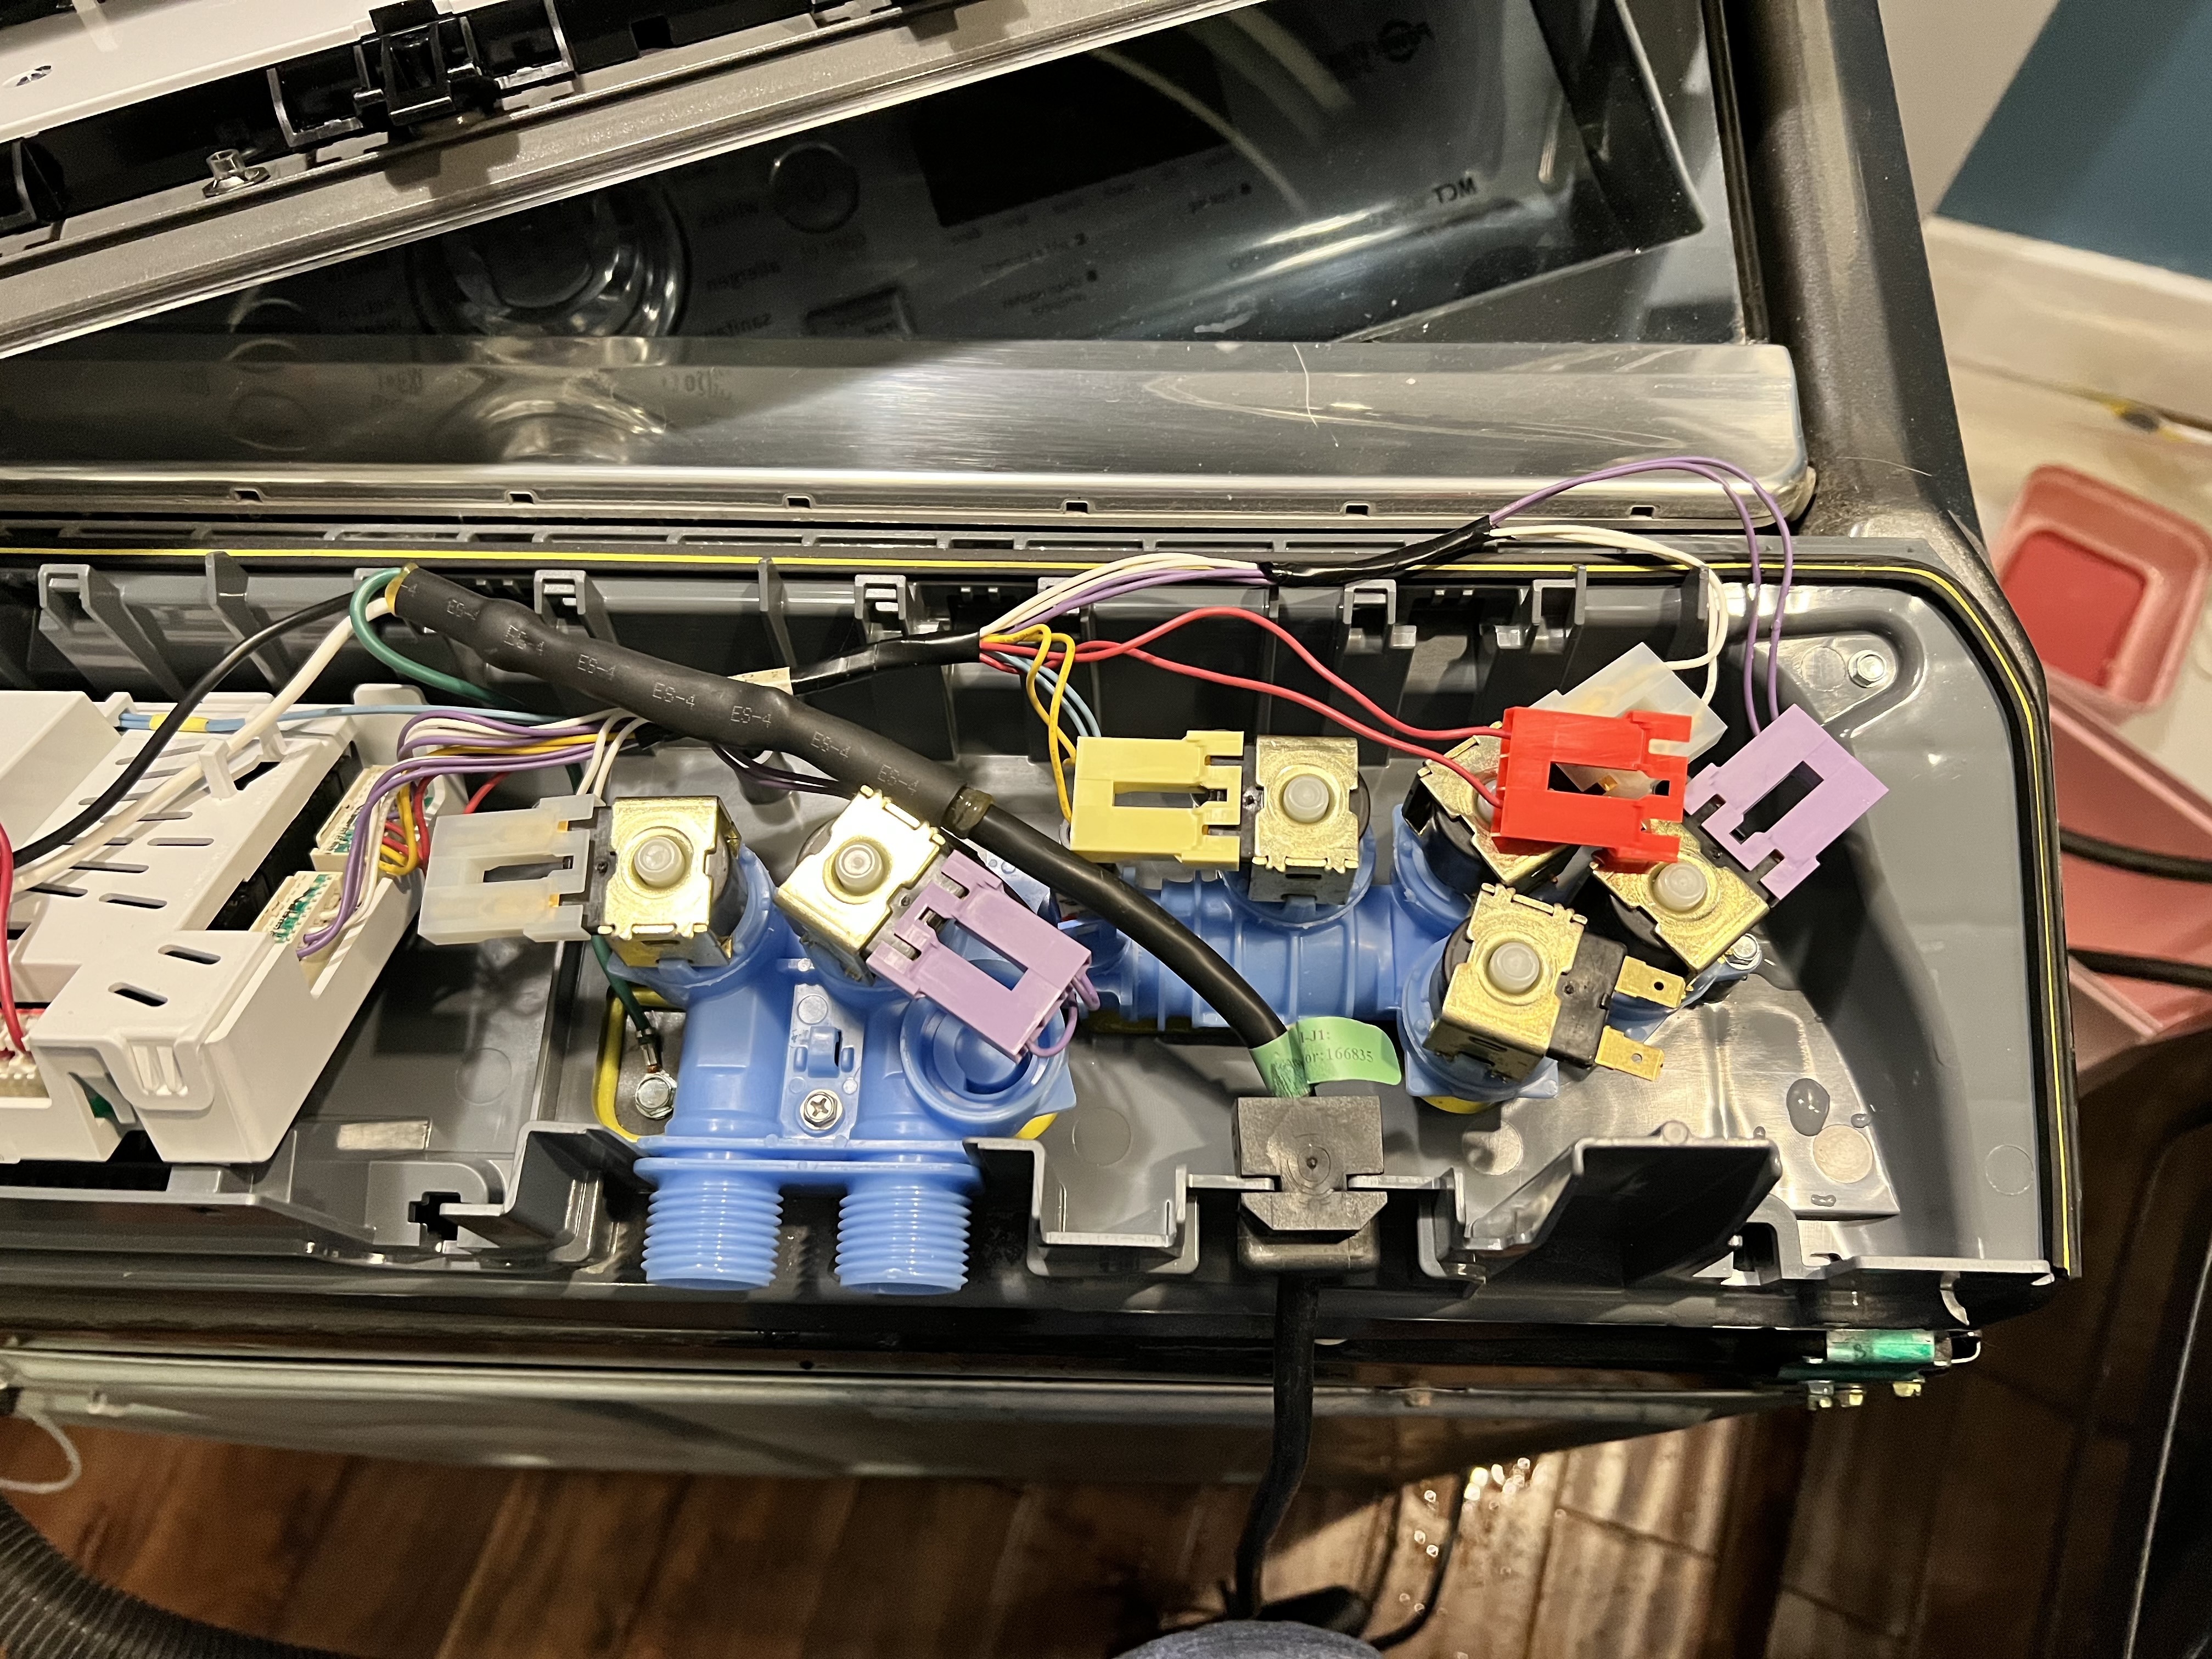

After replacing the valve, I noticed that the water through the detergent valve ran much faster. Must have been the issue.
Testing the resistance of the valves showed about 1.3kΩ.
| Part | Description | Picture | URL |
|---|---|---|---|
| W10853723 | Whirlpool Washer Water Inlet Valve |
|
Diagnostic Mode
To enter diagnostic mode:
- turn washer off
- pressing any button for three seconds, release three seconds (and repeat).
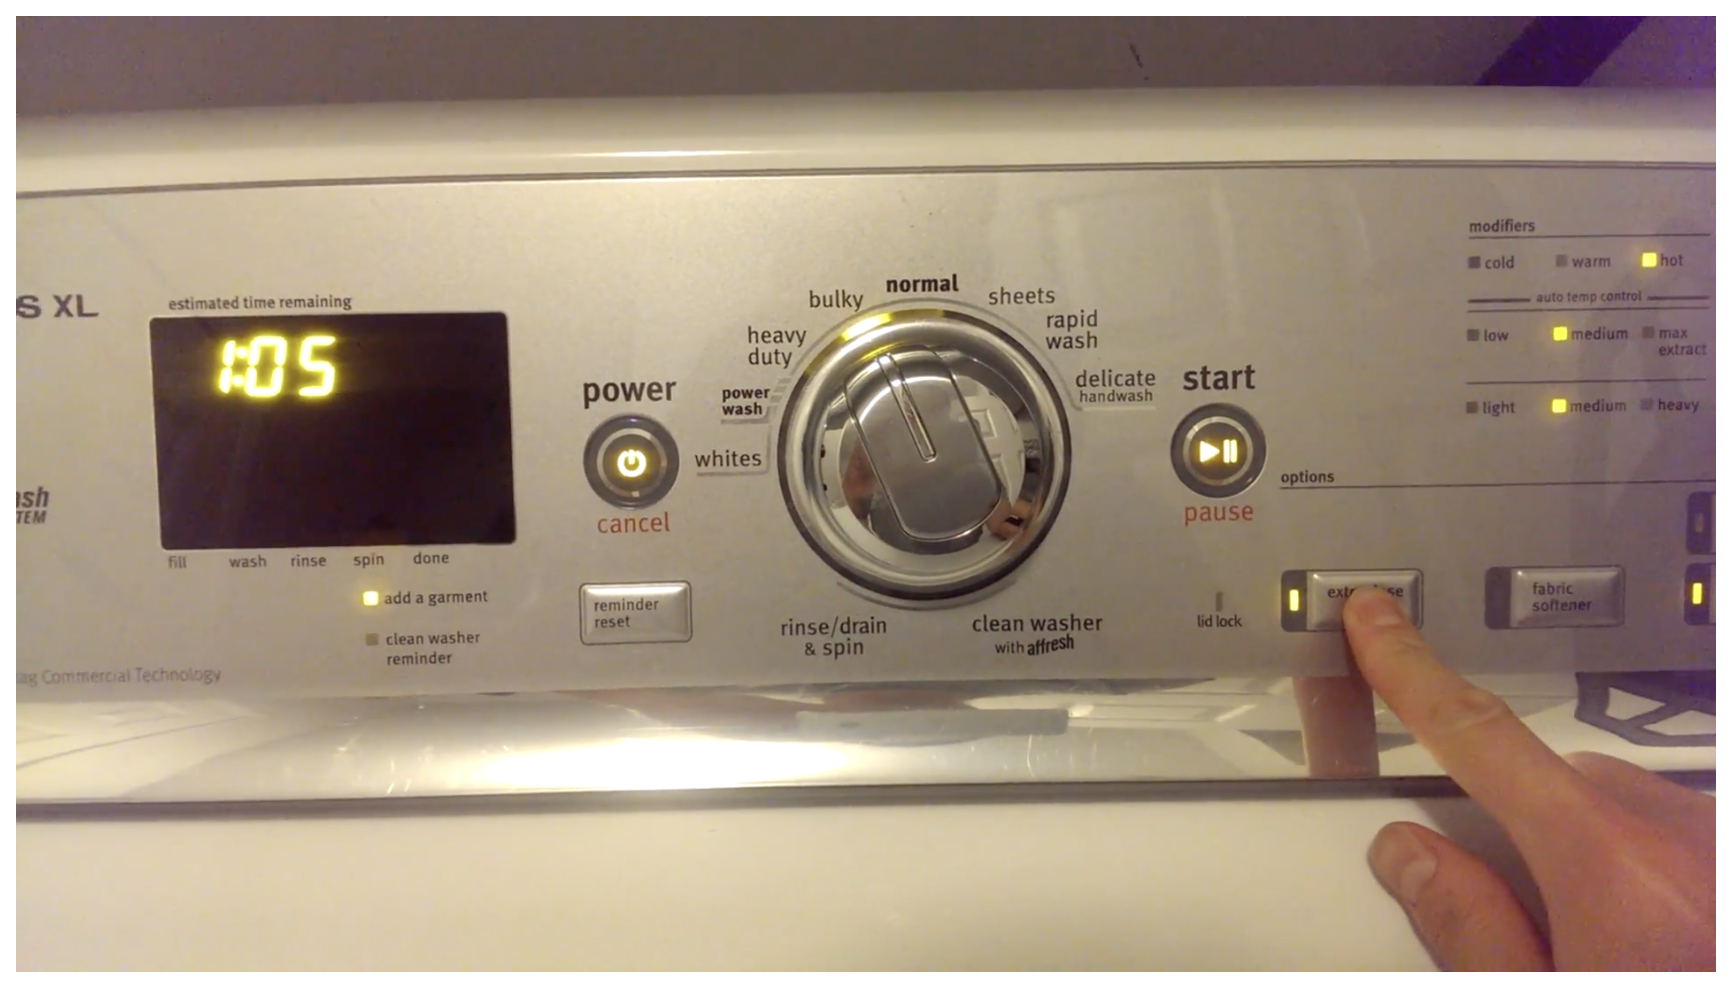
- If successful, all of the LEDs will illuminate and the time will read 8:8'8.
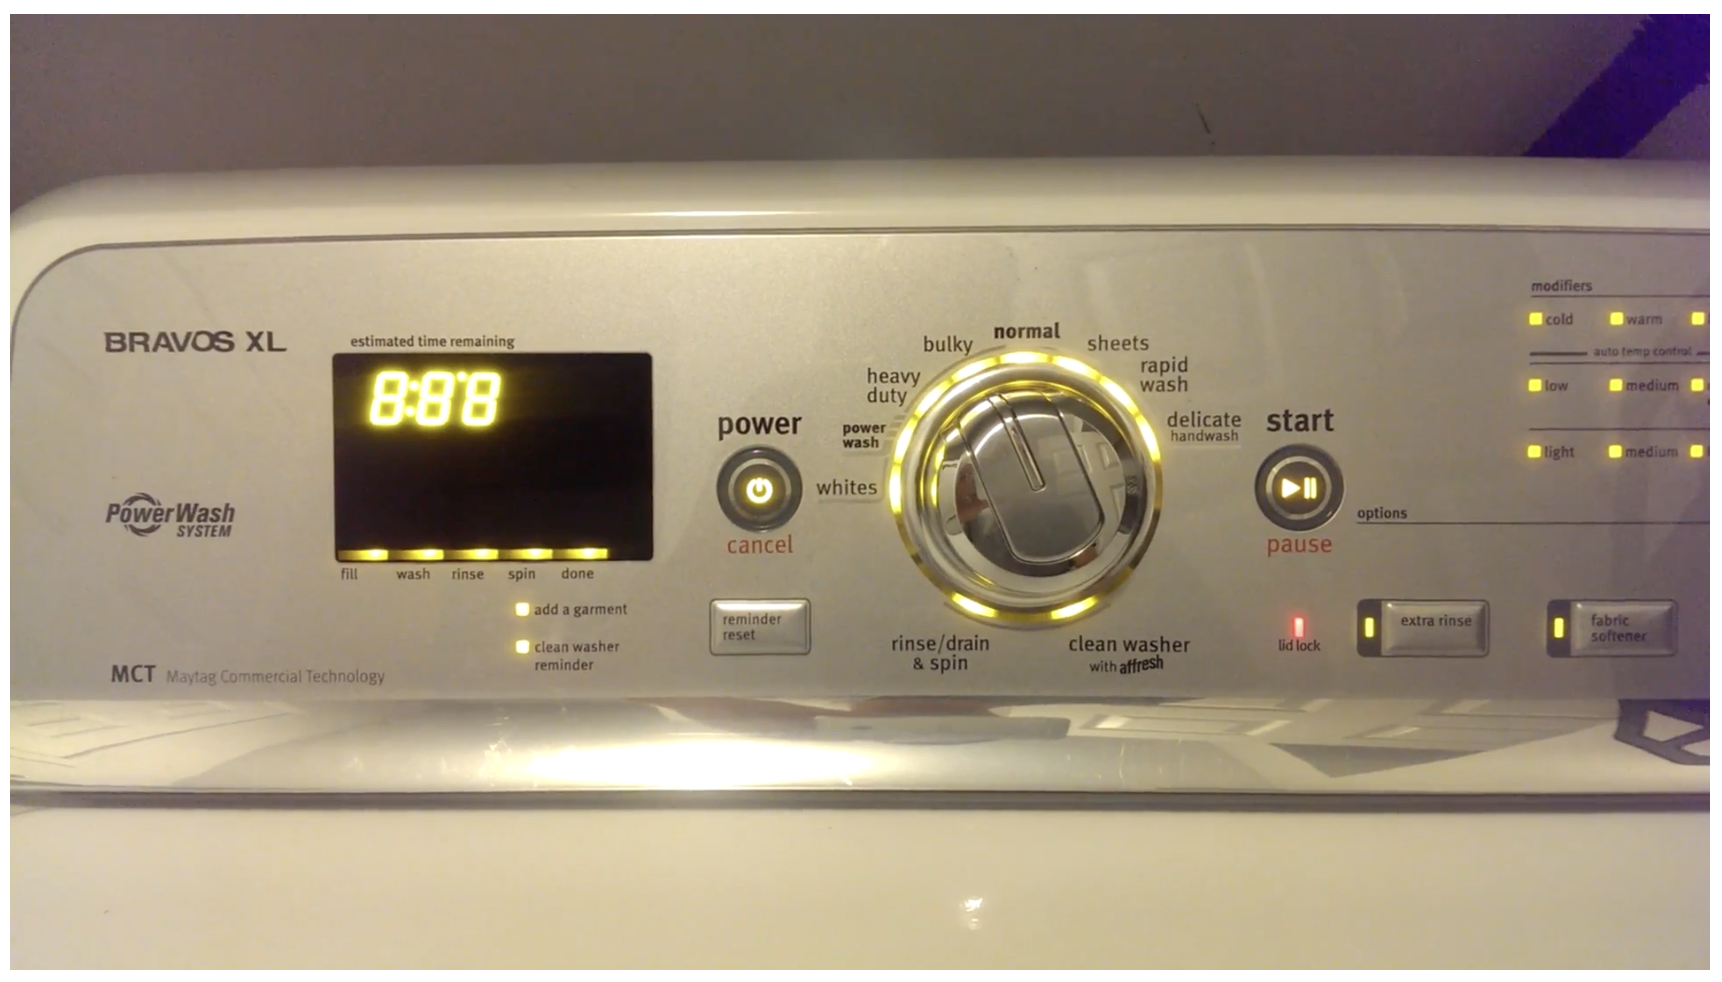
- Press the button again within 5 seconds to enter manual diagnostic mode.
If done successfully, a single beep occurs and the three-digit display shows the User Interface ID# (H 80, H 8 1, etc.) for 3 seconds, then displays 000 and the Add A Garment indicator LED flashes.
Manual Tests
To check FRESH valve select and press the following:
WHITES START/PAUSE (turns on Fresh valve, cycle indicator flashes) WASH TEMP (selecting hot = hot valve; warm = hot & cold valves; cold = cold valve) START/PAUSE (turns off Fresh valve, cycle indicator is steady on).
To check DETERGENT valve select or press the following:
SUPER WASH or HEAVY DUTY START/PAUSE (turns on Detergent valve, cycle indicator flashes) WASH TEMP (selecting hot = hot valve; warm = hot & cold valves; cold = cold valve) START/ PAUSE (turns off Detergent valve, cycle indicator is steady on).
To check FABRIC SOFTENER valve select or press the following:
NORMAL START/PAUSE (turns on Fabric Softener valve, cycle indicator flashes) WASH TEMP (selecting hot = hot valve; warm = hot & cold valves; cold = cold valve) START/PAUSE (turns off Fabric Softener valve, cycle indicator is steady on).
To check BLEACH valve select or press the following:
DELICATE/HANDWASH START/PAUSE (turns on Bleach valve, cycle indicator flashes) WASH TEMP (selecting hot = hot valve; warm = hot & cold valves; cold = cold valve) START/PAUSE (turns off Bleach valve, cycle indicator is steady on).
To Lock the Lid press the following:
WATER SAVE/SPRAY RINSE or REMINDER RESET. Repeat to unlock.
To Test the Motor press the following: (Lid needs to be Locked)
Spin: To activate Spin, lid must be closed with lid lock
SPIN SPEED Motor/basket spins at 23 rpm.
Repeat → Motor/basket spins at 530 rpm.
Repeat → Motor/basket spins at 1000 rpm.
Repeat → Motor turns off.
Parts
https://www.reliableparts.ca/lookup/215461
References
| Reference | URL |
|---|---|
| User Manual | |
Serice Manual | |
| Parts | https://www.reliableparts.ca/lookup/215461/1463423 |
| Drain Hose Installation | https://www.youtube.com/watch?v=BW-EwI5NLBM |
| Installation Guide | |
| *** Enter Diagnostic Mode | https://www.youtube.com/watch?v=v4vcQ8QNkXg&t=62s |
| Whirlpool Washer Repair - How to Replace the Valve (Whirlpool # W10853723) | https://www.youtube.com/watch?v=bM2bXqE9H6s&t=396s |
| Maytag Washer LF Low Flow Fault Diagnose & Repair | https://www.youtube.com/watch?v=N-iul4E3cTI&t=473s |