...
At present it doesn't seem like it is charging to full capacity with the buck converter. Could also just be the battery level monitor. We shall see.
BMS
Previously I had used the following BMS which has separate charge and power connections with a large input voltage. This bms will allow me to remove the buck converter. I will however have to reconfigure my battery to a 2S3P configuration which I had previously believed was an issue....

2S 2-3A 5-8.4V Red
Size: 62 x 26 x 6.9mm
Charging Voltage range: 8.40-8.45V ± 0.05V
Over-discharge Voltage range: 4.6-5.1V ± 0.05V
Maximum operating current: 2-3A
Maximum instantaneous current: 4-6A
Working temperature: -40 ~ +50°C
Resistance: less than 45mΩ
Wiring
Using 2S BMS
Using Buck/Boost Converter
I opted to use a buck boost converter. Tested it out and it holds the voltage steady with varying input voltage. Seems like it is the best option.
Buck/Boost Converter
https://www.amazon.ca/gp/product/B0CCHPPKW4/ref=ppx_yo_dt_b_search_asin_title?ie=UTF8&psc=1
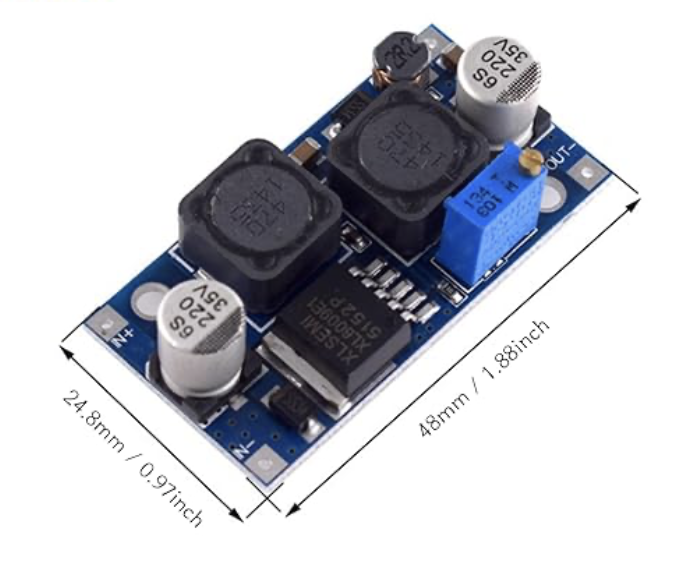
XL6009 buck boost converter
- With automatic voltage boosting and bucking function.
- ⚡【Input Voltage】:3.8~32V.
- ⚡【Output Voltages】:1.25~35V.
- ⚡【Input Current】:3A (max), no load 18mA (5V input, 8V output, no load less than 18mA. The higher the voltage, the higher the no load current.)
- ⚡【Conversion efficiency】:<94% (the higher the differential pressure, the lower the efficiency)
Wiring
Using Buck/Boost Converter

Additionnel Changes
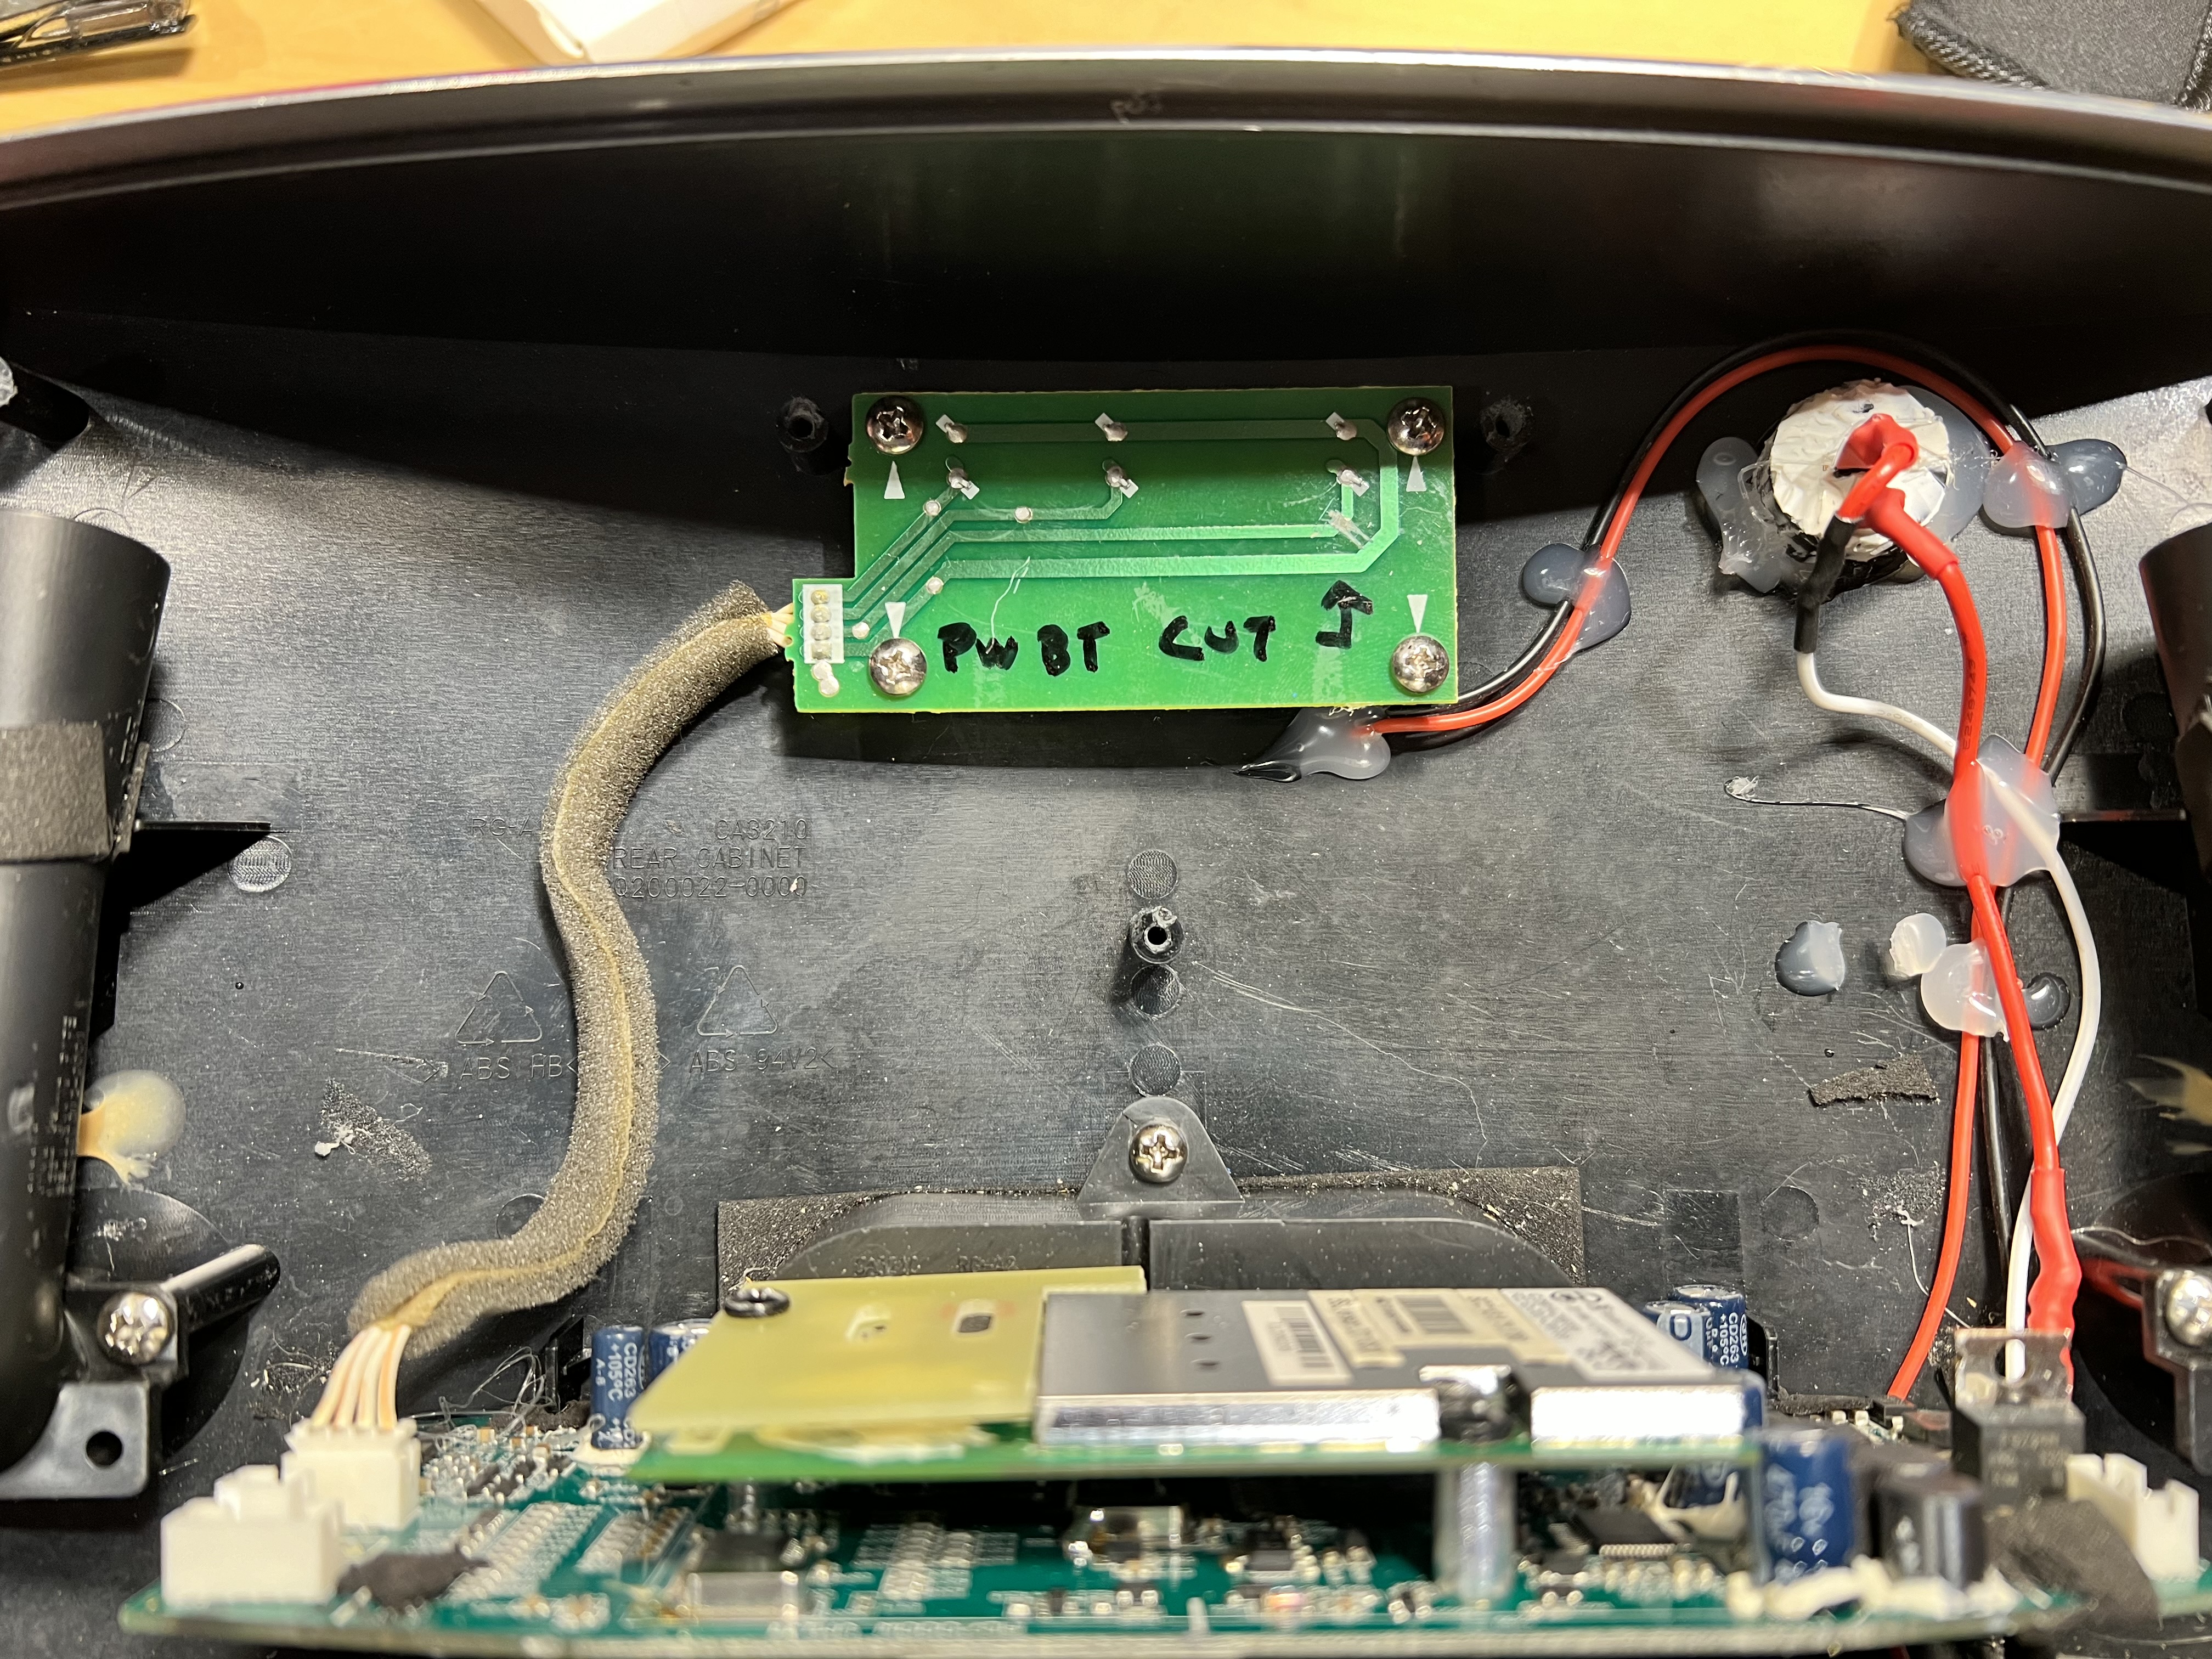
I also cut the power toggle trace since I always seem to accidentally hit this. When powering on with the switch, the unit defaults to always power on.
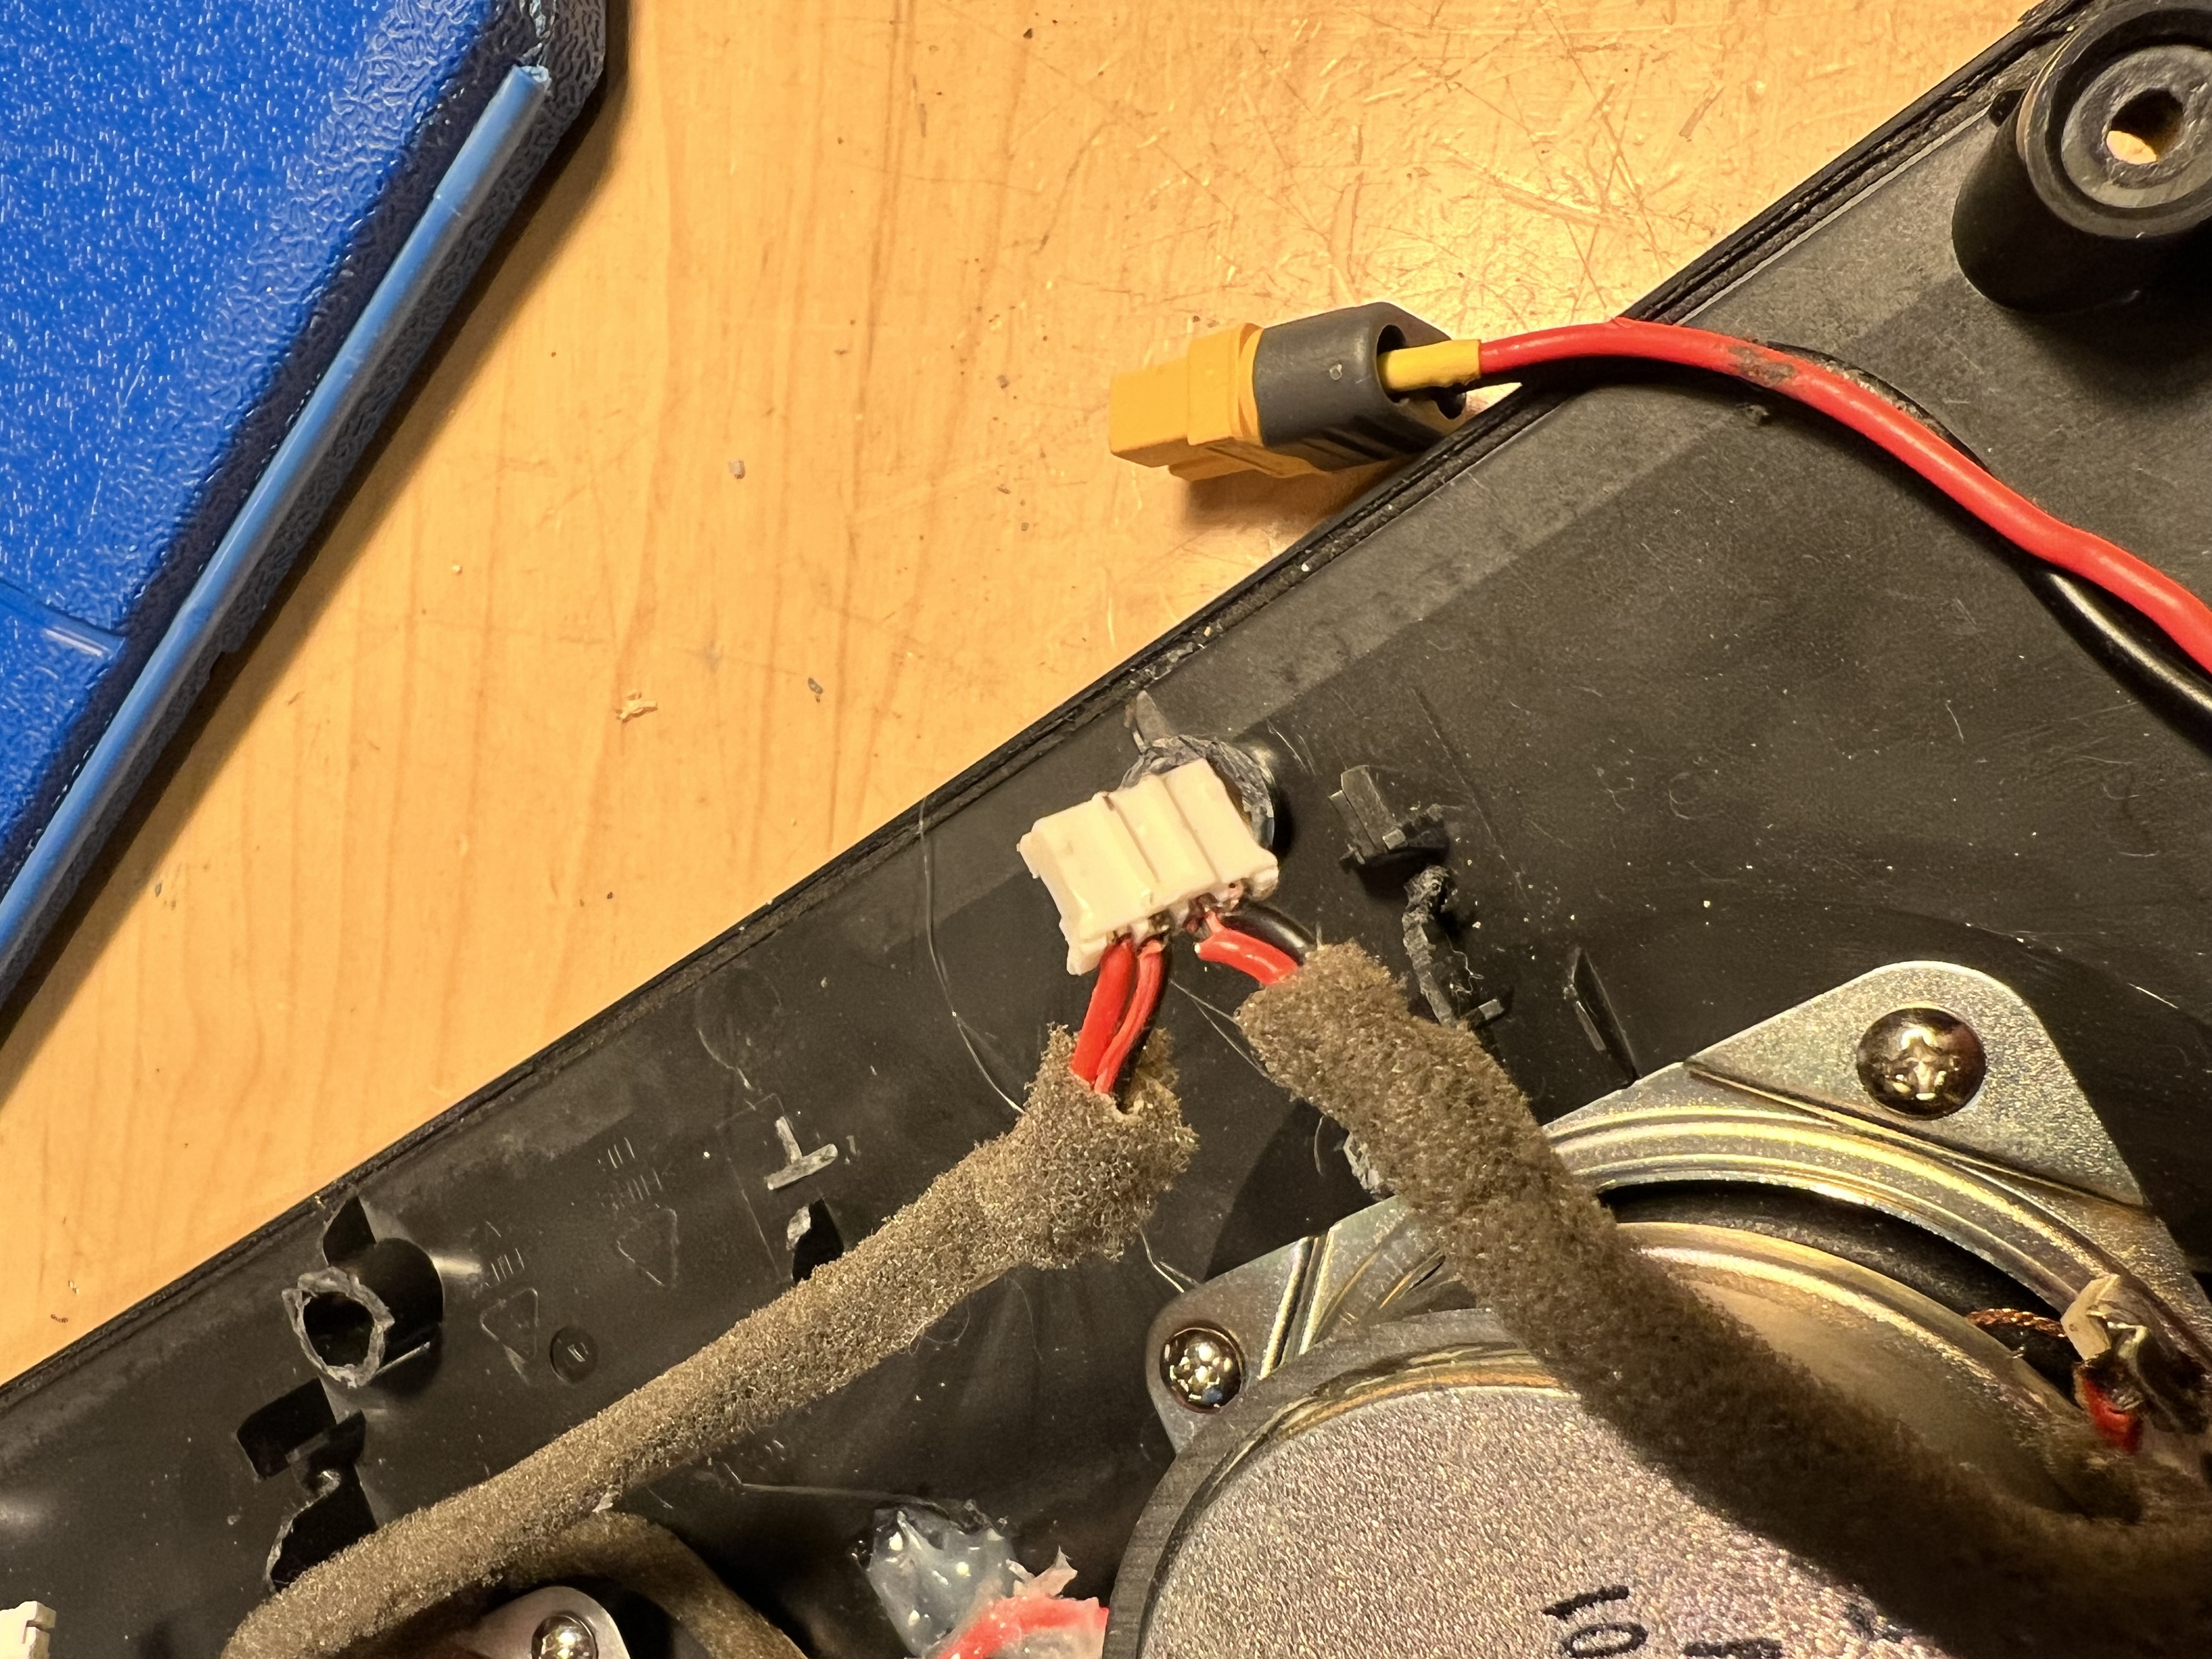
I also ended up replacing the speaker connector since it broke apart.
References
| Reference | URL | ||||||
|---|---|---|---|---|---|---|---|
| User Manual |
| ||||||
| Service Manual |
|