| Table of Contents |
|---|
Overview
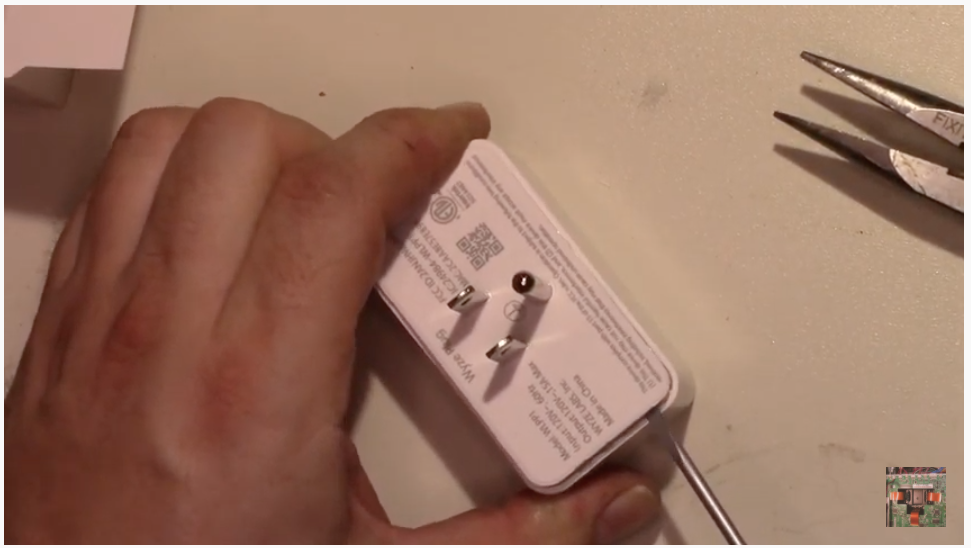
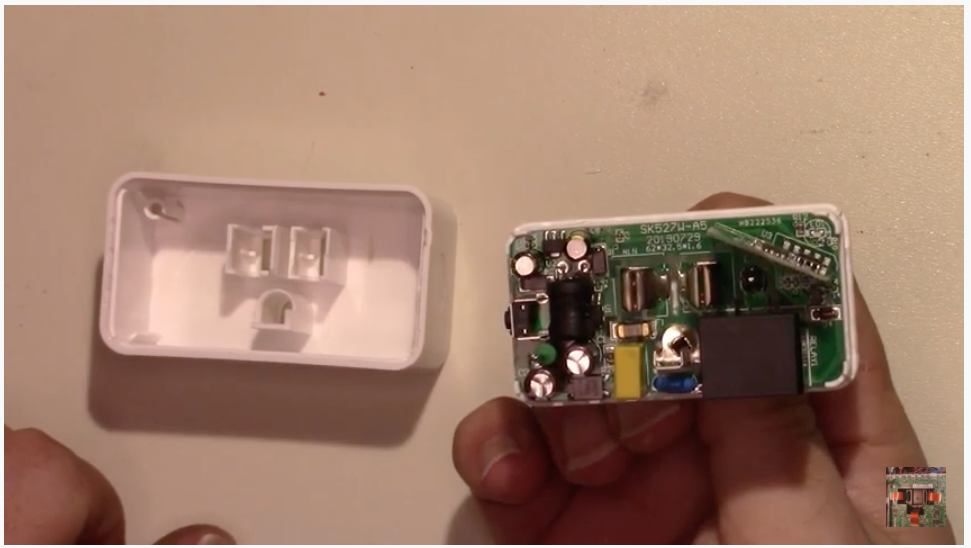
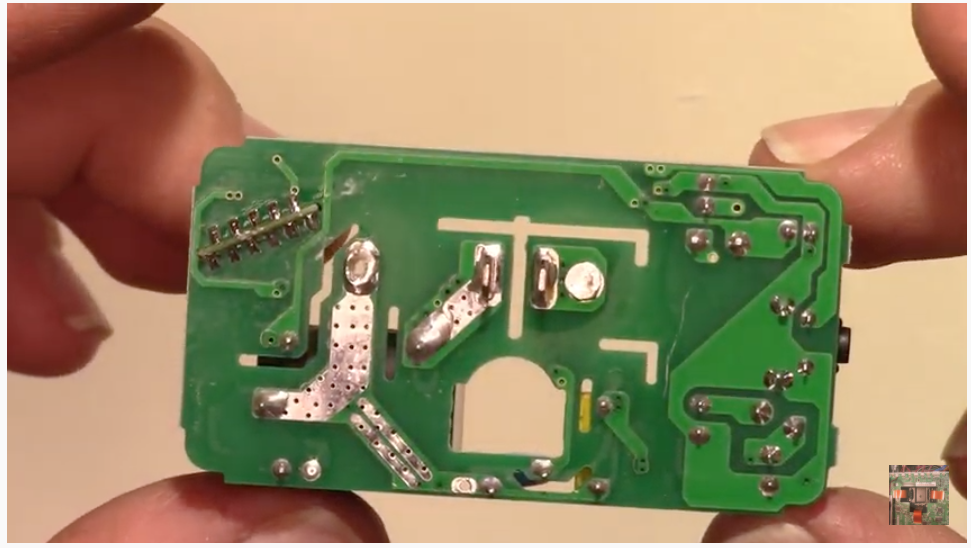
Uses 15 amp relay. Awkward to open. Flat plastic back pops into plastic shell but is glued. Power prongs are also lightly glued to the flat plastic back.
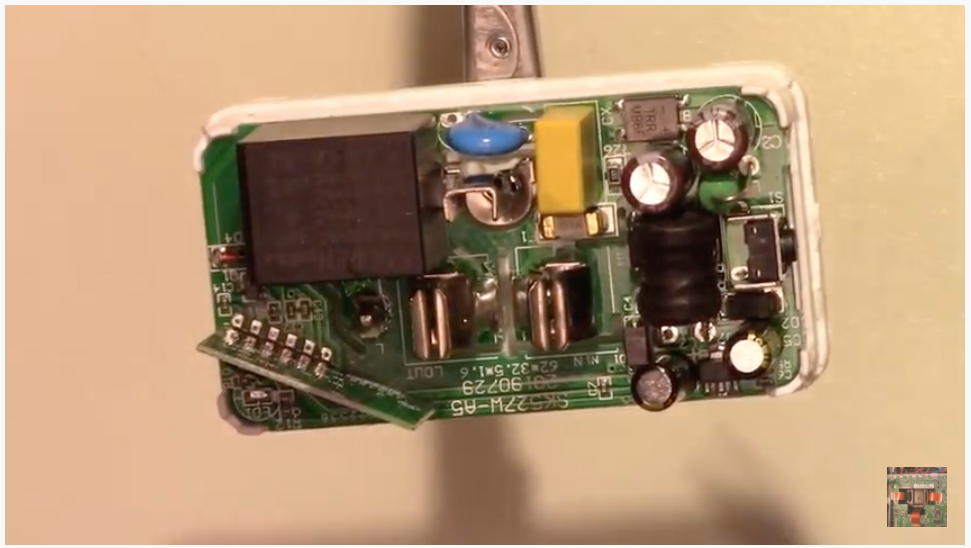
Uses an edge mounted daughter board for the ESP8266EX. Flashing leads for 3.3V, GND, RX and TX can be soldered to the edge mounting. Used the test point landing for GPIO0 on the daughter board test points side.
LED will light when relay is engaged. Side button will toggle the relay state.
GPIOs
| GPIO | Component |
|---|---|
| GPIO05 | Led1i |
| GPIO12 | Relay1 |
| GPIO14 | Button1 |
Teardown Pictures
Not required if flashing using the OTA (Over the Air) method.
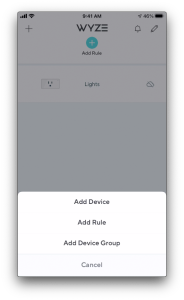
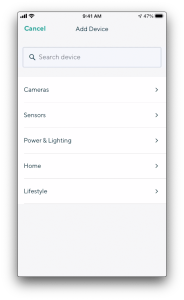
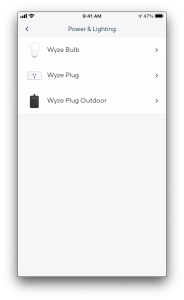
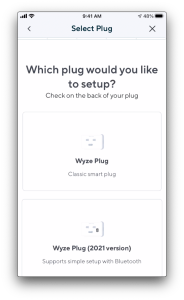
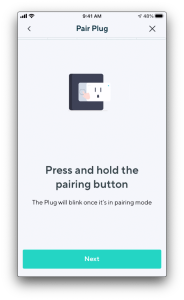
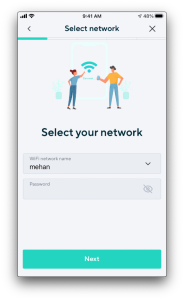
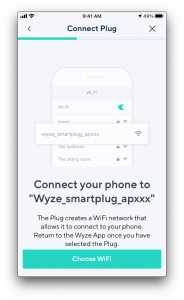
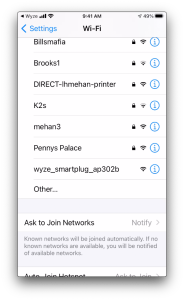
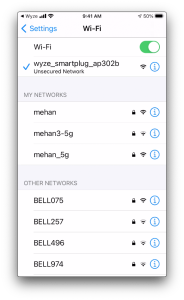
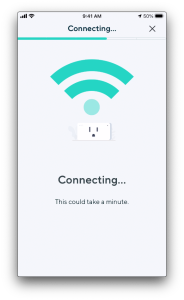
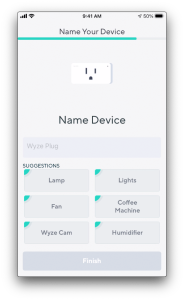
Register the Wyze Device
Before you can perform an over the air upgrade of the Wyze device, you will need to register it with Wyze. Download the Wyze app from the App store and connect the wyze device.
Screen captures of the setup:
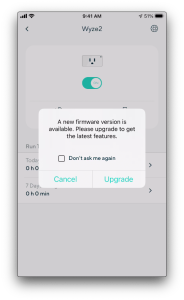
Make sure to hit Cancel and not Upgrade.
OTA Hacking
Based on https://github.com/elahd/wyze_plug_flasher
...
SetOption0 0; SetOption36 1template{"NAME":"WyzePlugWLPP1","GPIO":[0,0,0,0,0,56,0,0,21,0,17,0,0],"FLAG":0,"BASE":18}
Flashing Custom Firmware
If you have gotten this far, you can install some custom firmware.
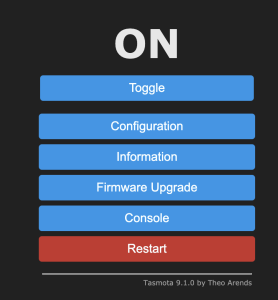
Open your browser to the wyze plug and navigate to the "Firmware Upgrade" menu.
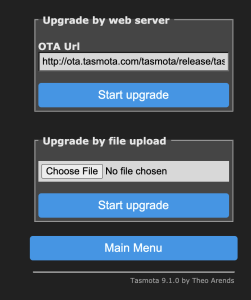
From this screen, click the "Choose File" button and upload some custom firmware.
References
| Reference | URL |
|---|---|
| Redit Post | https://www.reddit.com/r/wyzecam/comments/l54d8b/instructions_and_software_install_tasmota_on_wyze/ |
| Flasher | https://github.com/elahd/wyze_plug_flasher |
| Wyze WLPP1 Template | https://templates.blakadder.com/wyze_WLPP1.html |
| Teardown Video |