Overview
Create schematics, circuit board designs and PCB libraries with Eagle.

Installation
Download from: https://www.autodesk.ca/en/products/eagle/free-download
Control Panel
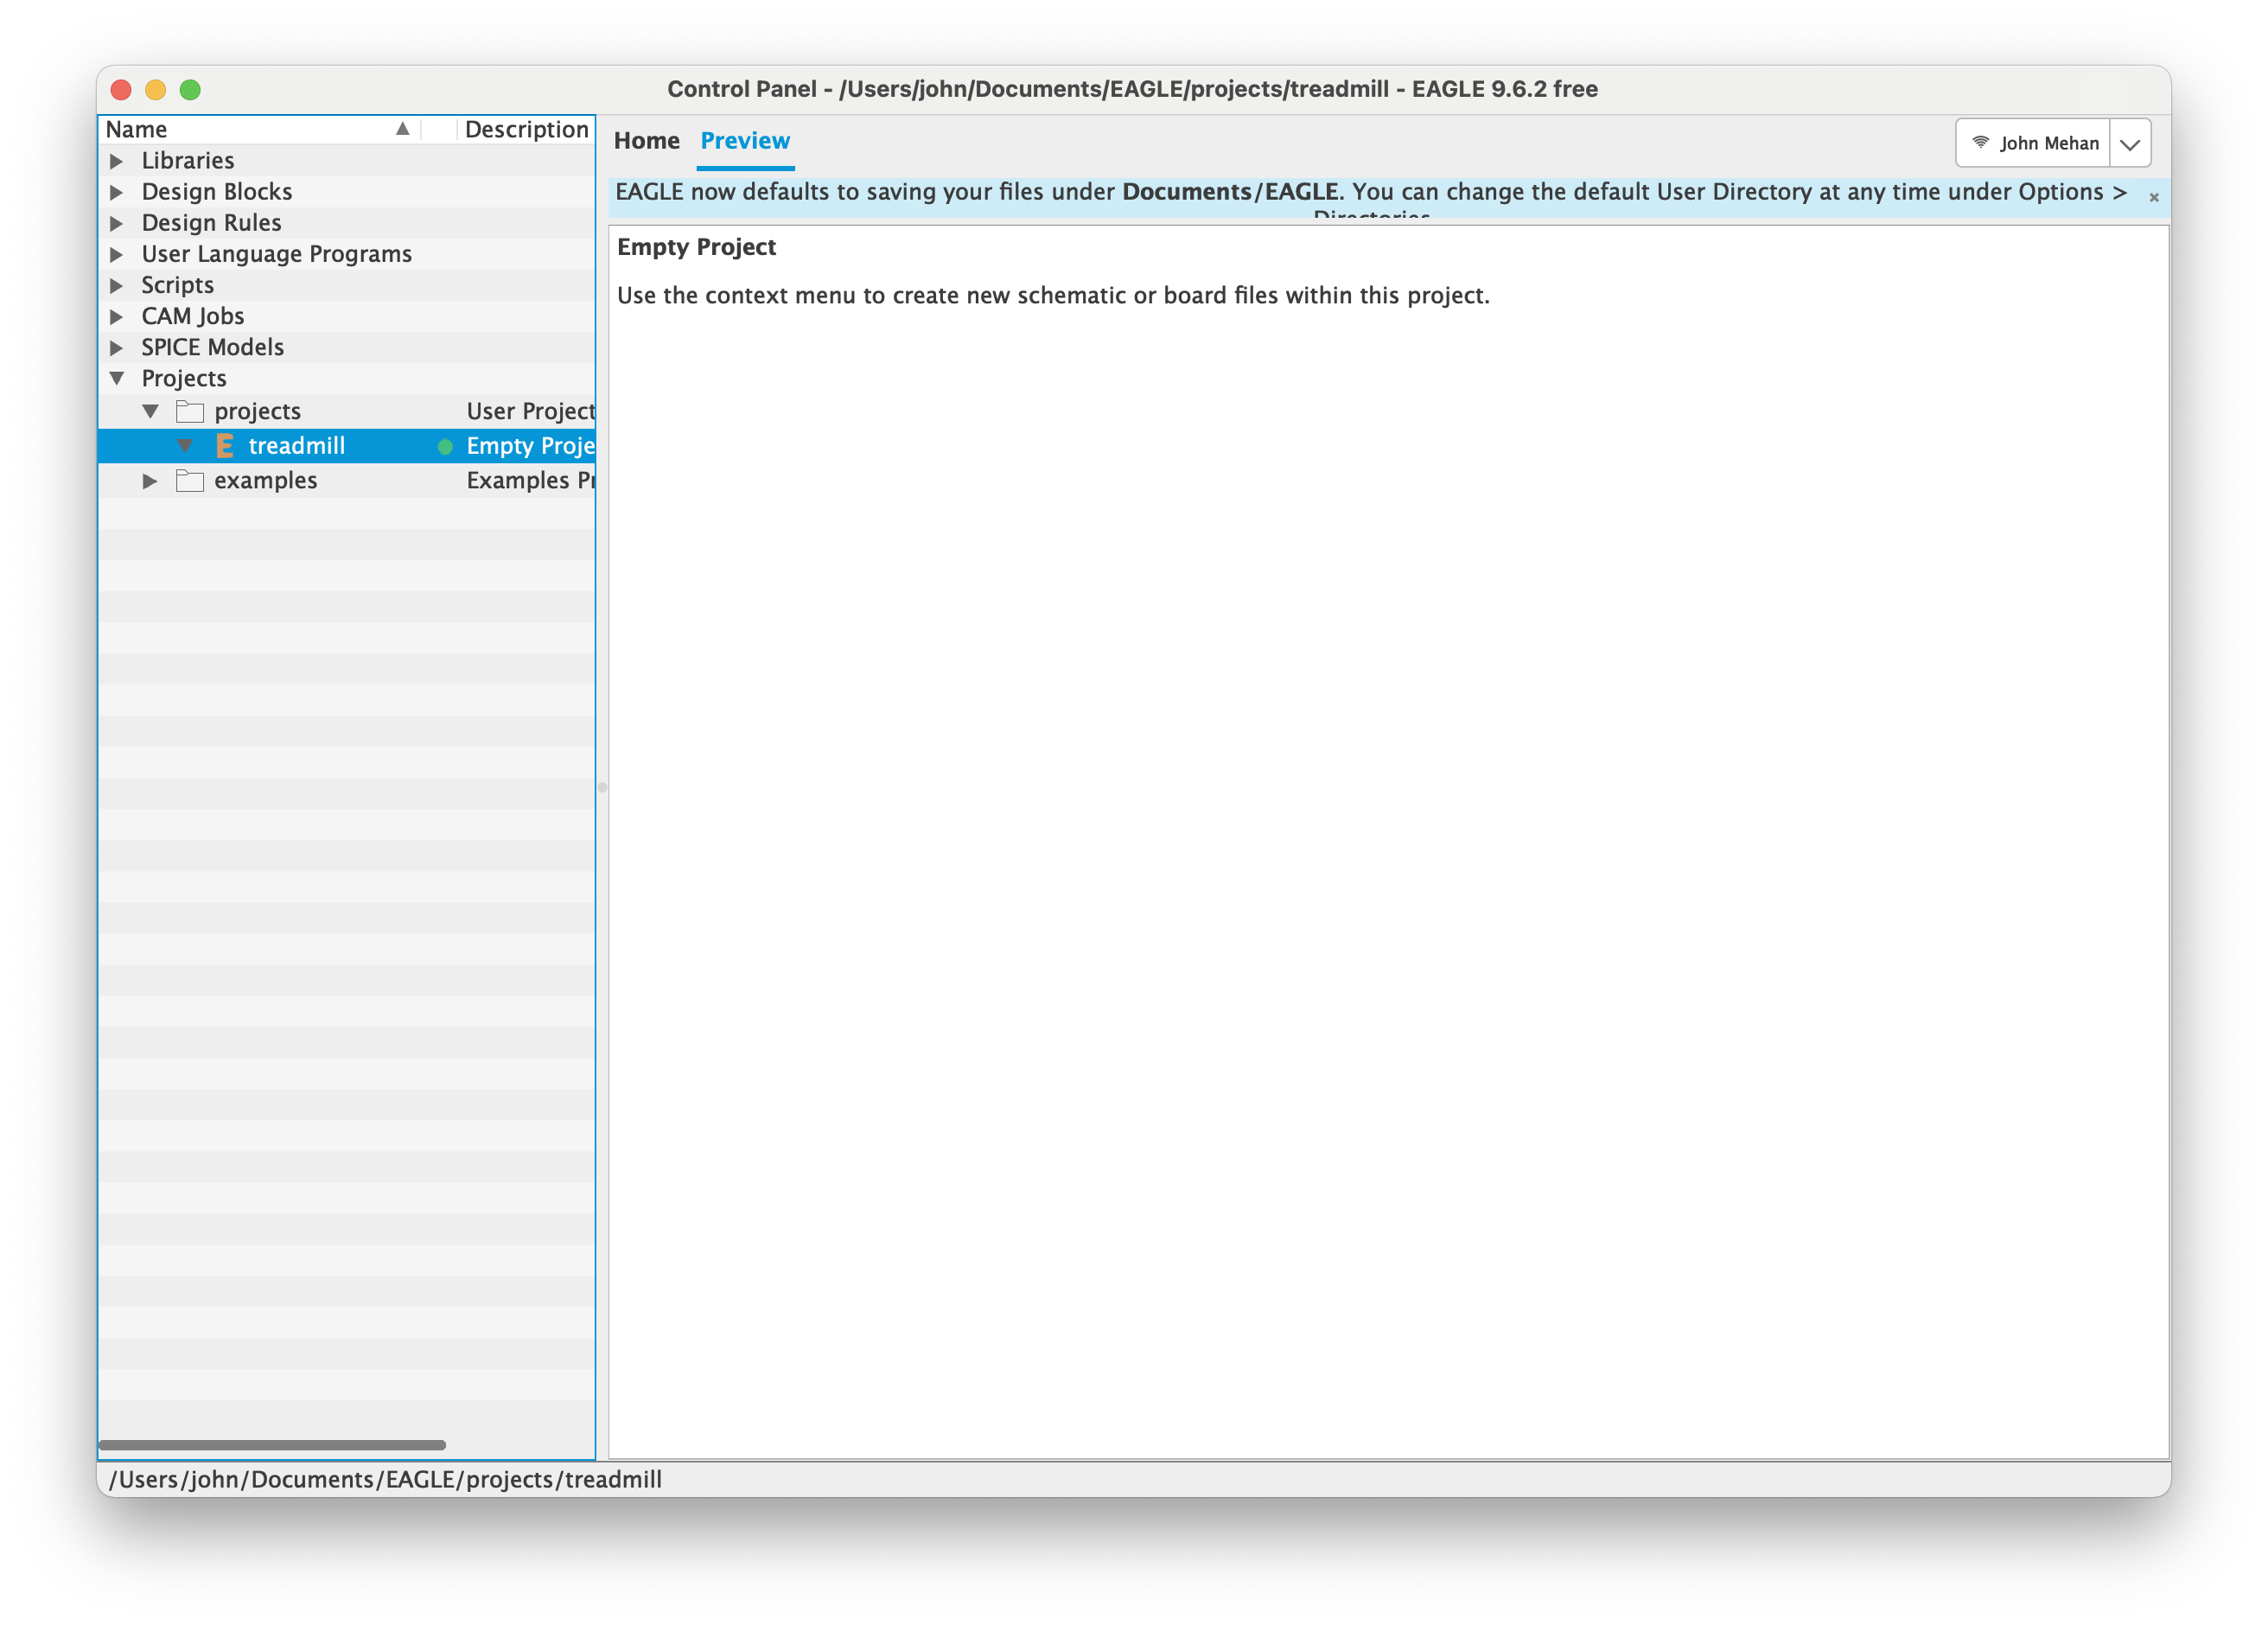
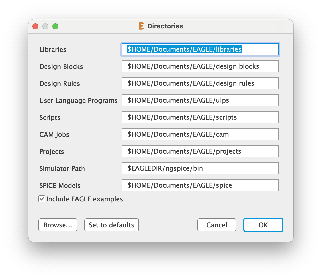
Starting here, we can start by creating a new project. By default the project folder is located under $HOME/Documents/EAGLE/projects
We can create a new project by right clicking projects and selecting New Project.
Schematic
We can create a new schematic for our project by right mouse clicking our project and selecting New → Schematic.

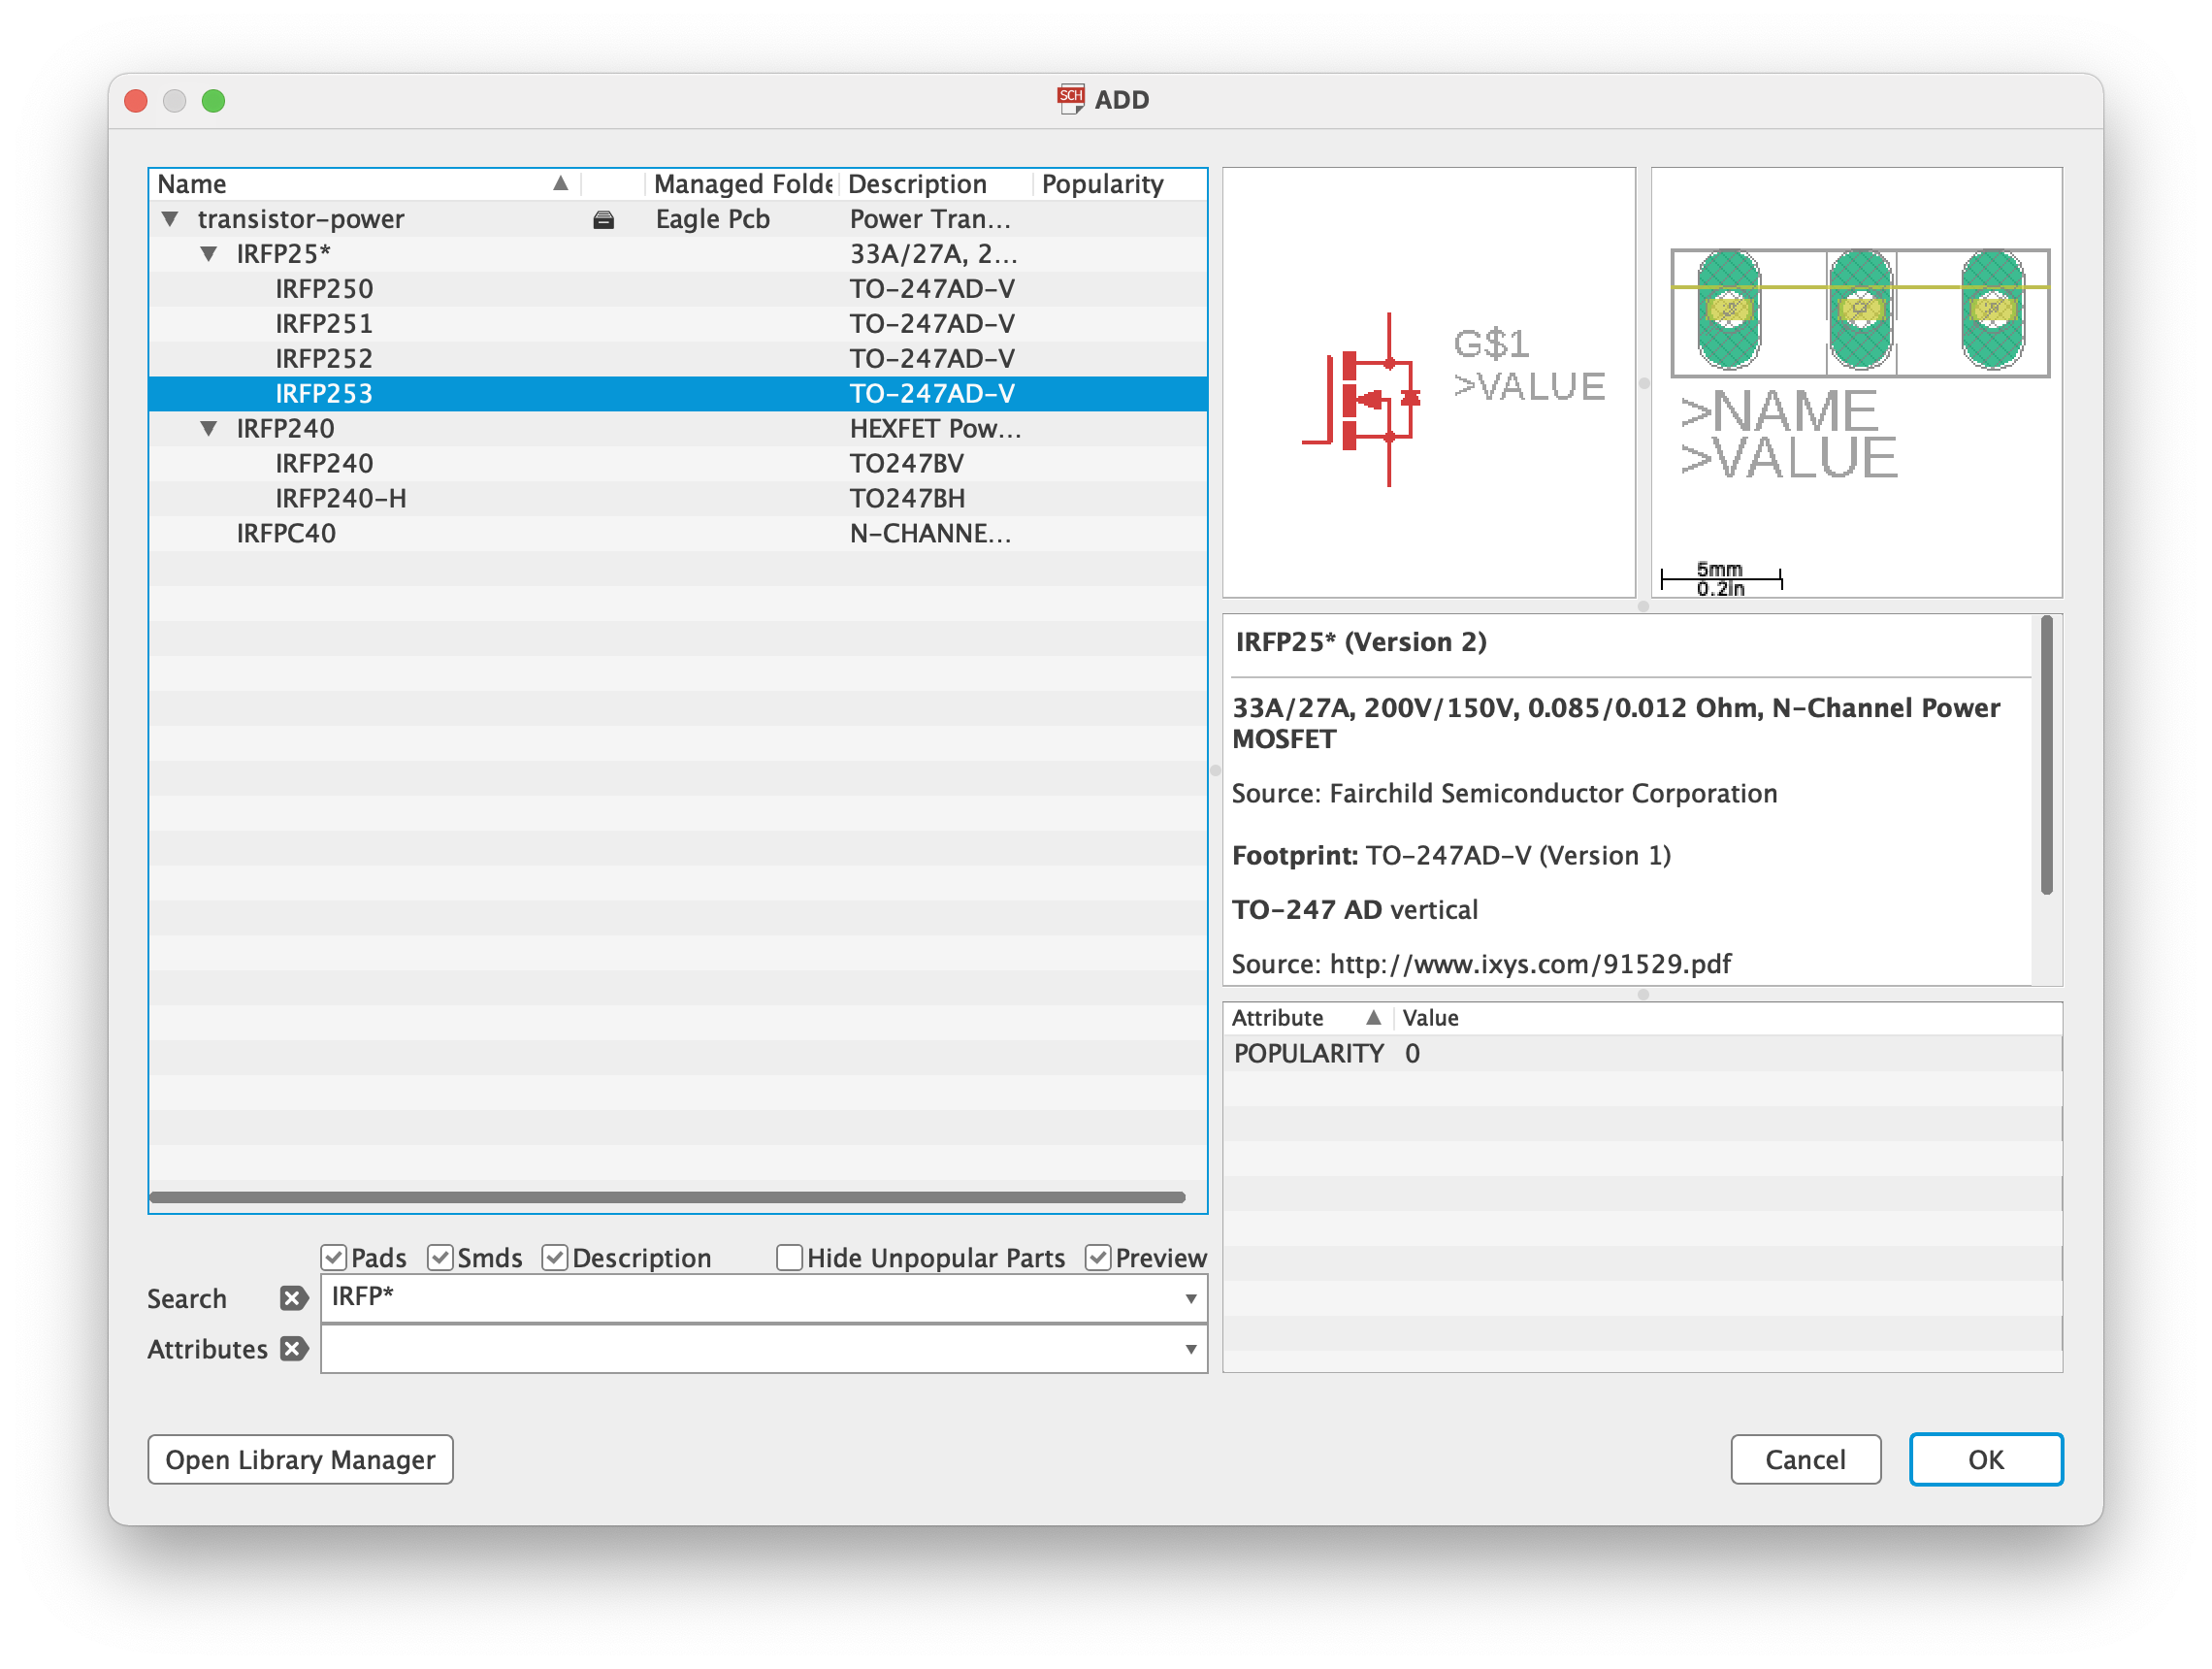
Adding Parts
Click the Add Part icon on the right left menu. We can use wildcards ( * and ? ) to find a suitable part.
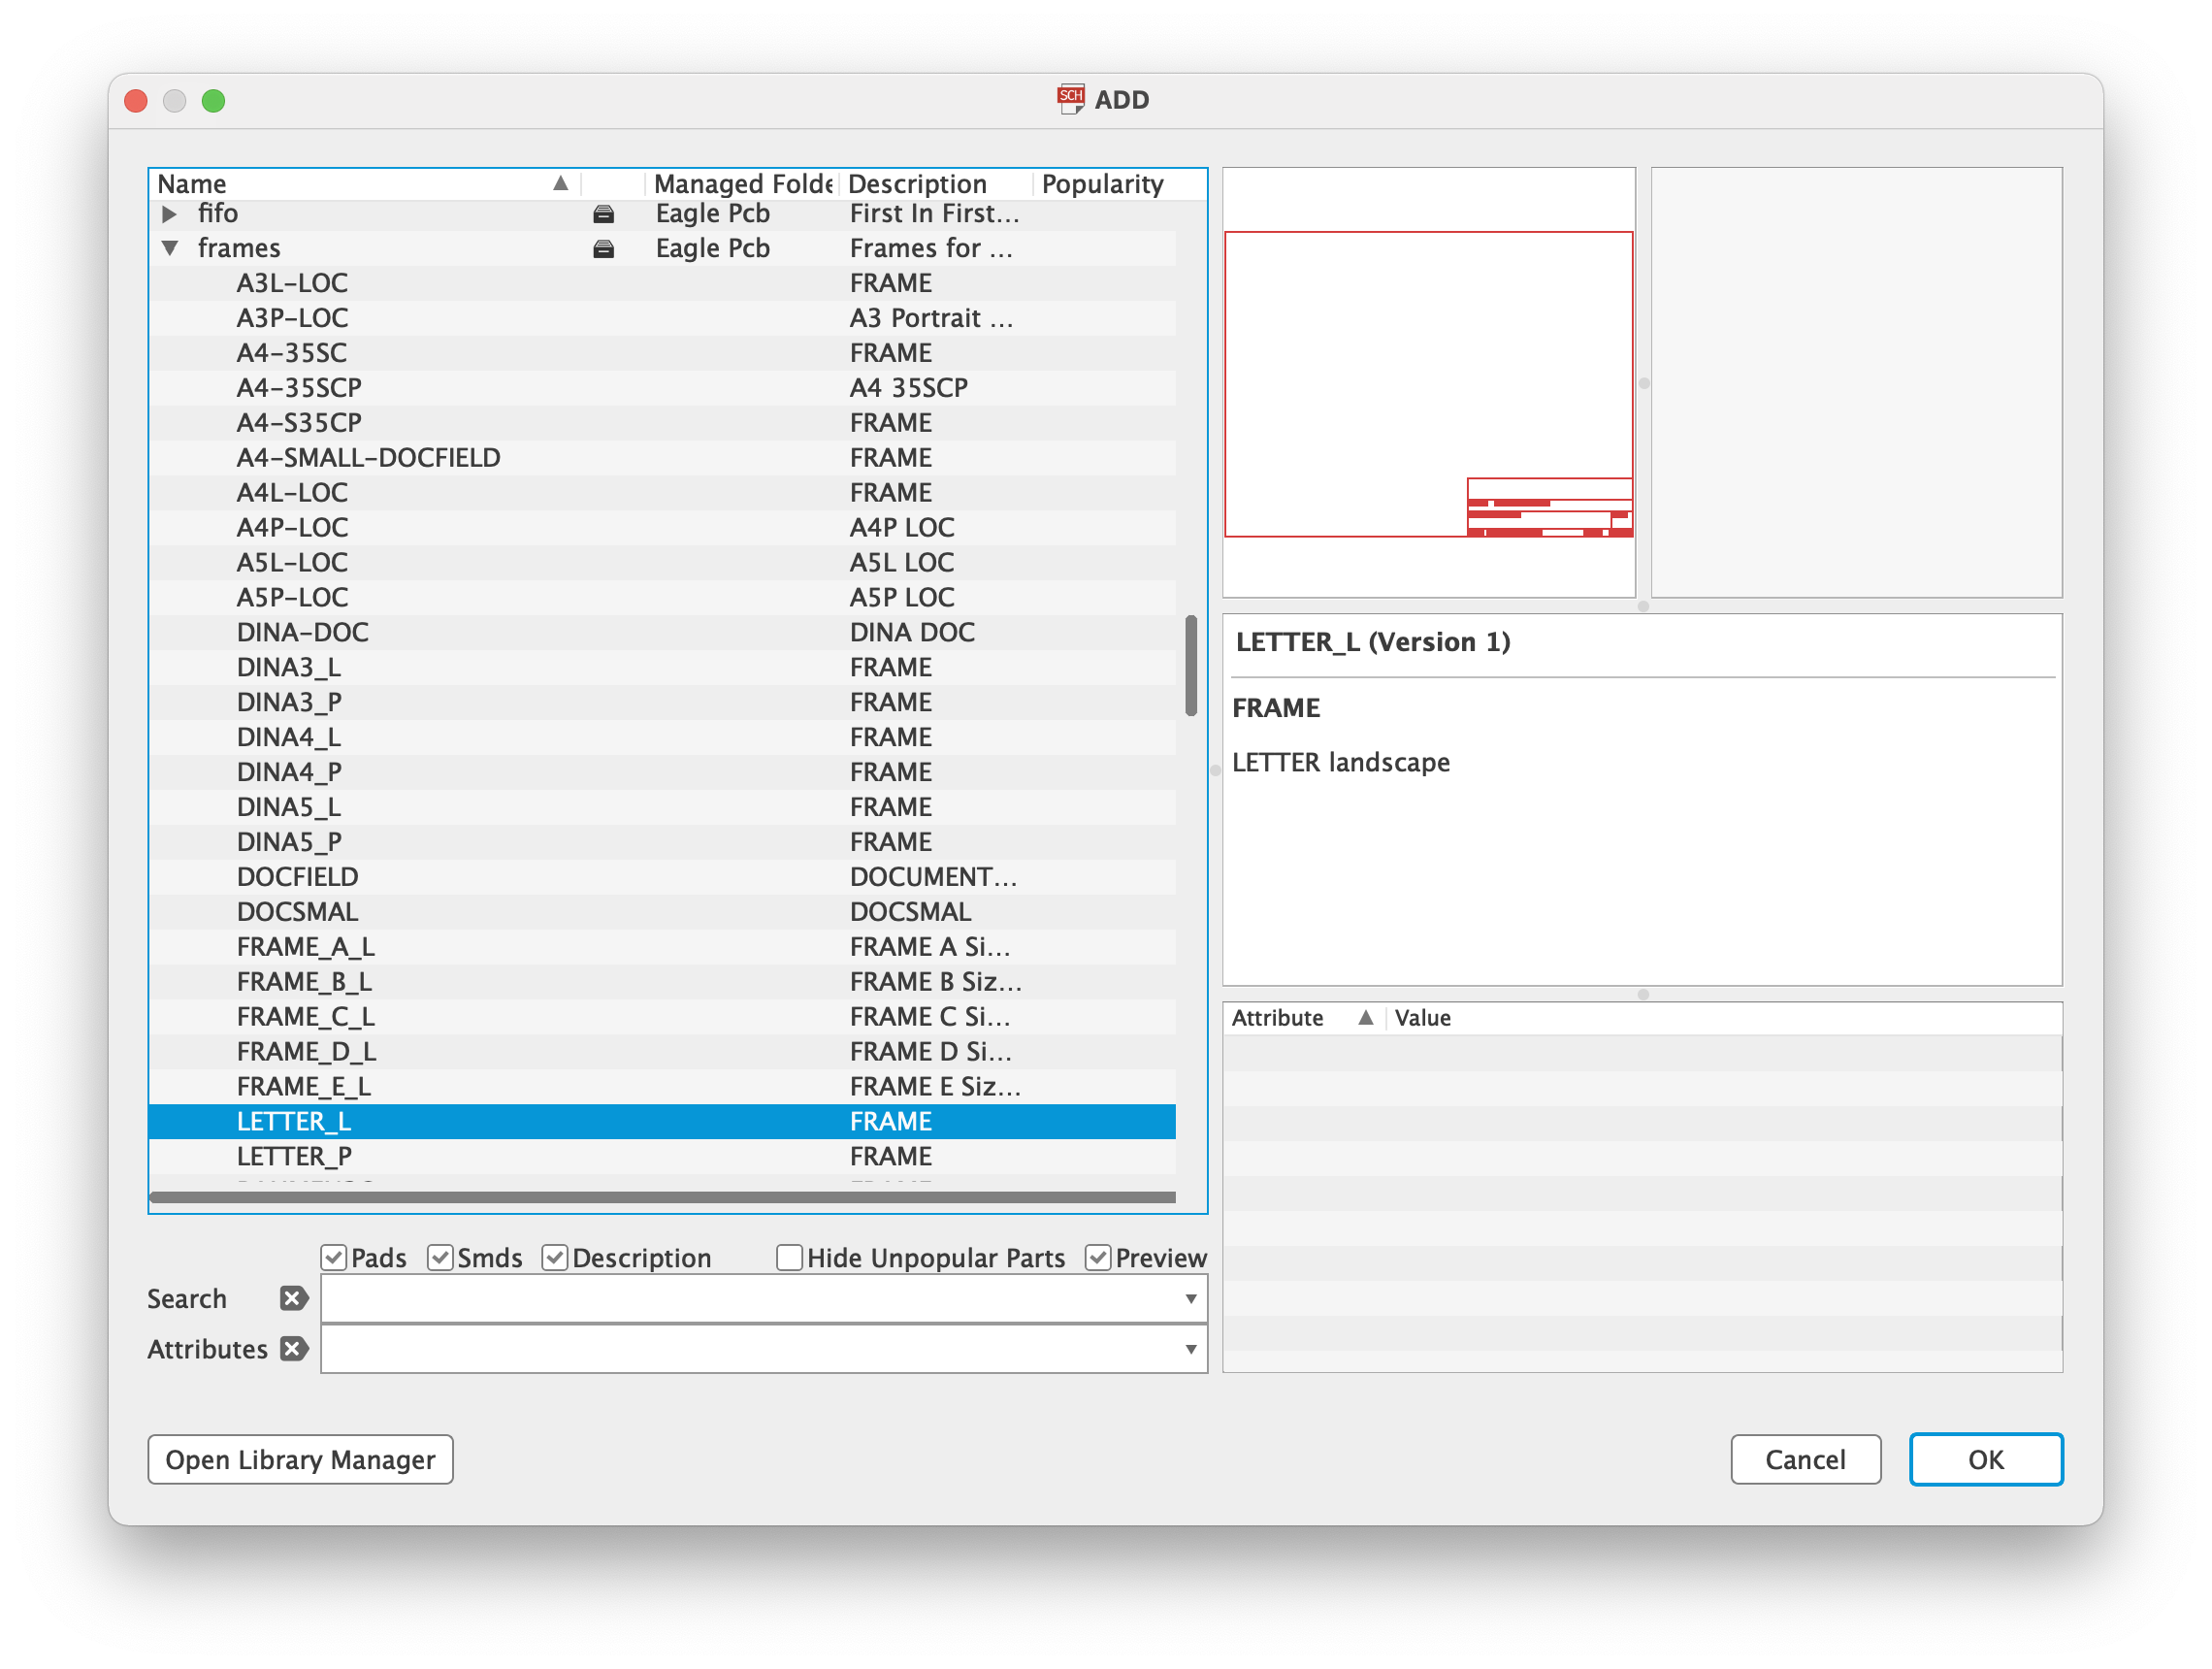
Add a Frame
Add a frame to your schematic by adding a part and scrolling down to frames. Here you can find a frame for your page size like LETTER_L.
Moving/Rotating Parts
Click Group from the left menu and then highlight a section of your schematic to select a single or multiple parts.
Click and hold the group to move parts. Release where you want to place the part.
Right mouse the selected group to see options.
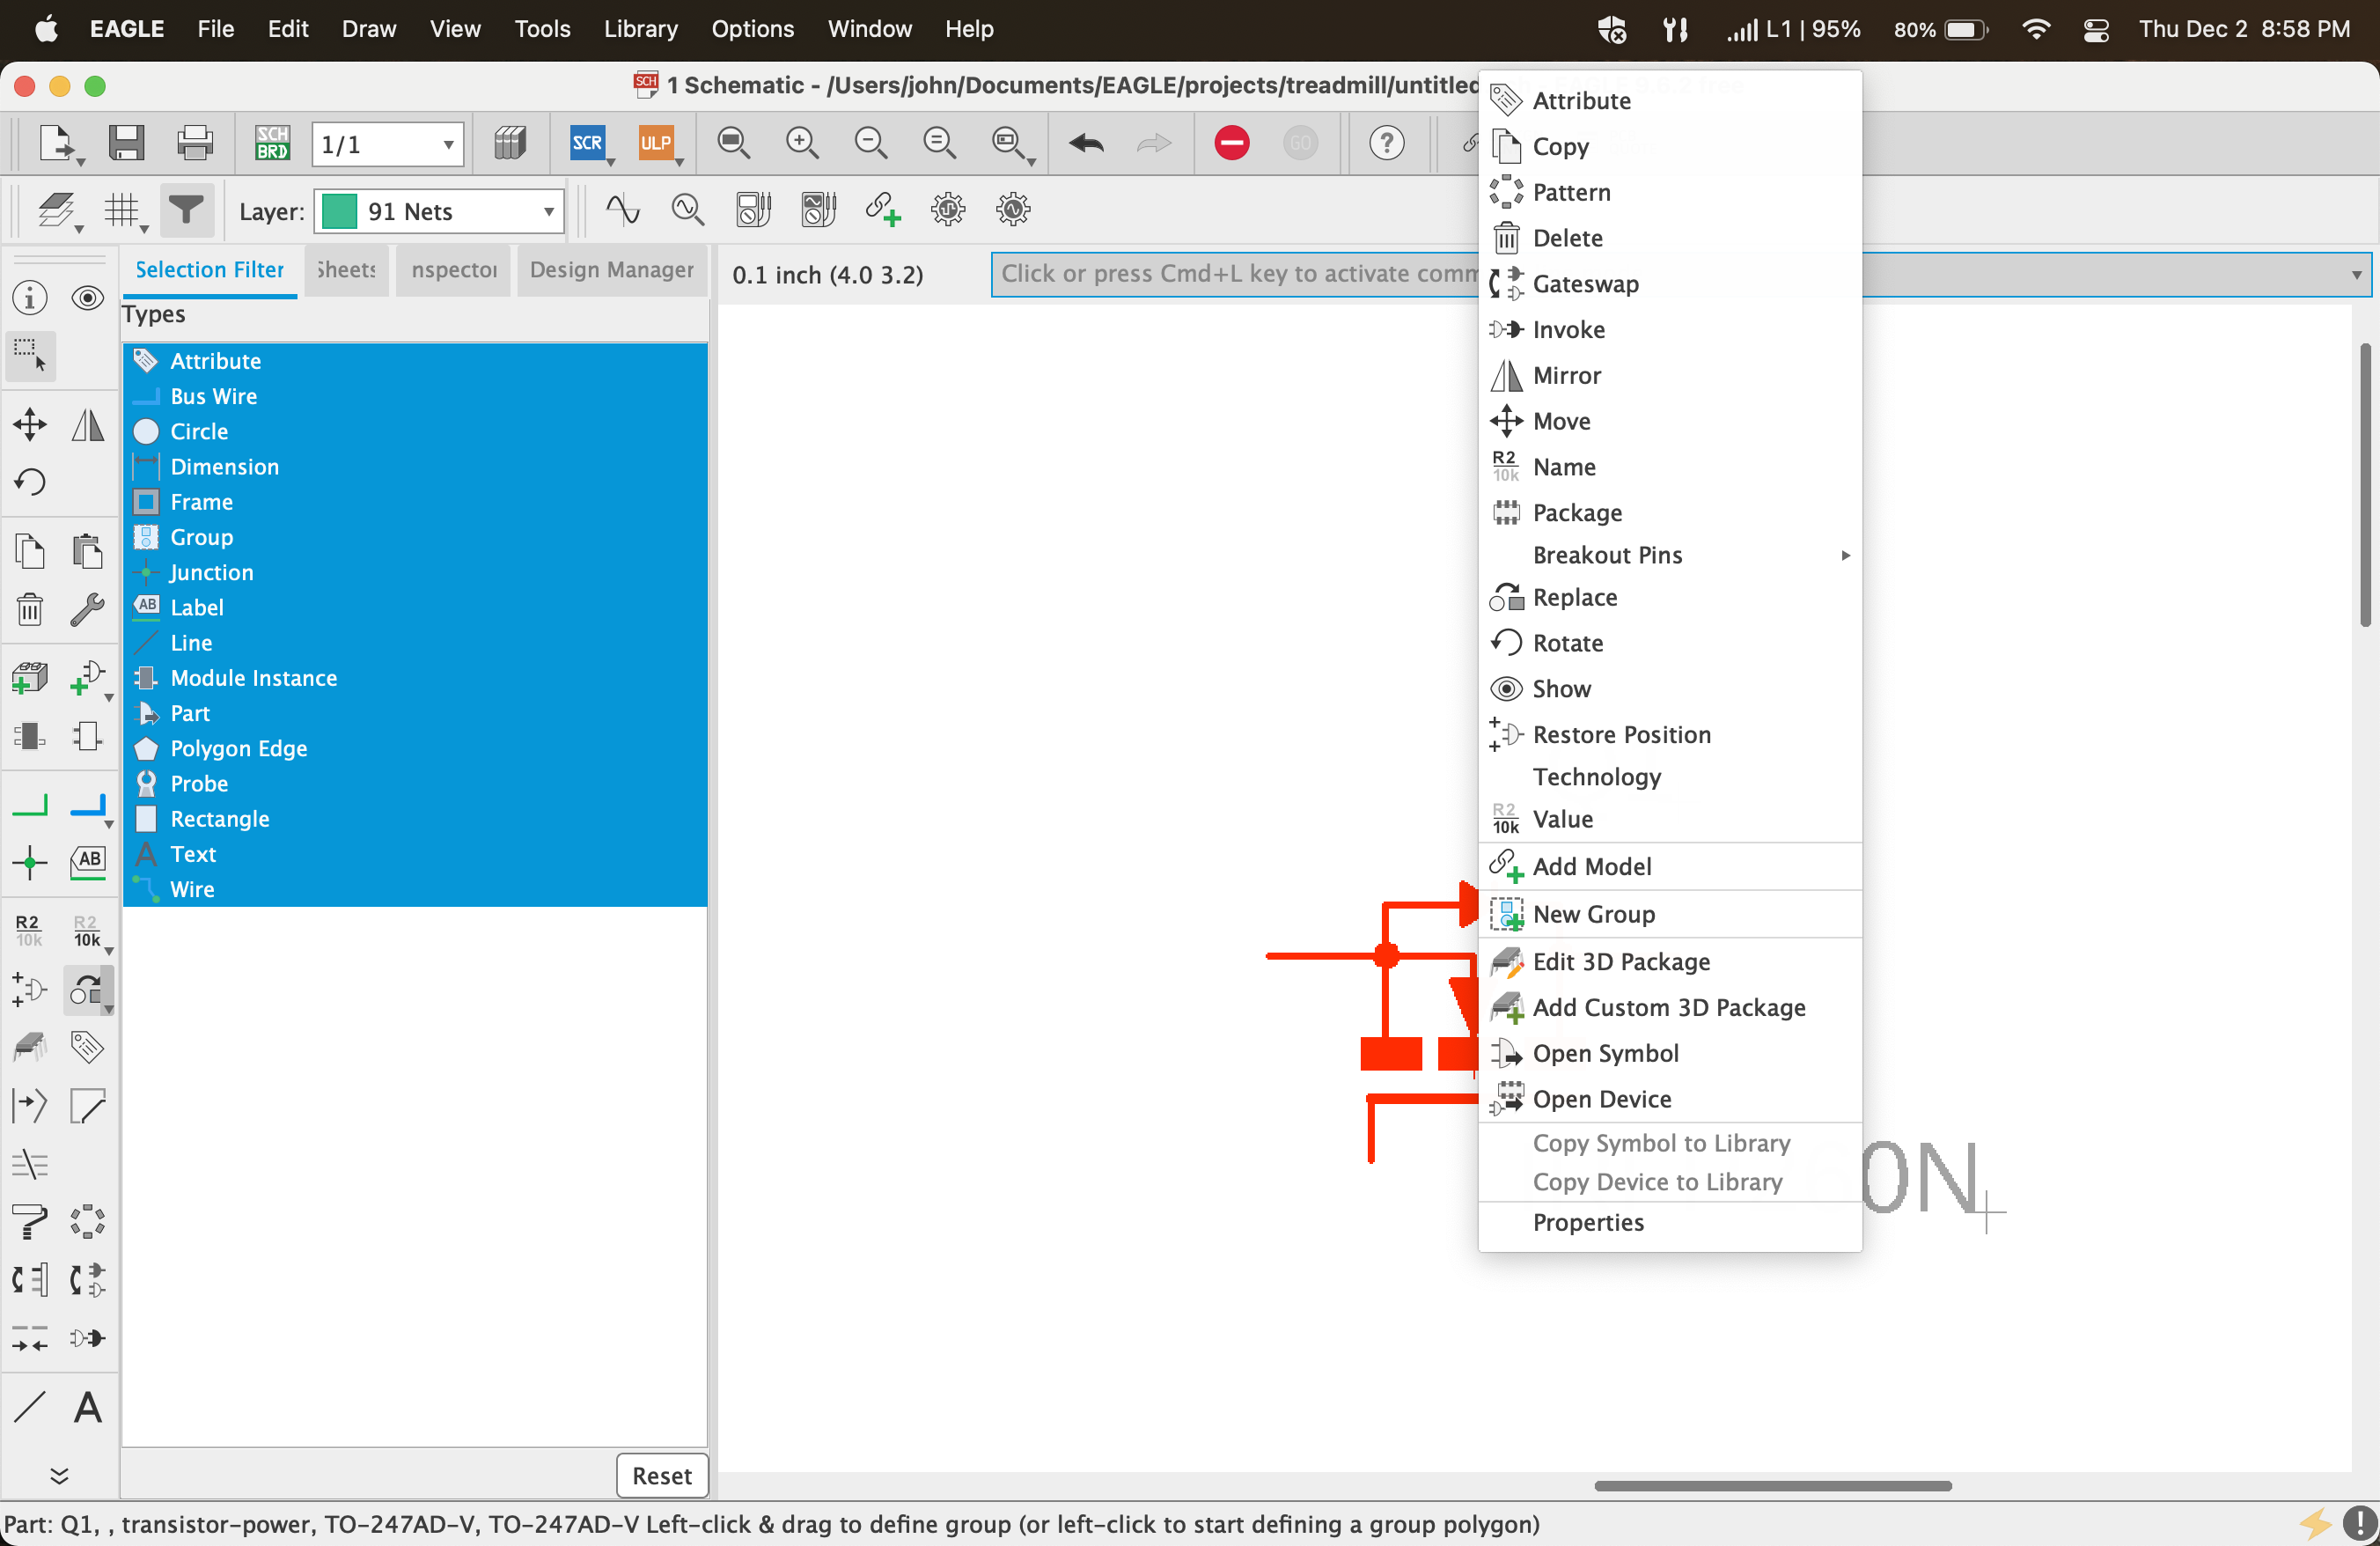
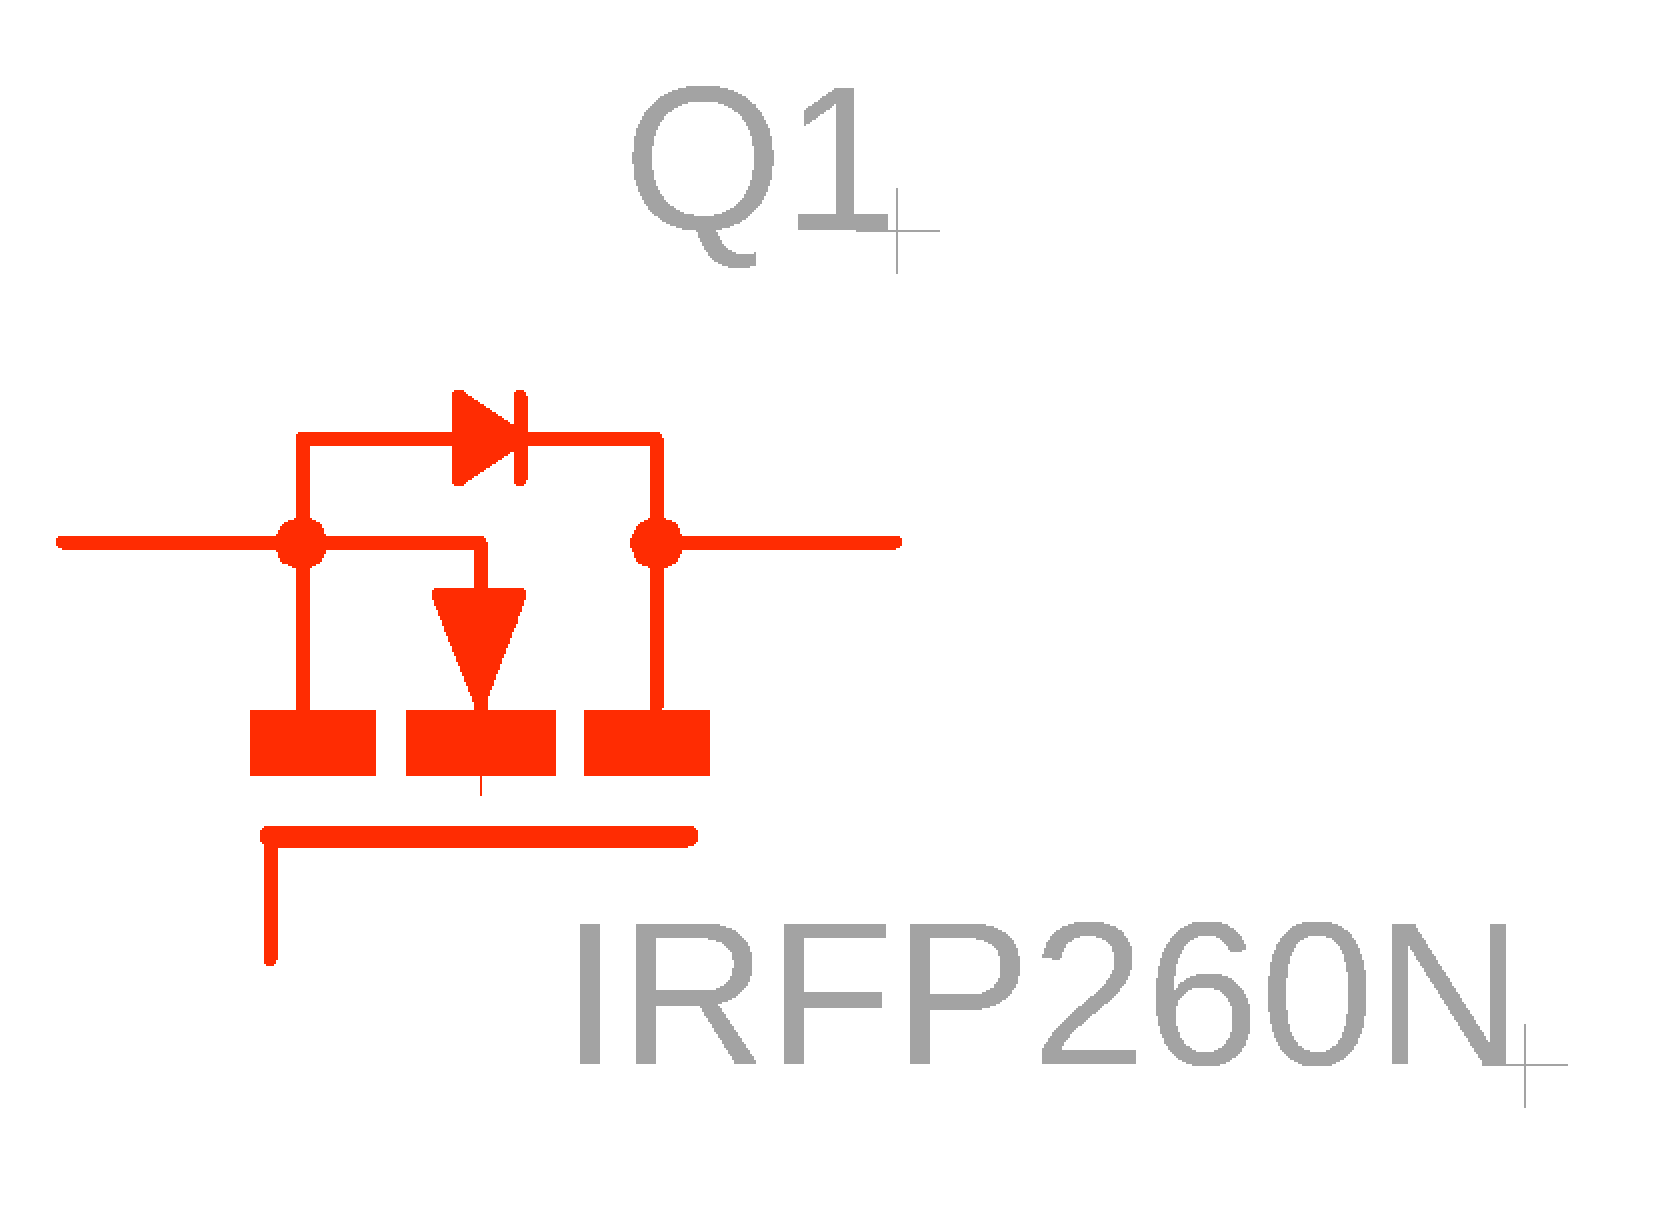
Click the cross hairs to manipulate parts of the group. (see the crosshairs at the bottom right corner of Q1).
References
| Reference | URL |
|---|---|
Getting Started Autodesk EAGLE MAY 2019 | https://www.youtube.com/watch?v=v979MUCKVoo |