![](/download/attachments/75530299/image2023-1-24_19-38-28.png?version=1&modificationDate=1674607978000&api=v2)
Tear Down
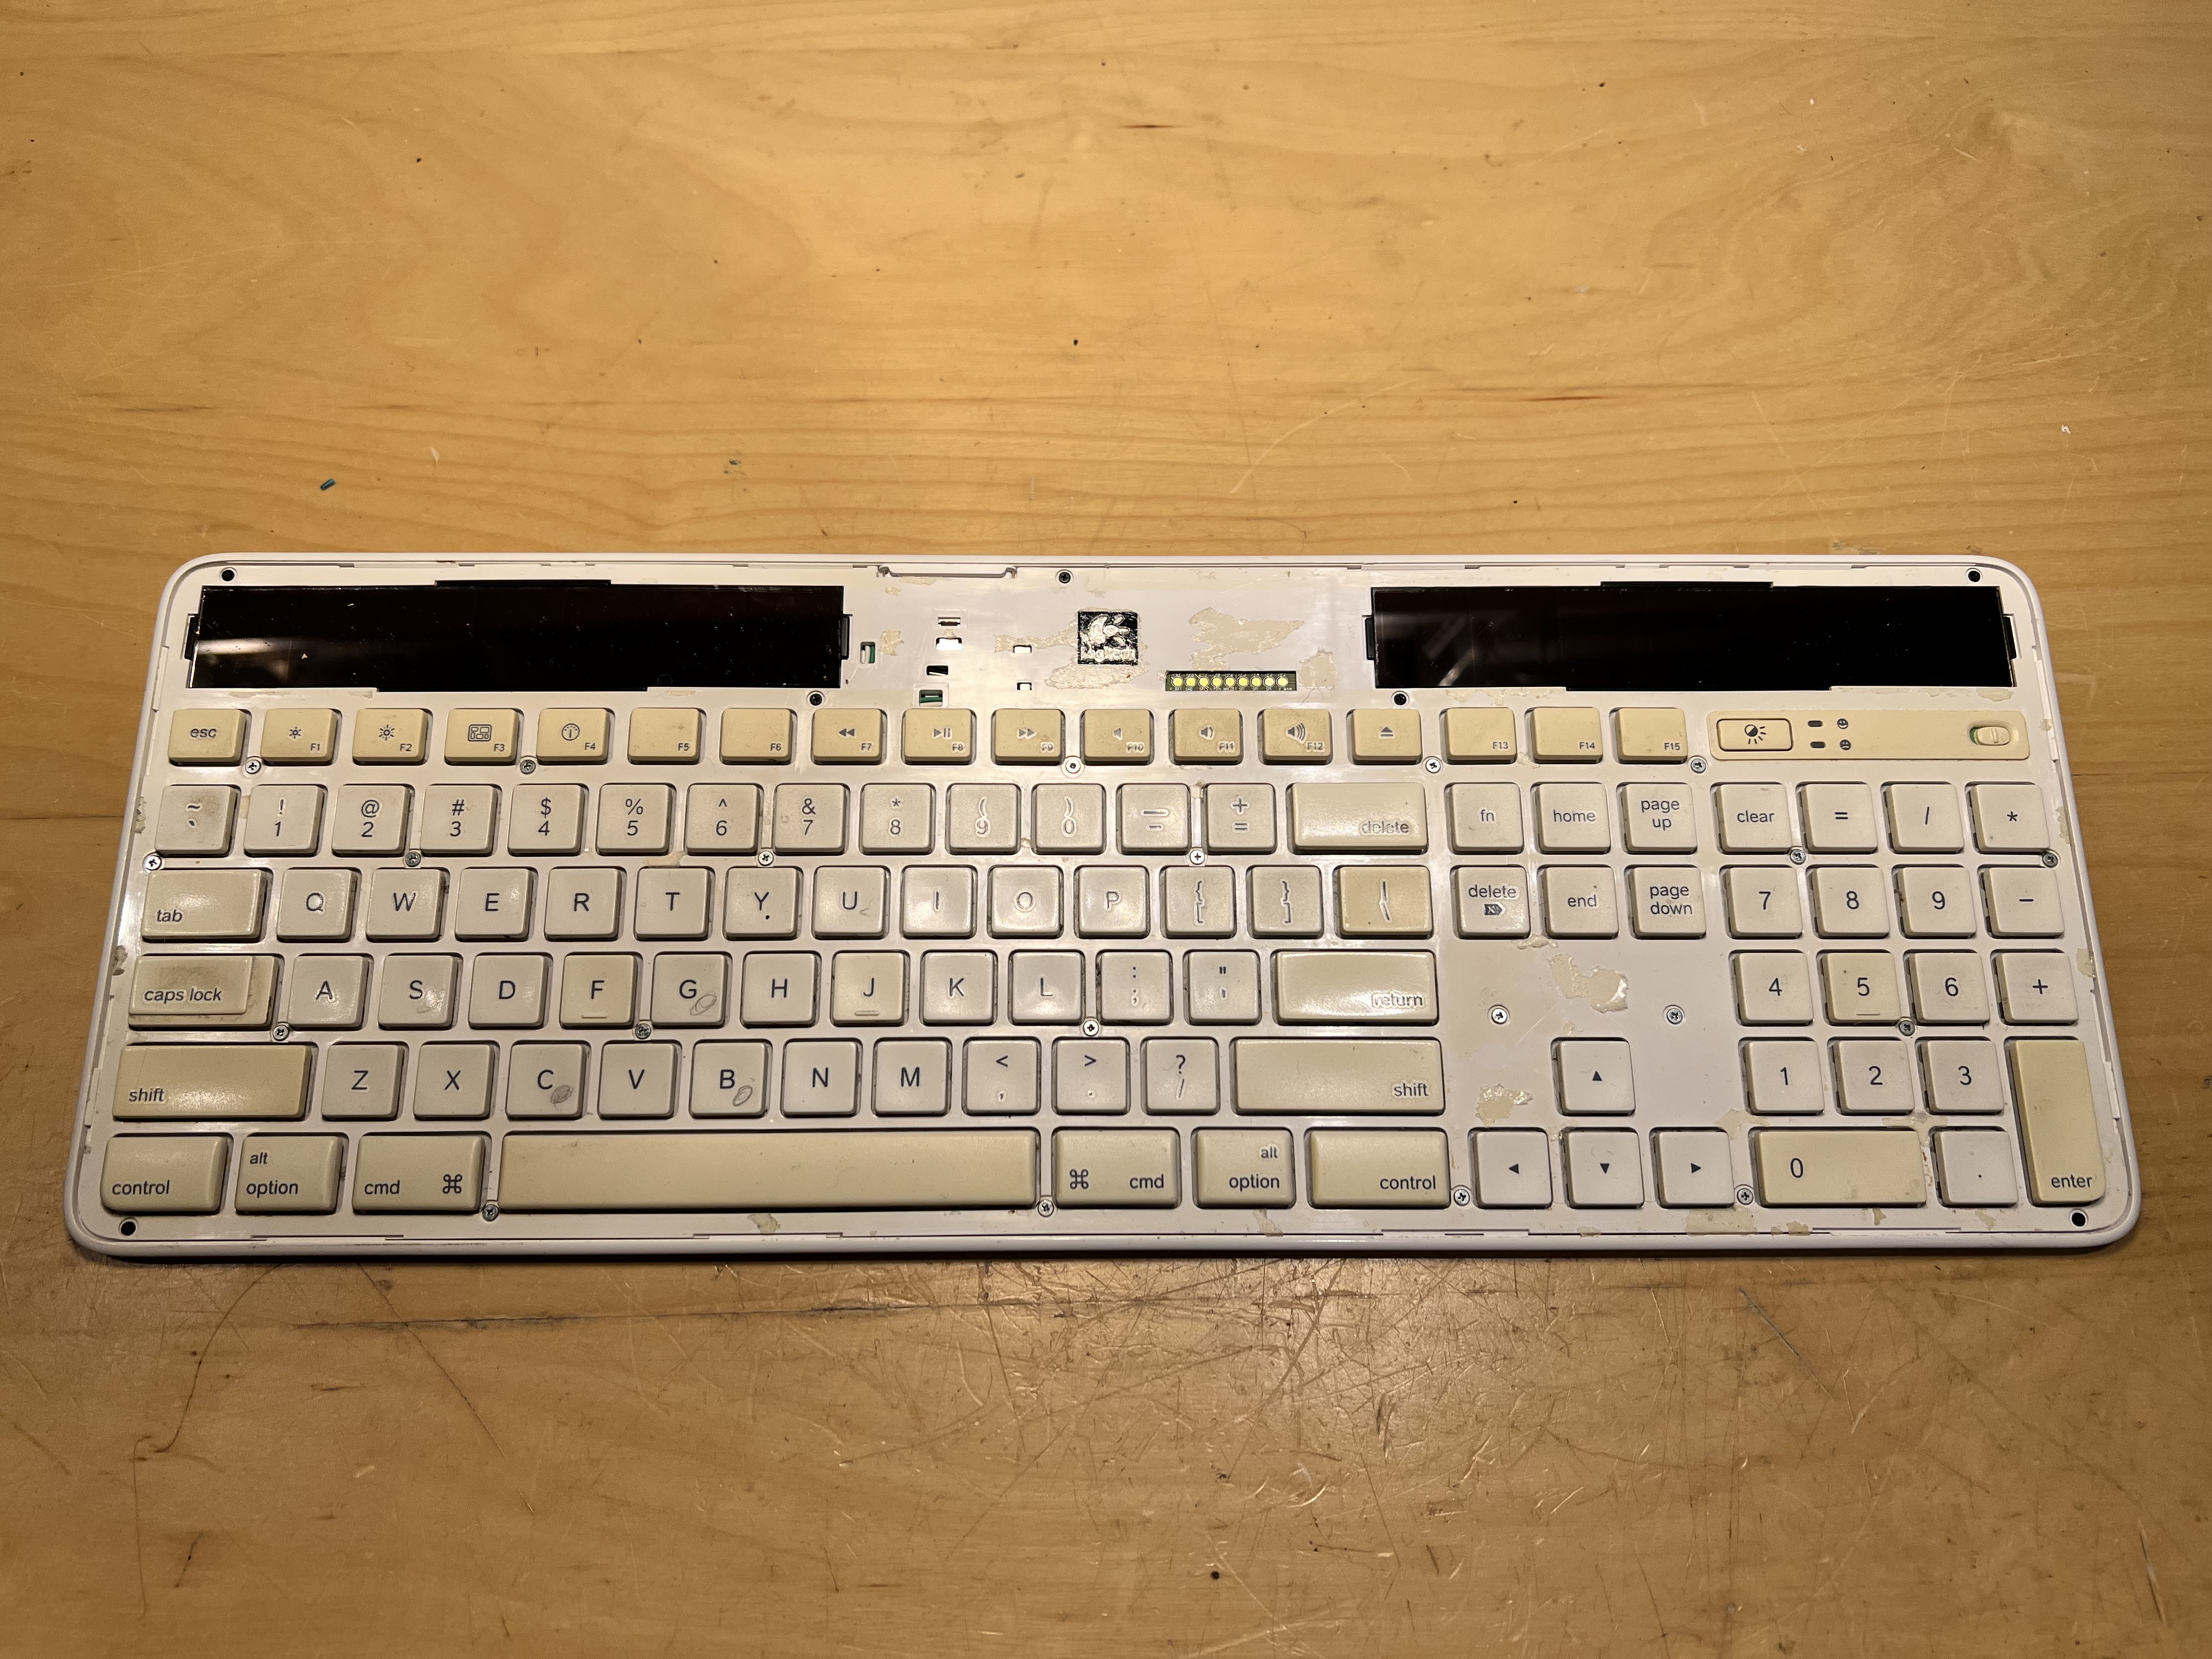
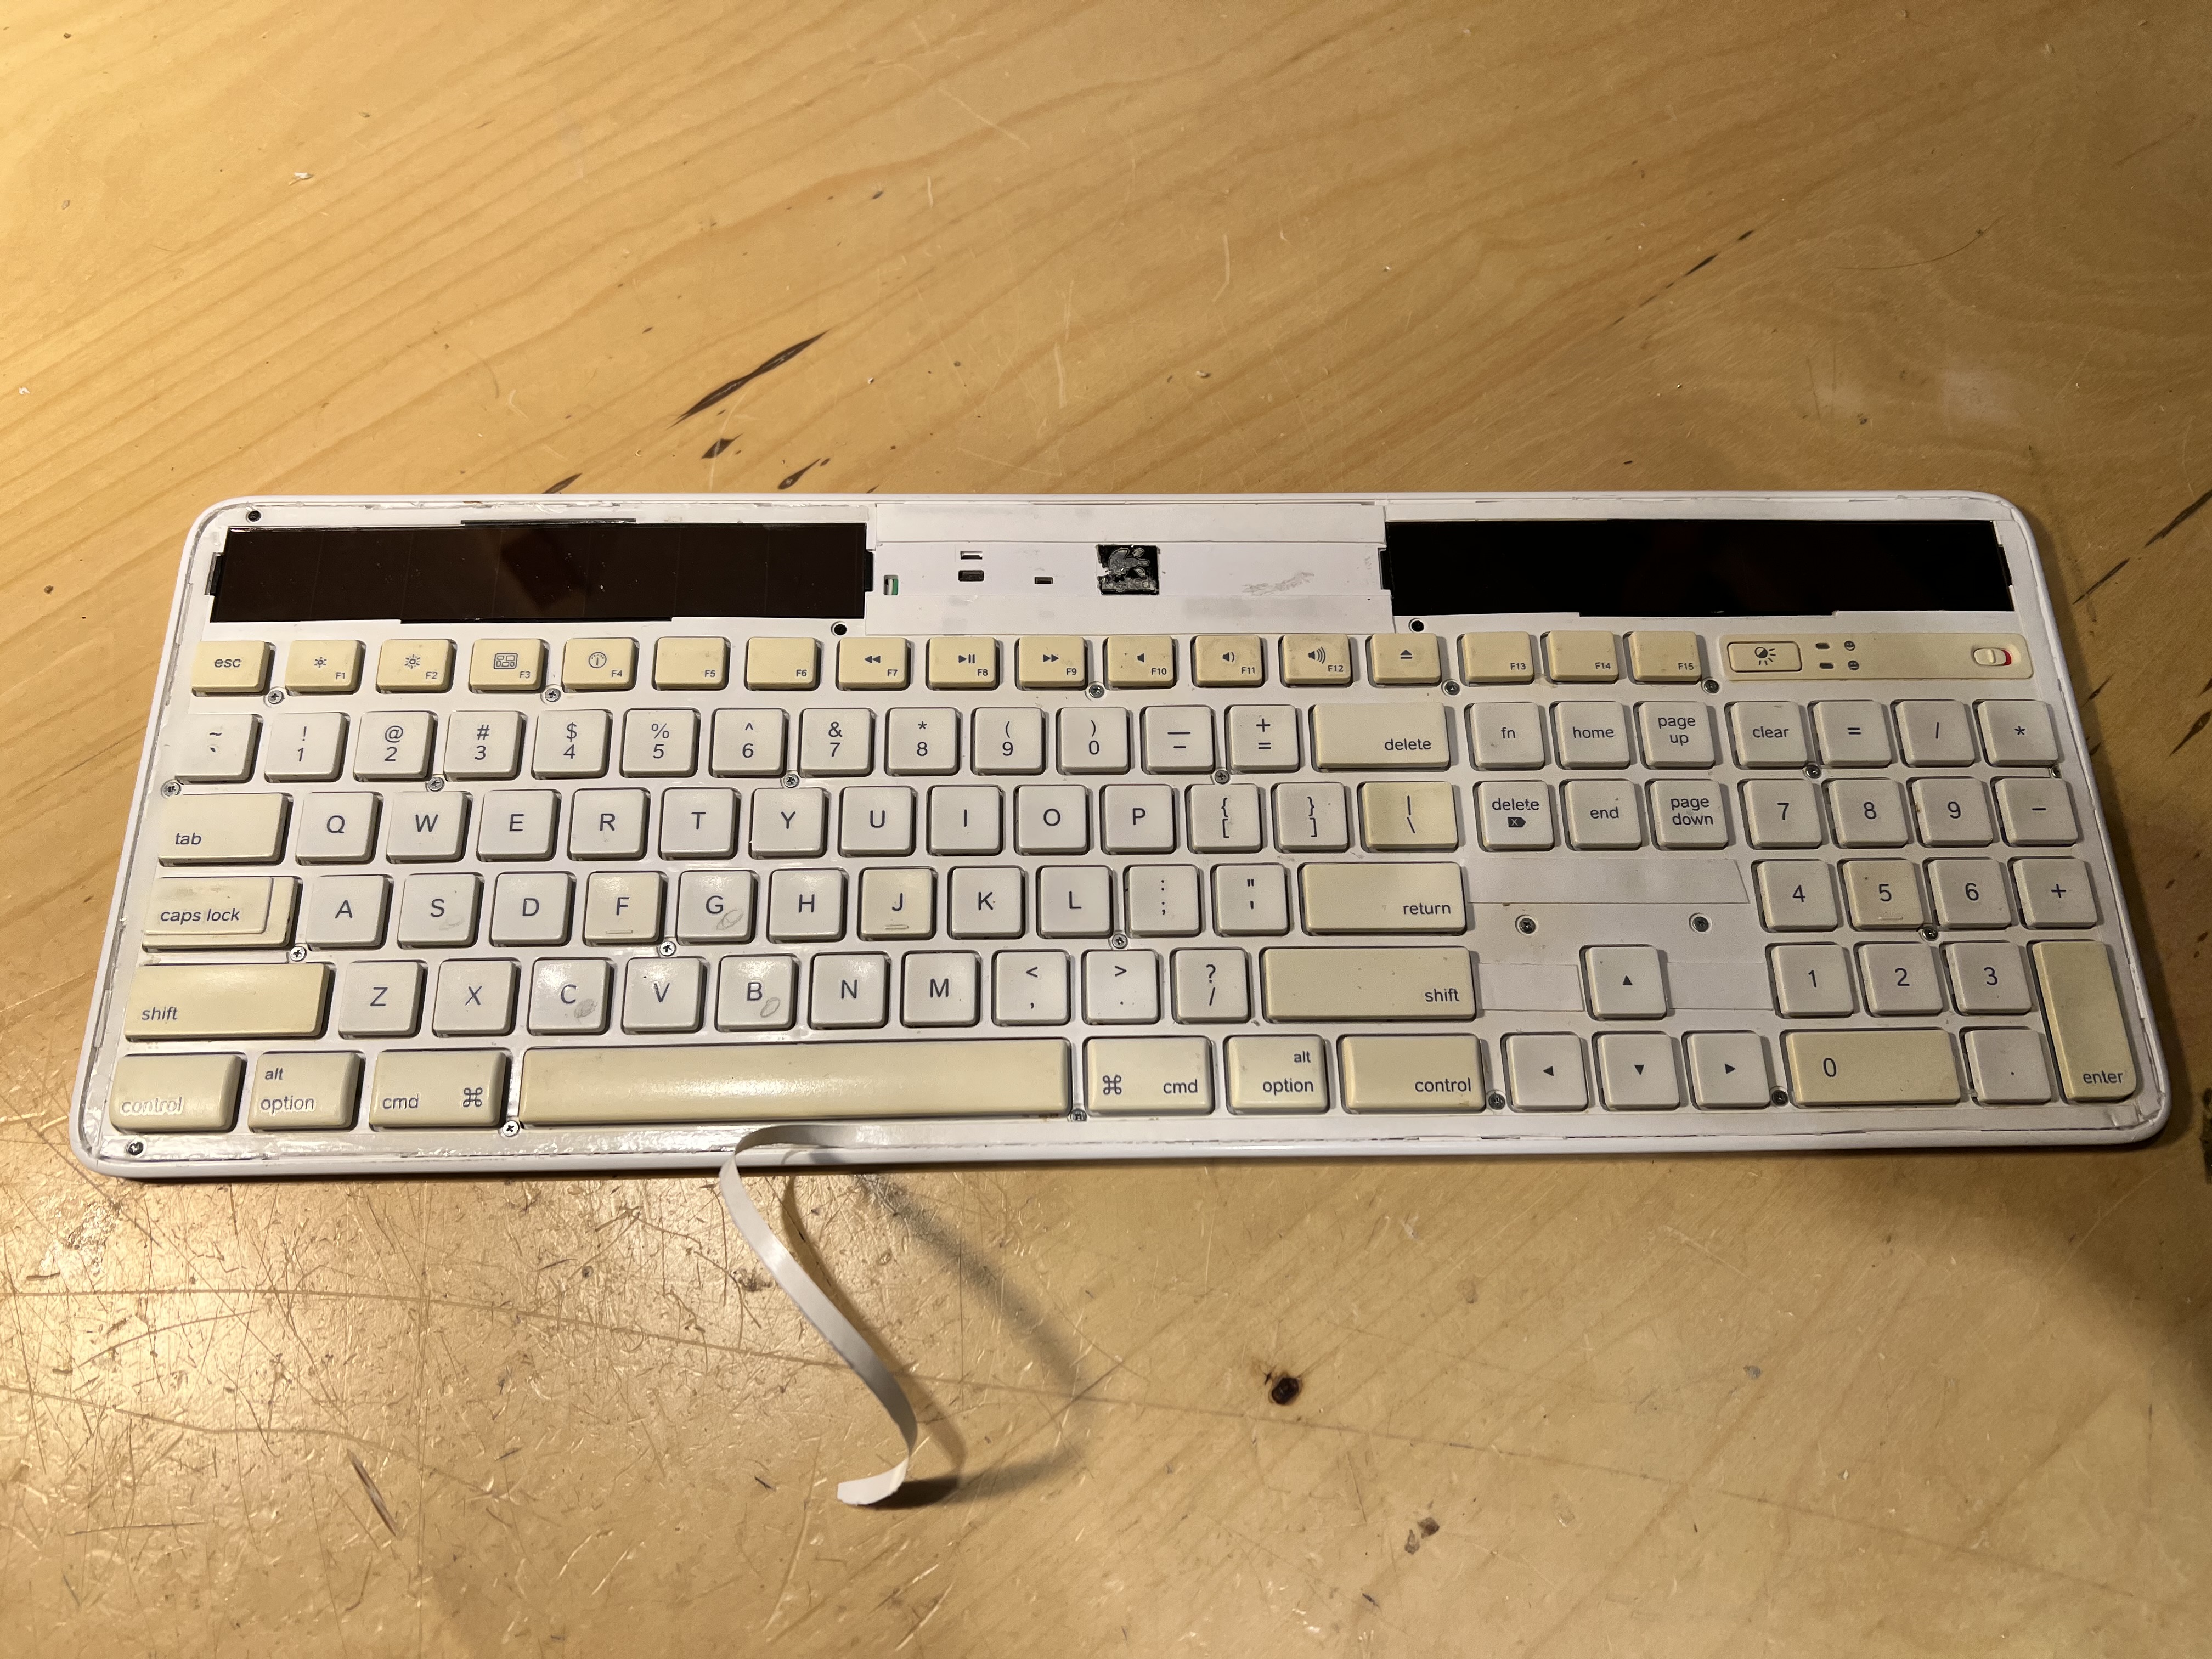
- Start by pealing off the plastic cover revealing the screws
![](/download/attachments/75530299/IMG_1703.jpeg?version=1&modificationDate=1674607978000&api=v2)
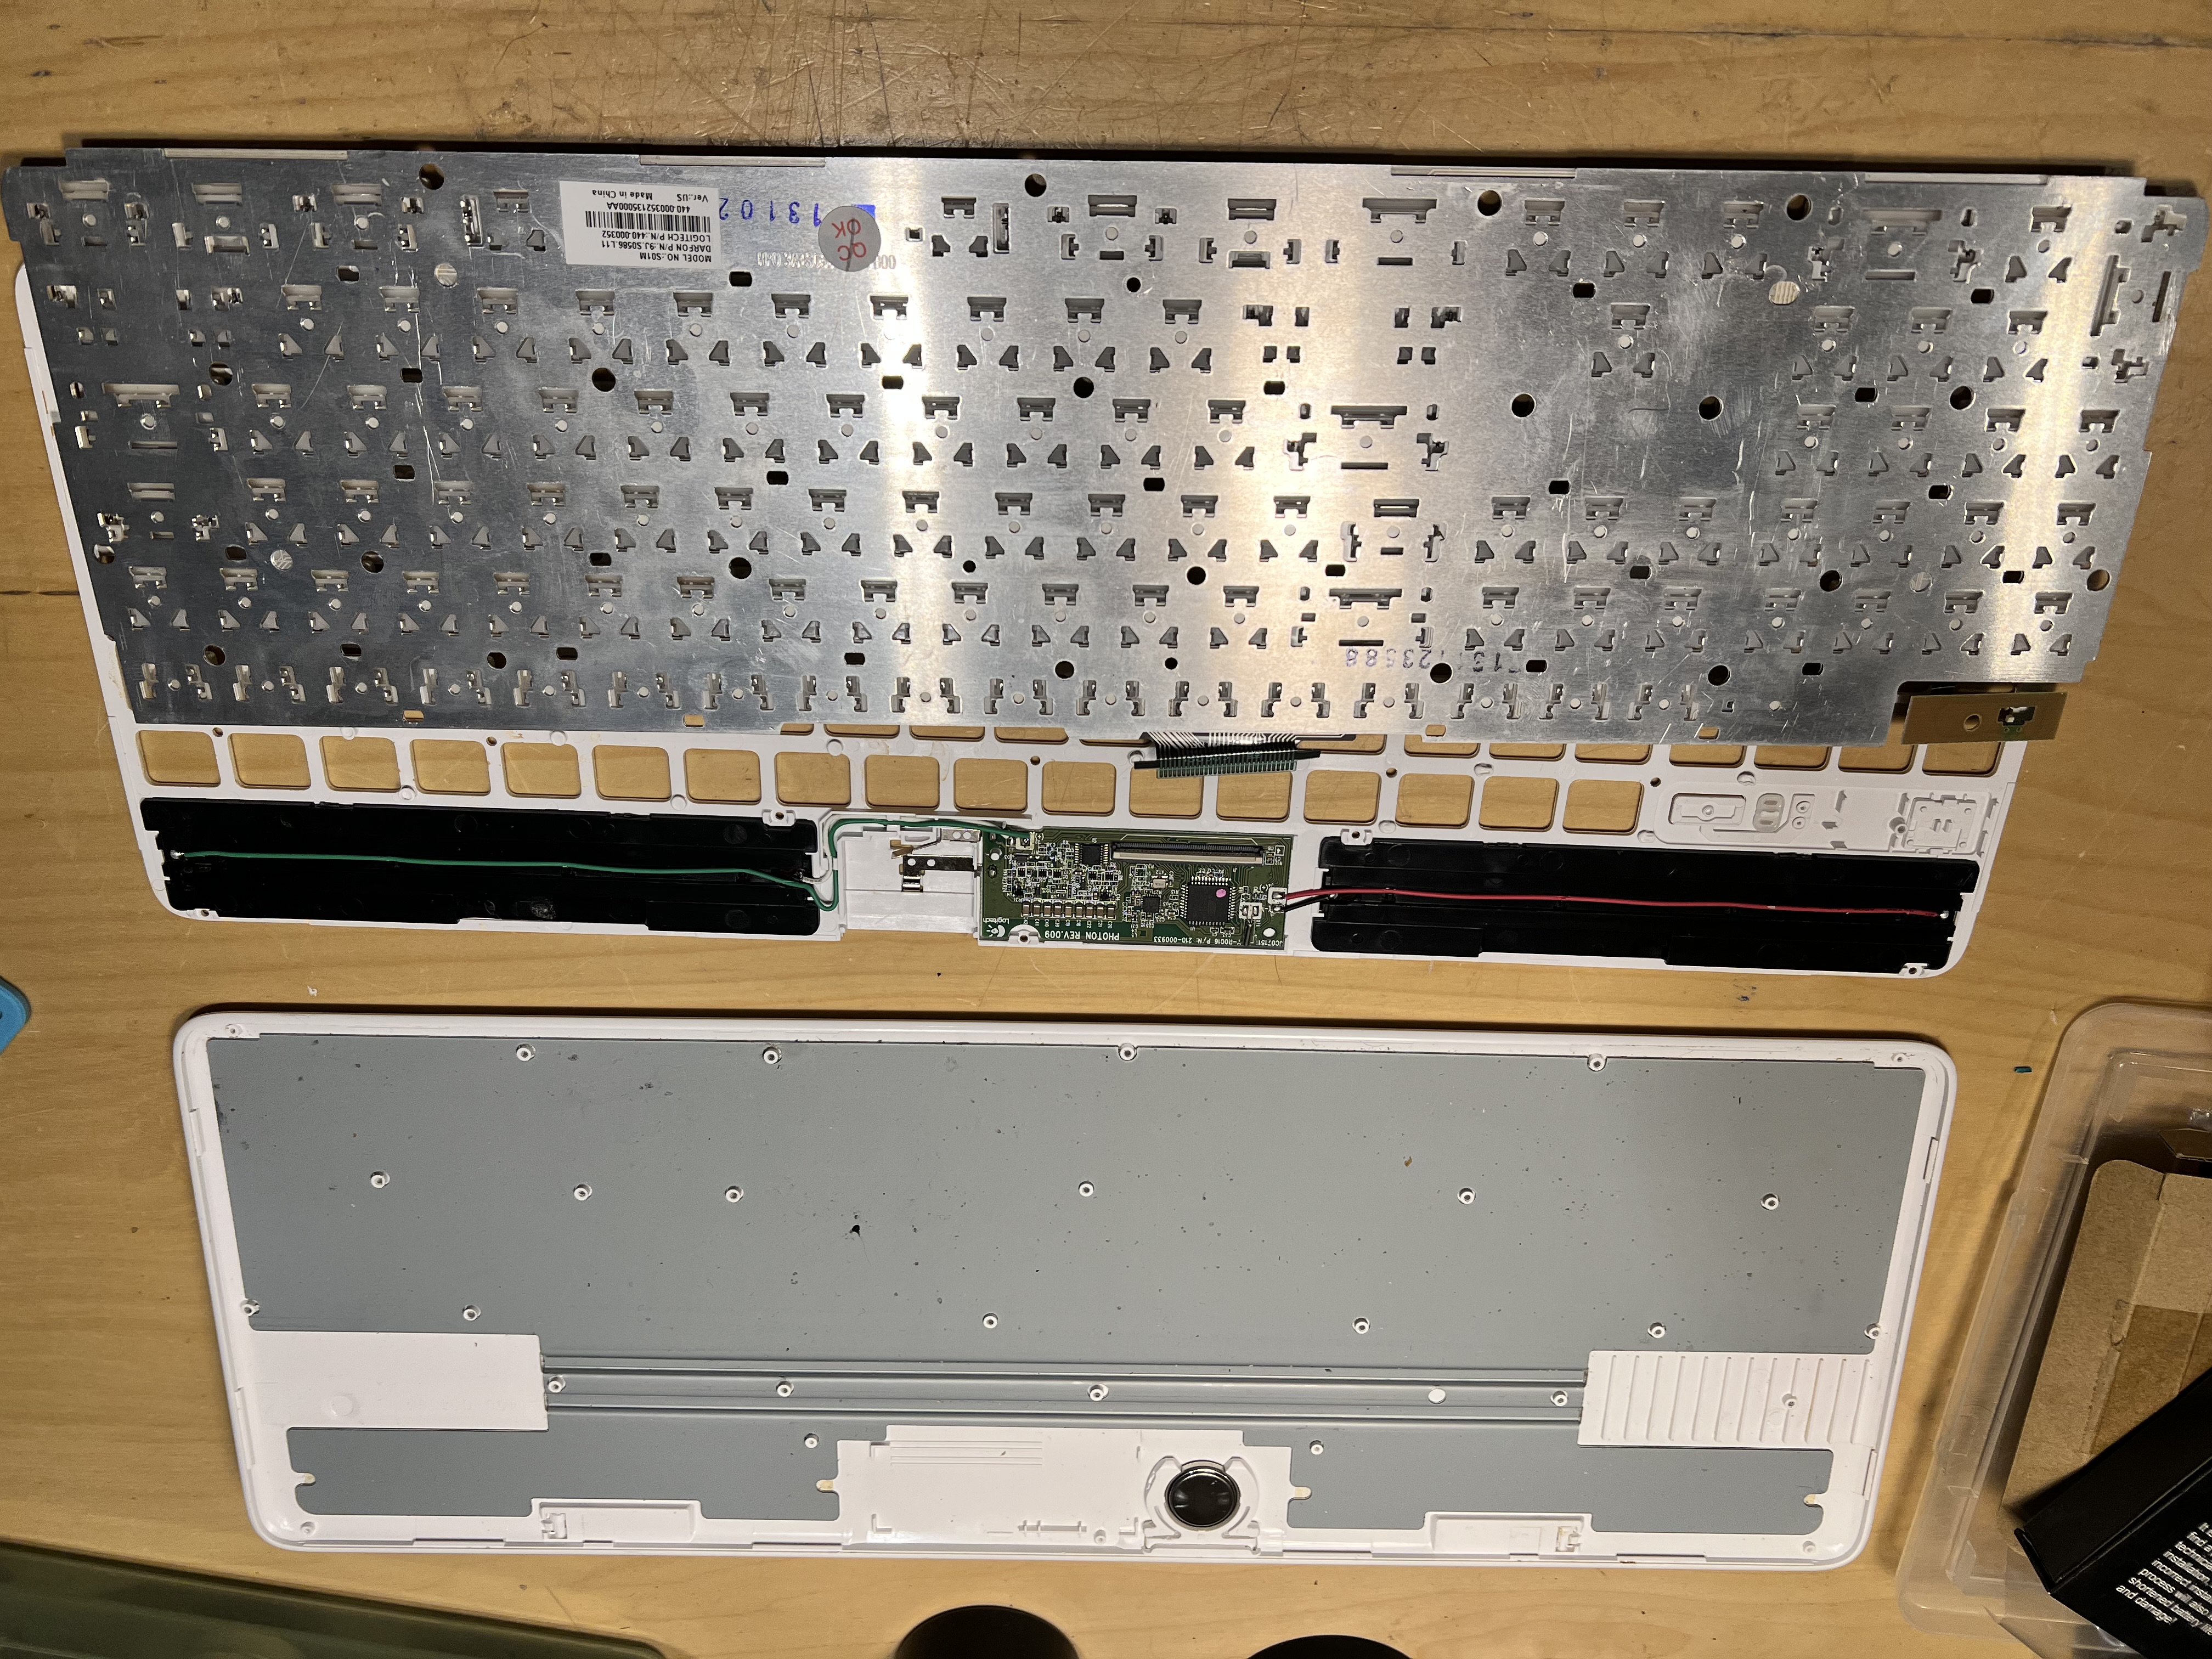
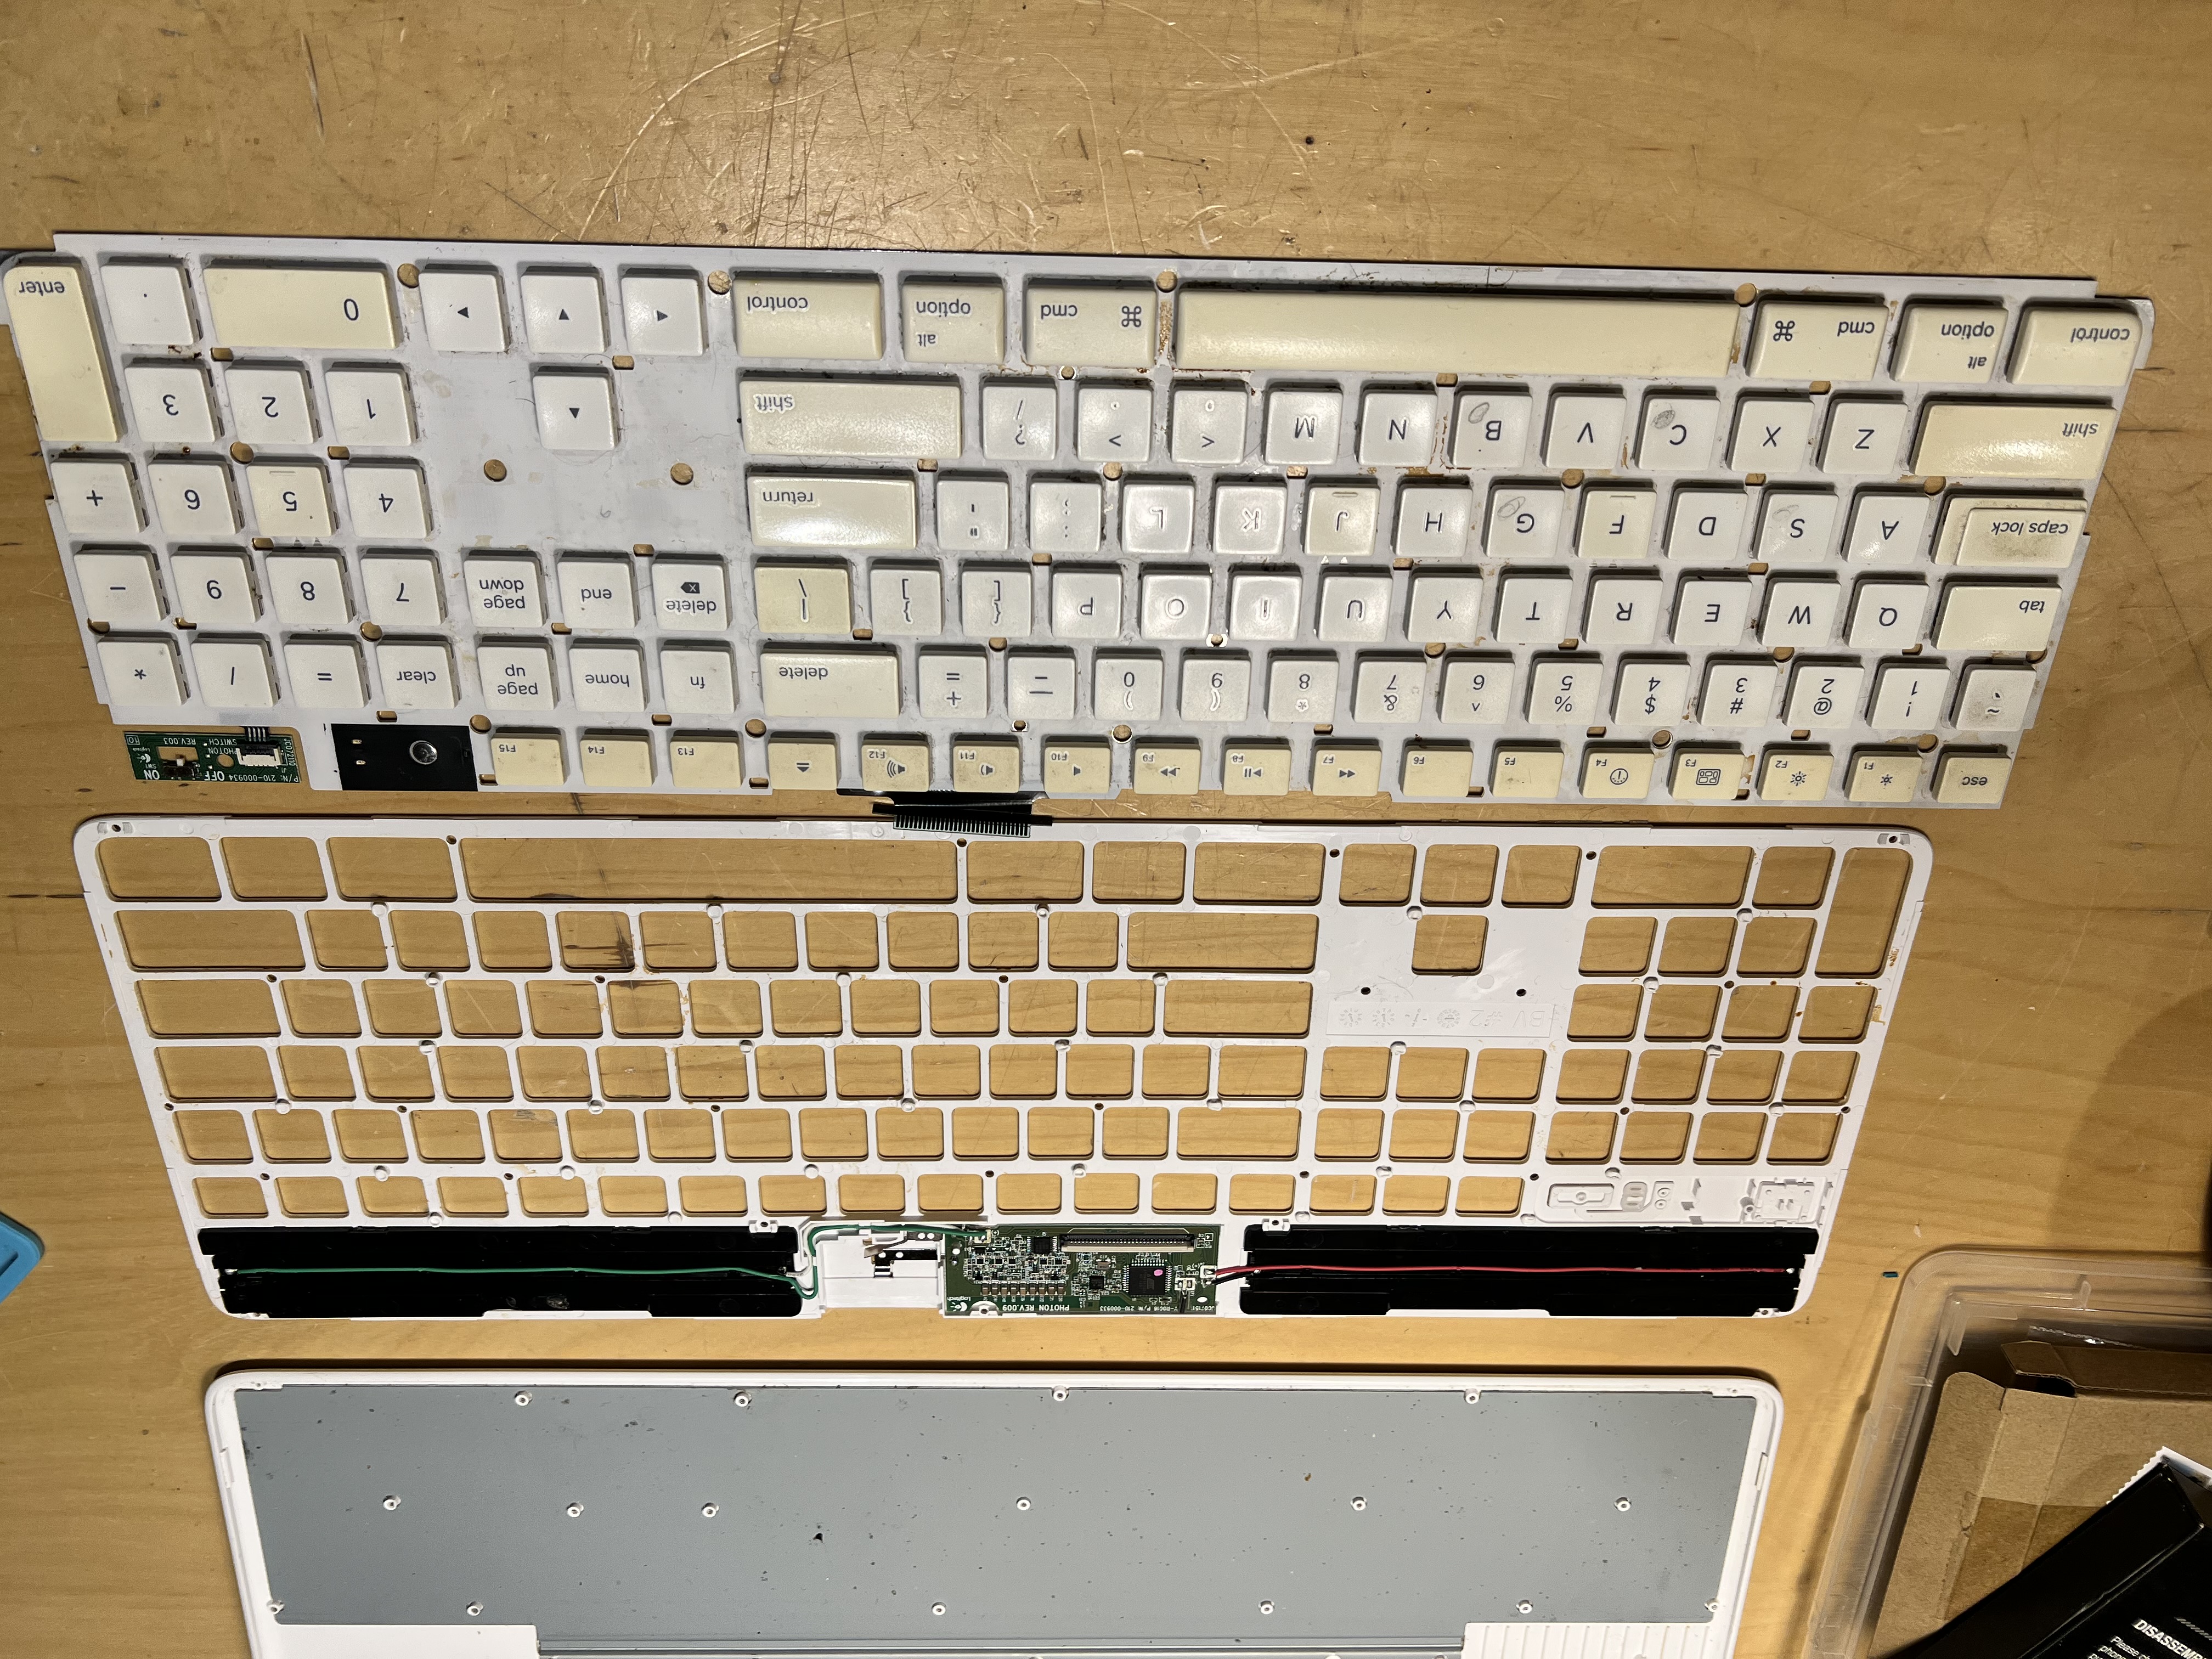
- Remove the screws and pry the main keyboard away from the back.
![](/download/attachments/75530299/IMG_1704.jpeg?version=1&modificationDate=1674607978000&api=v2)
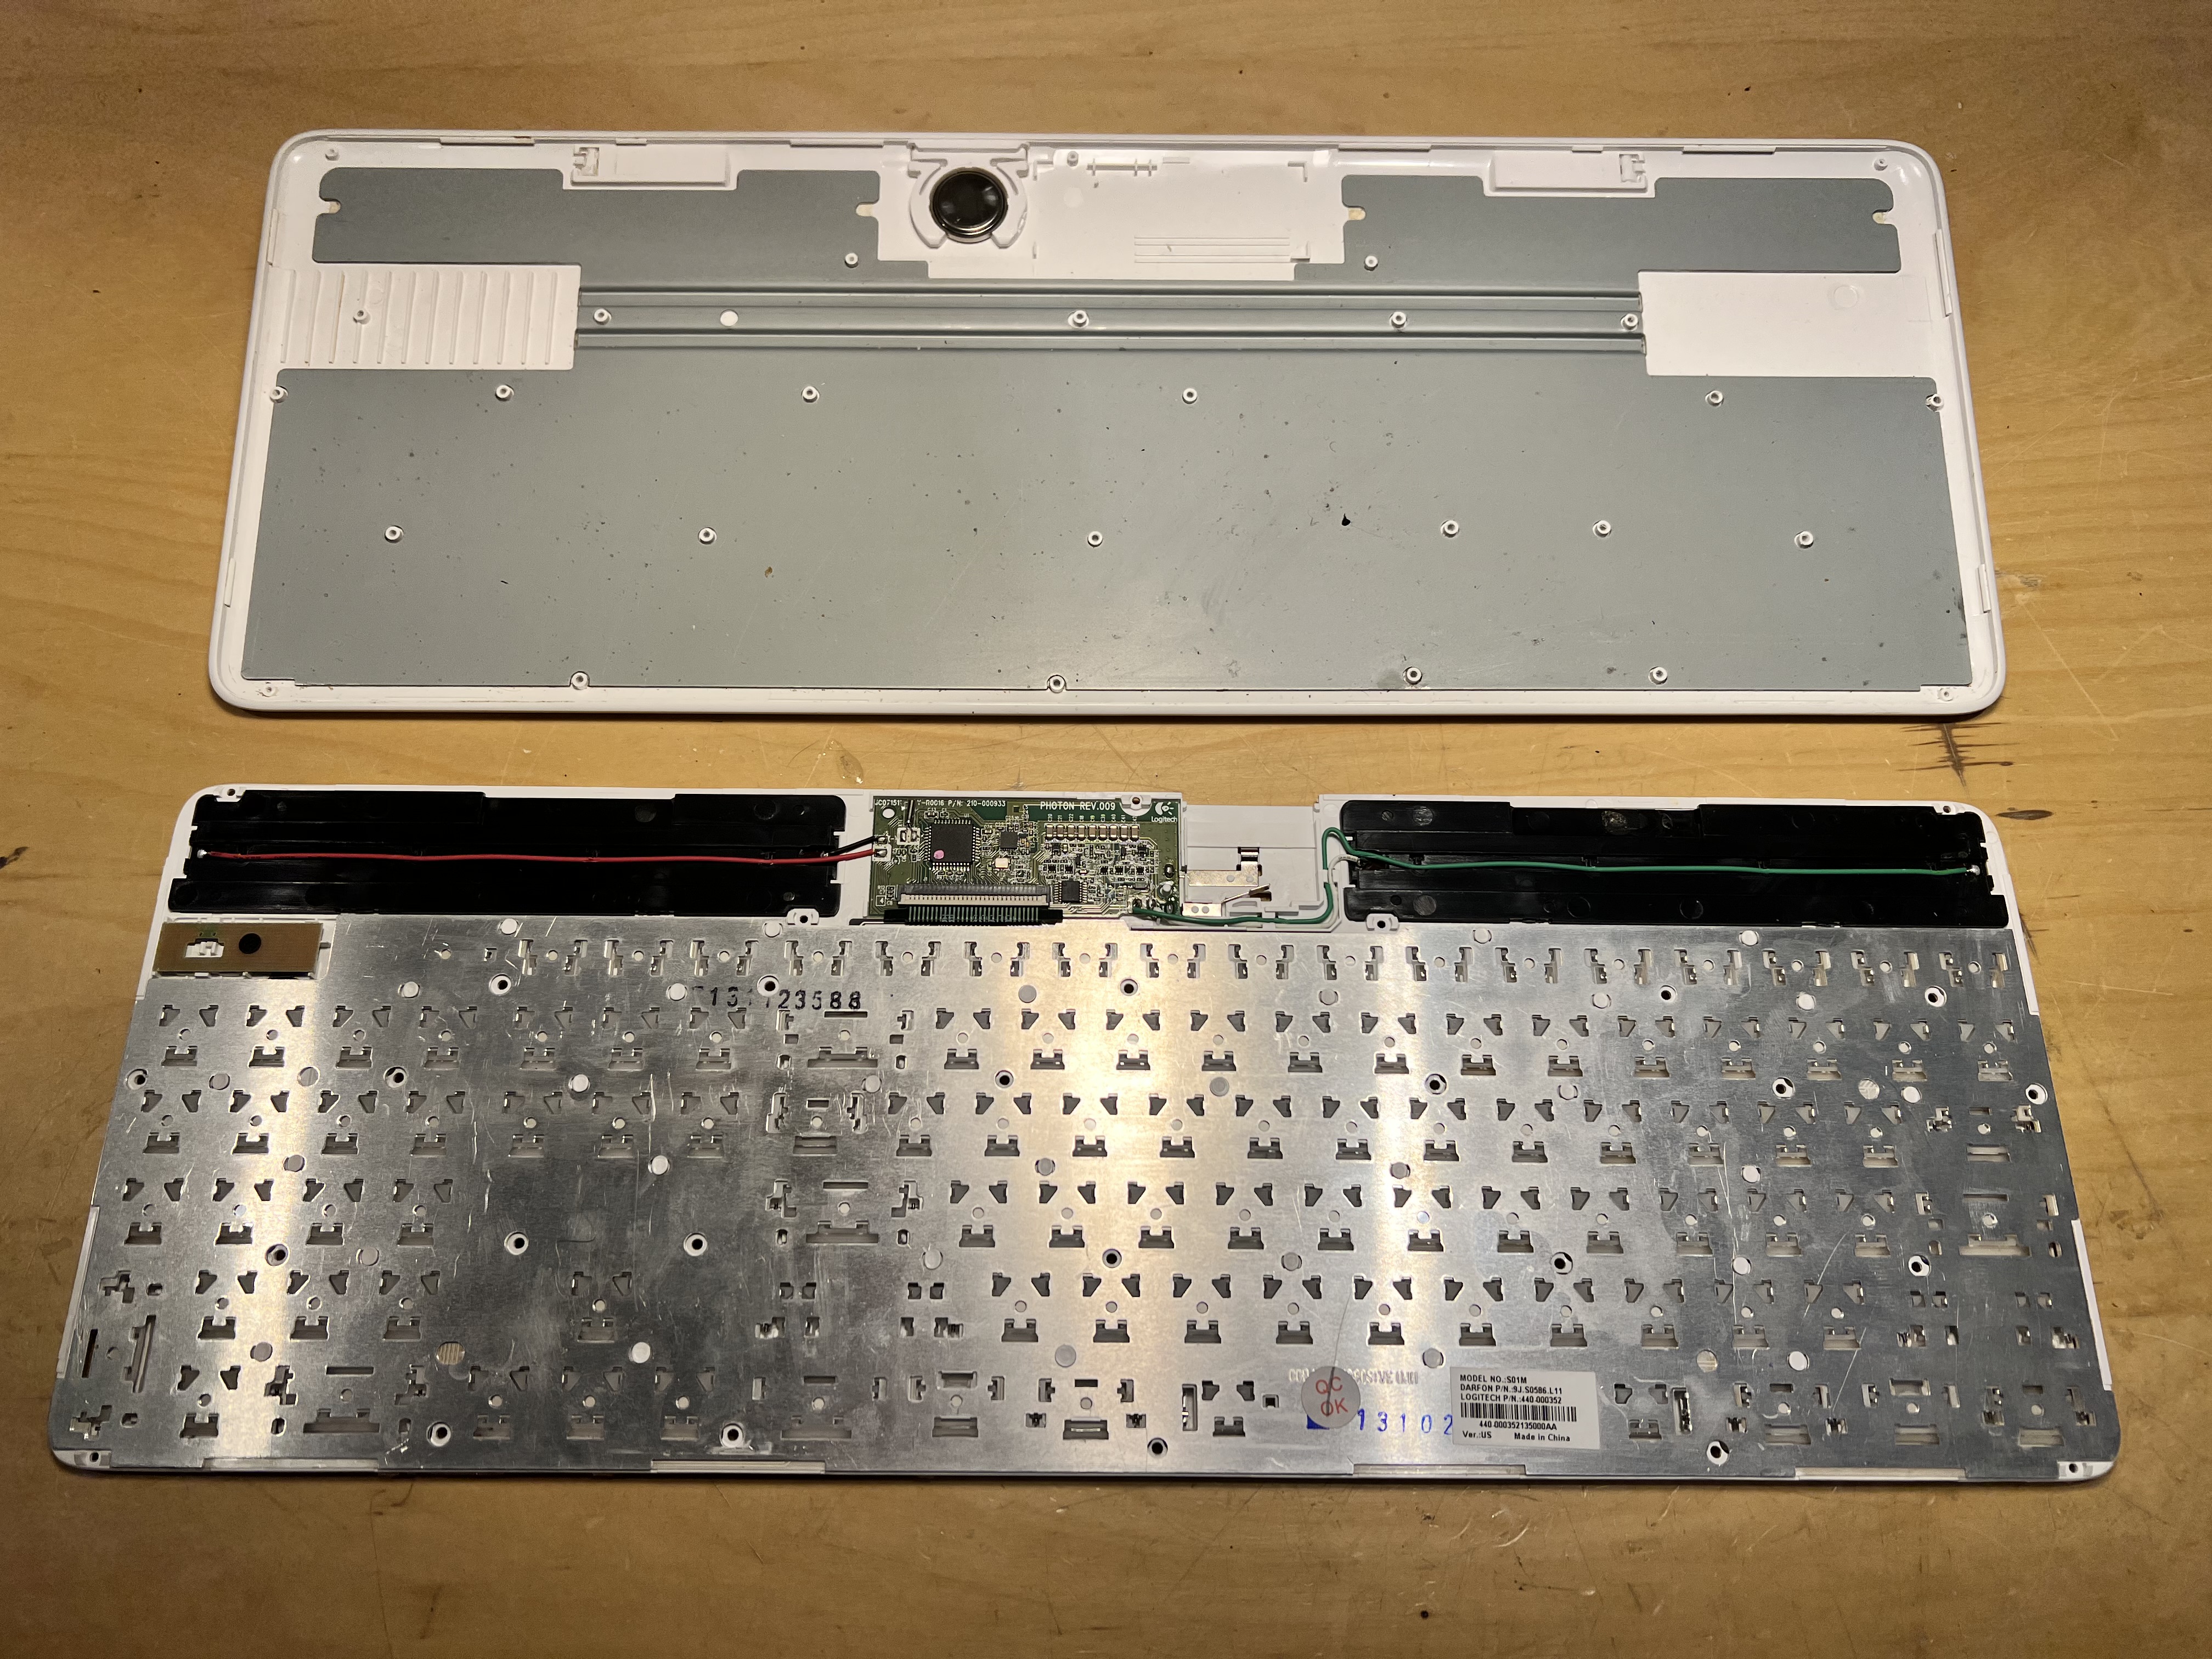
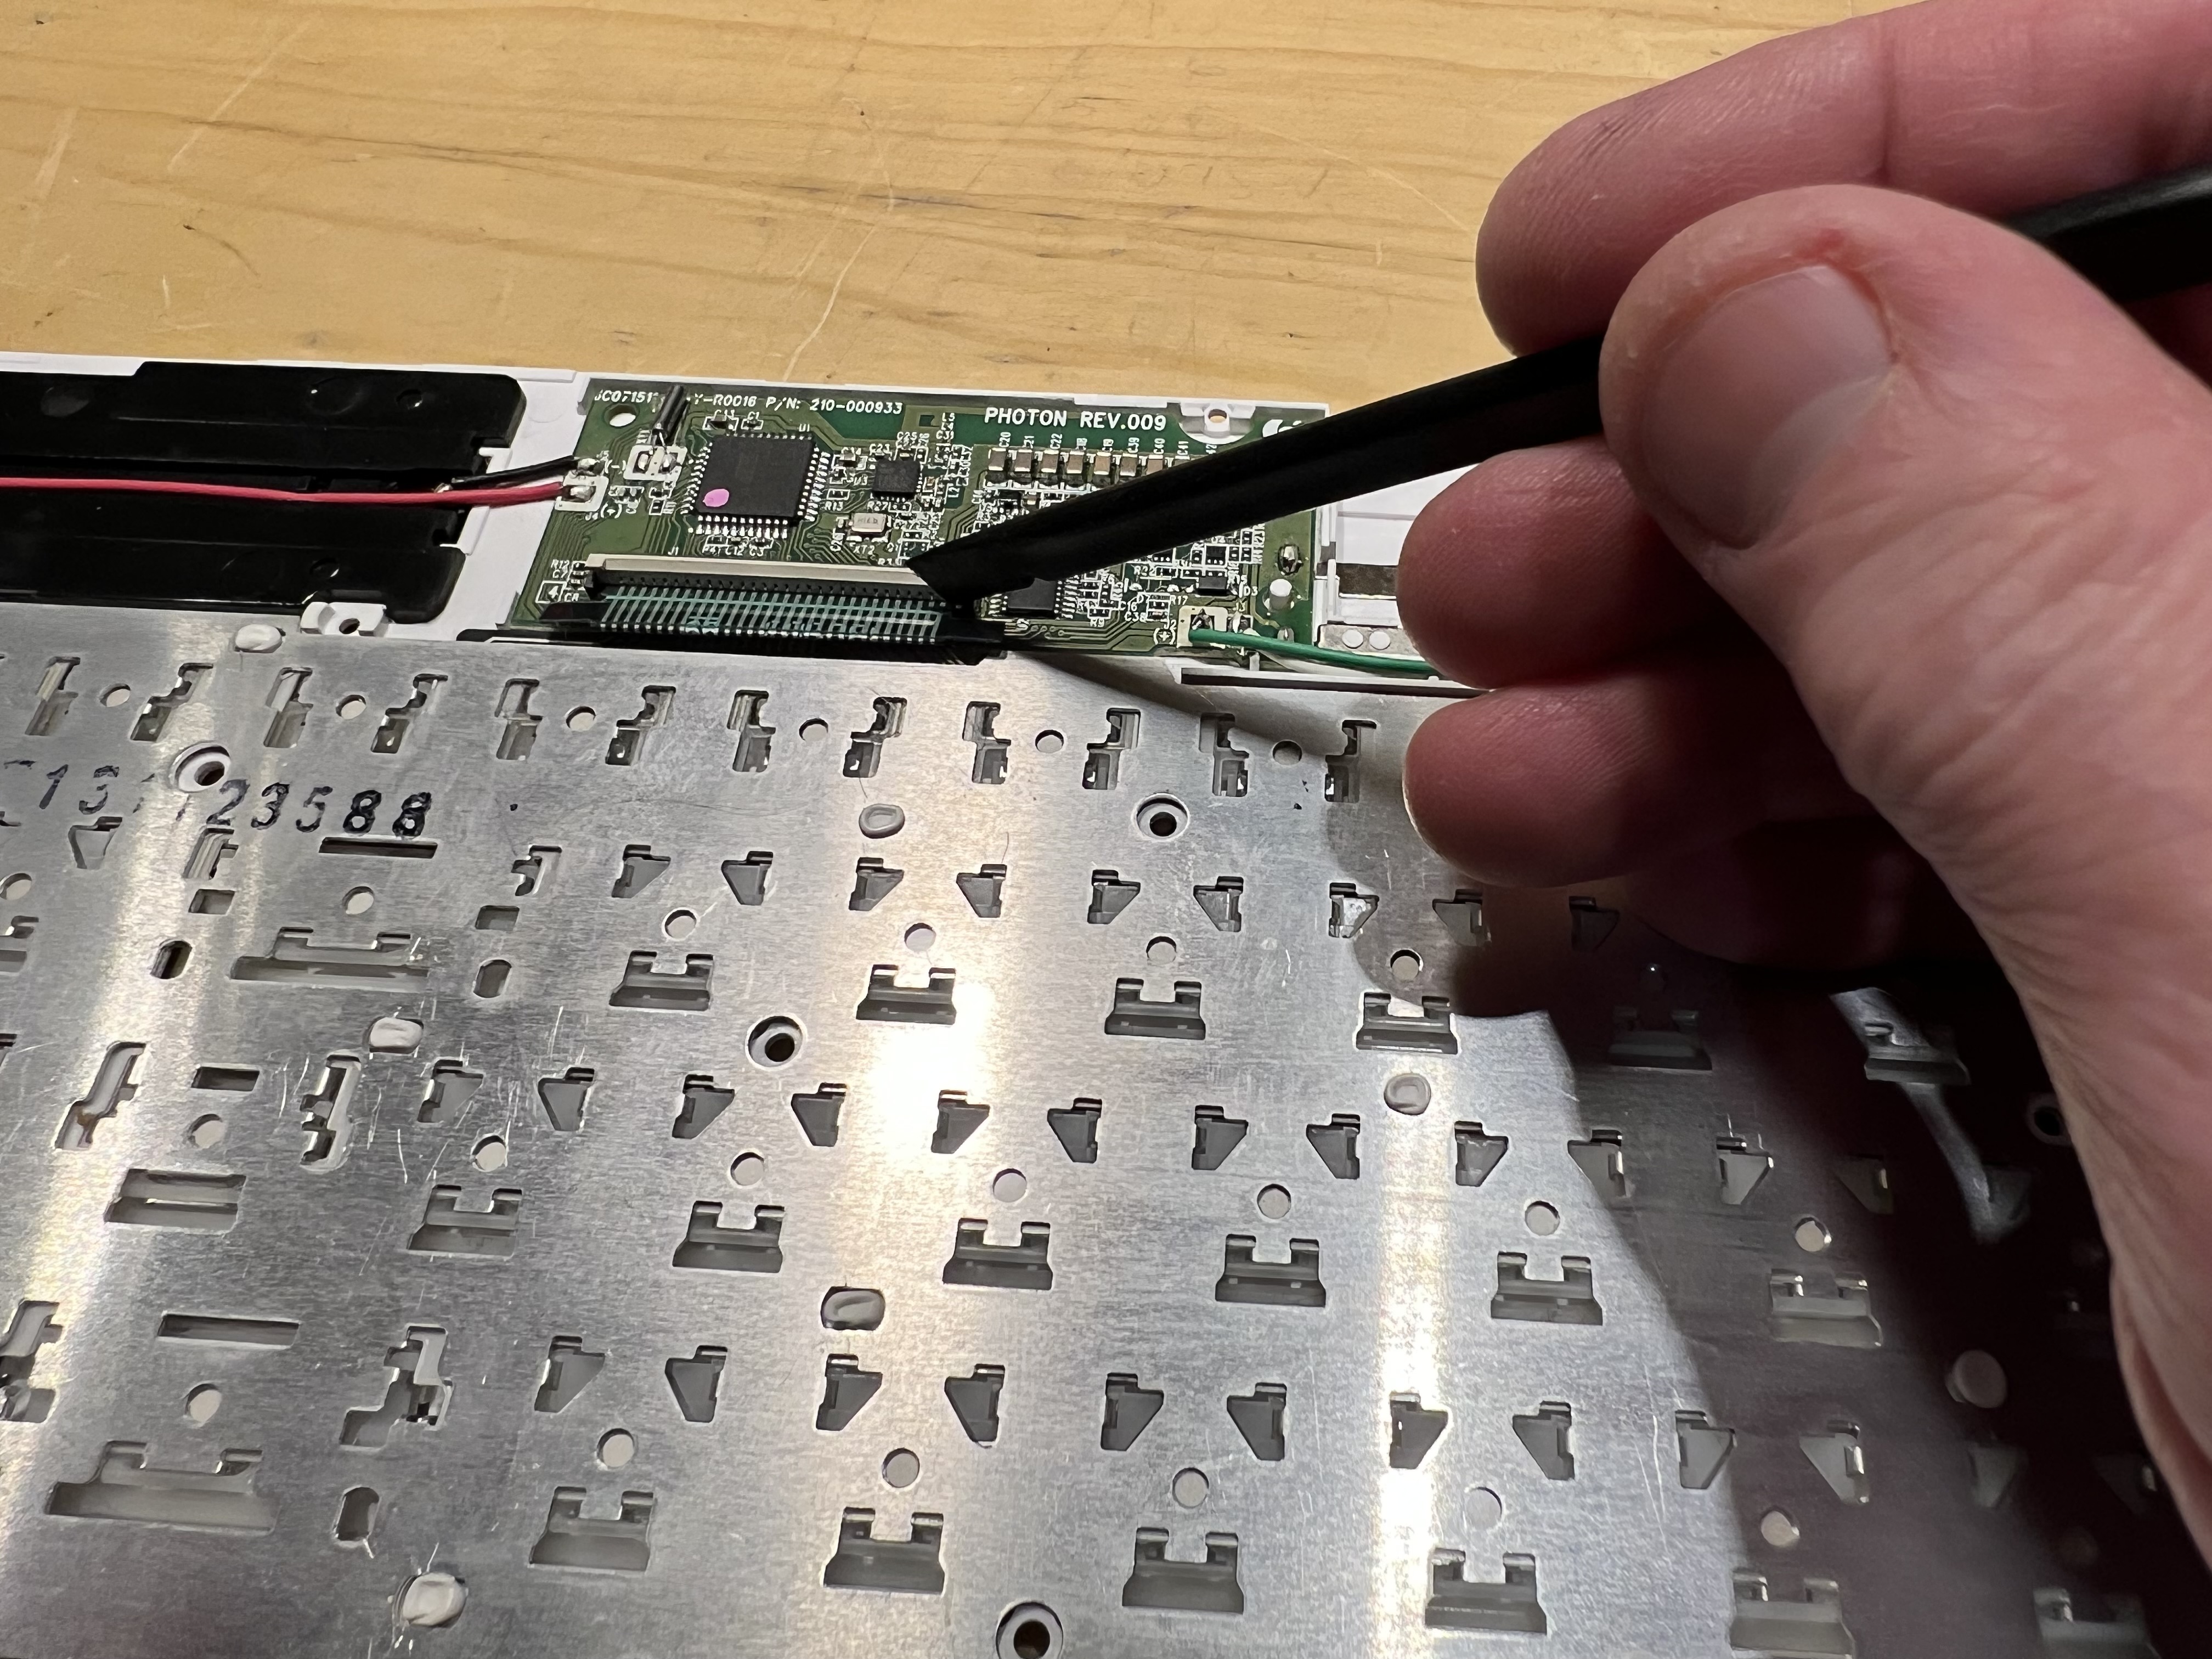
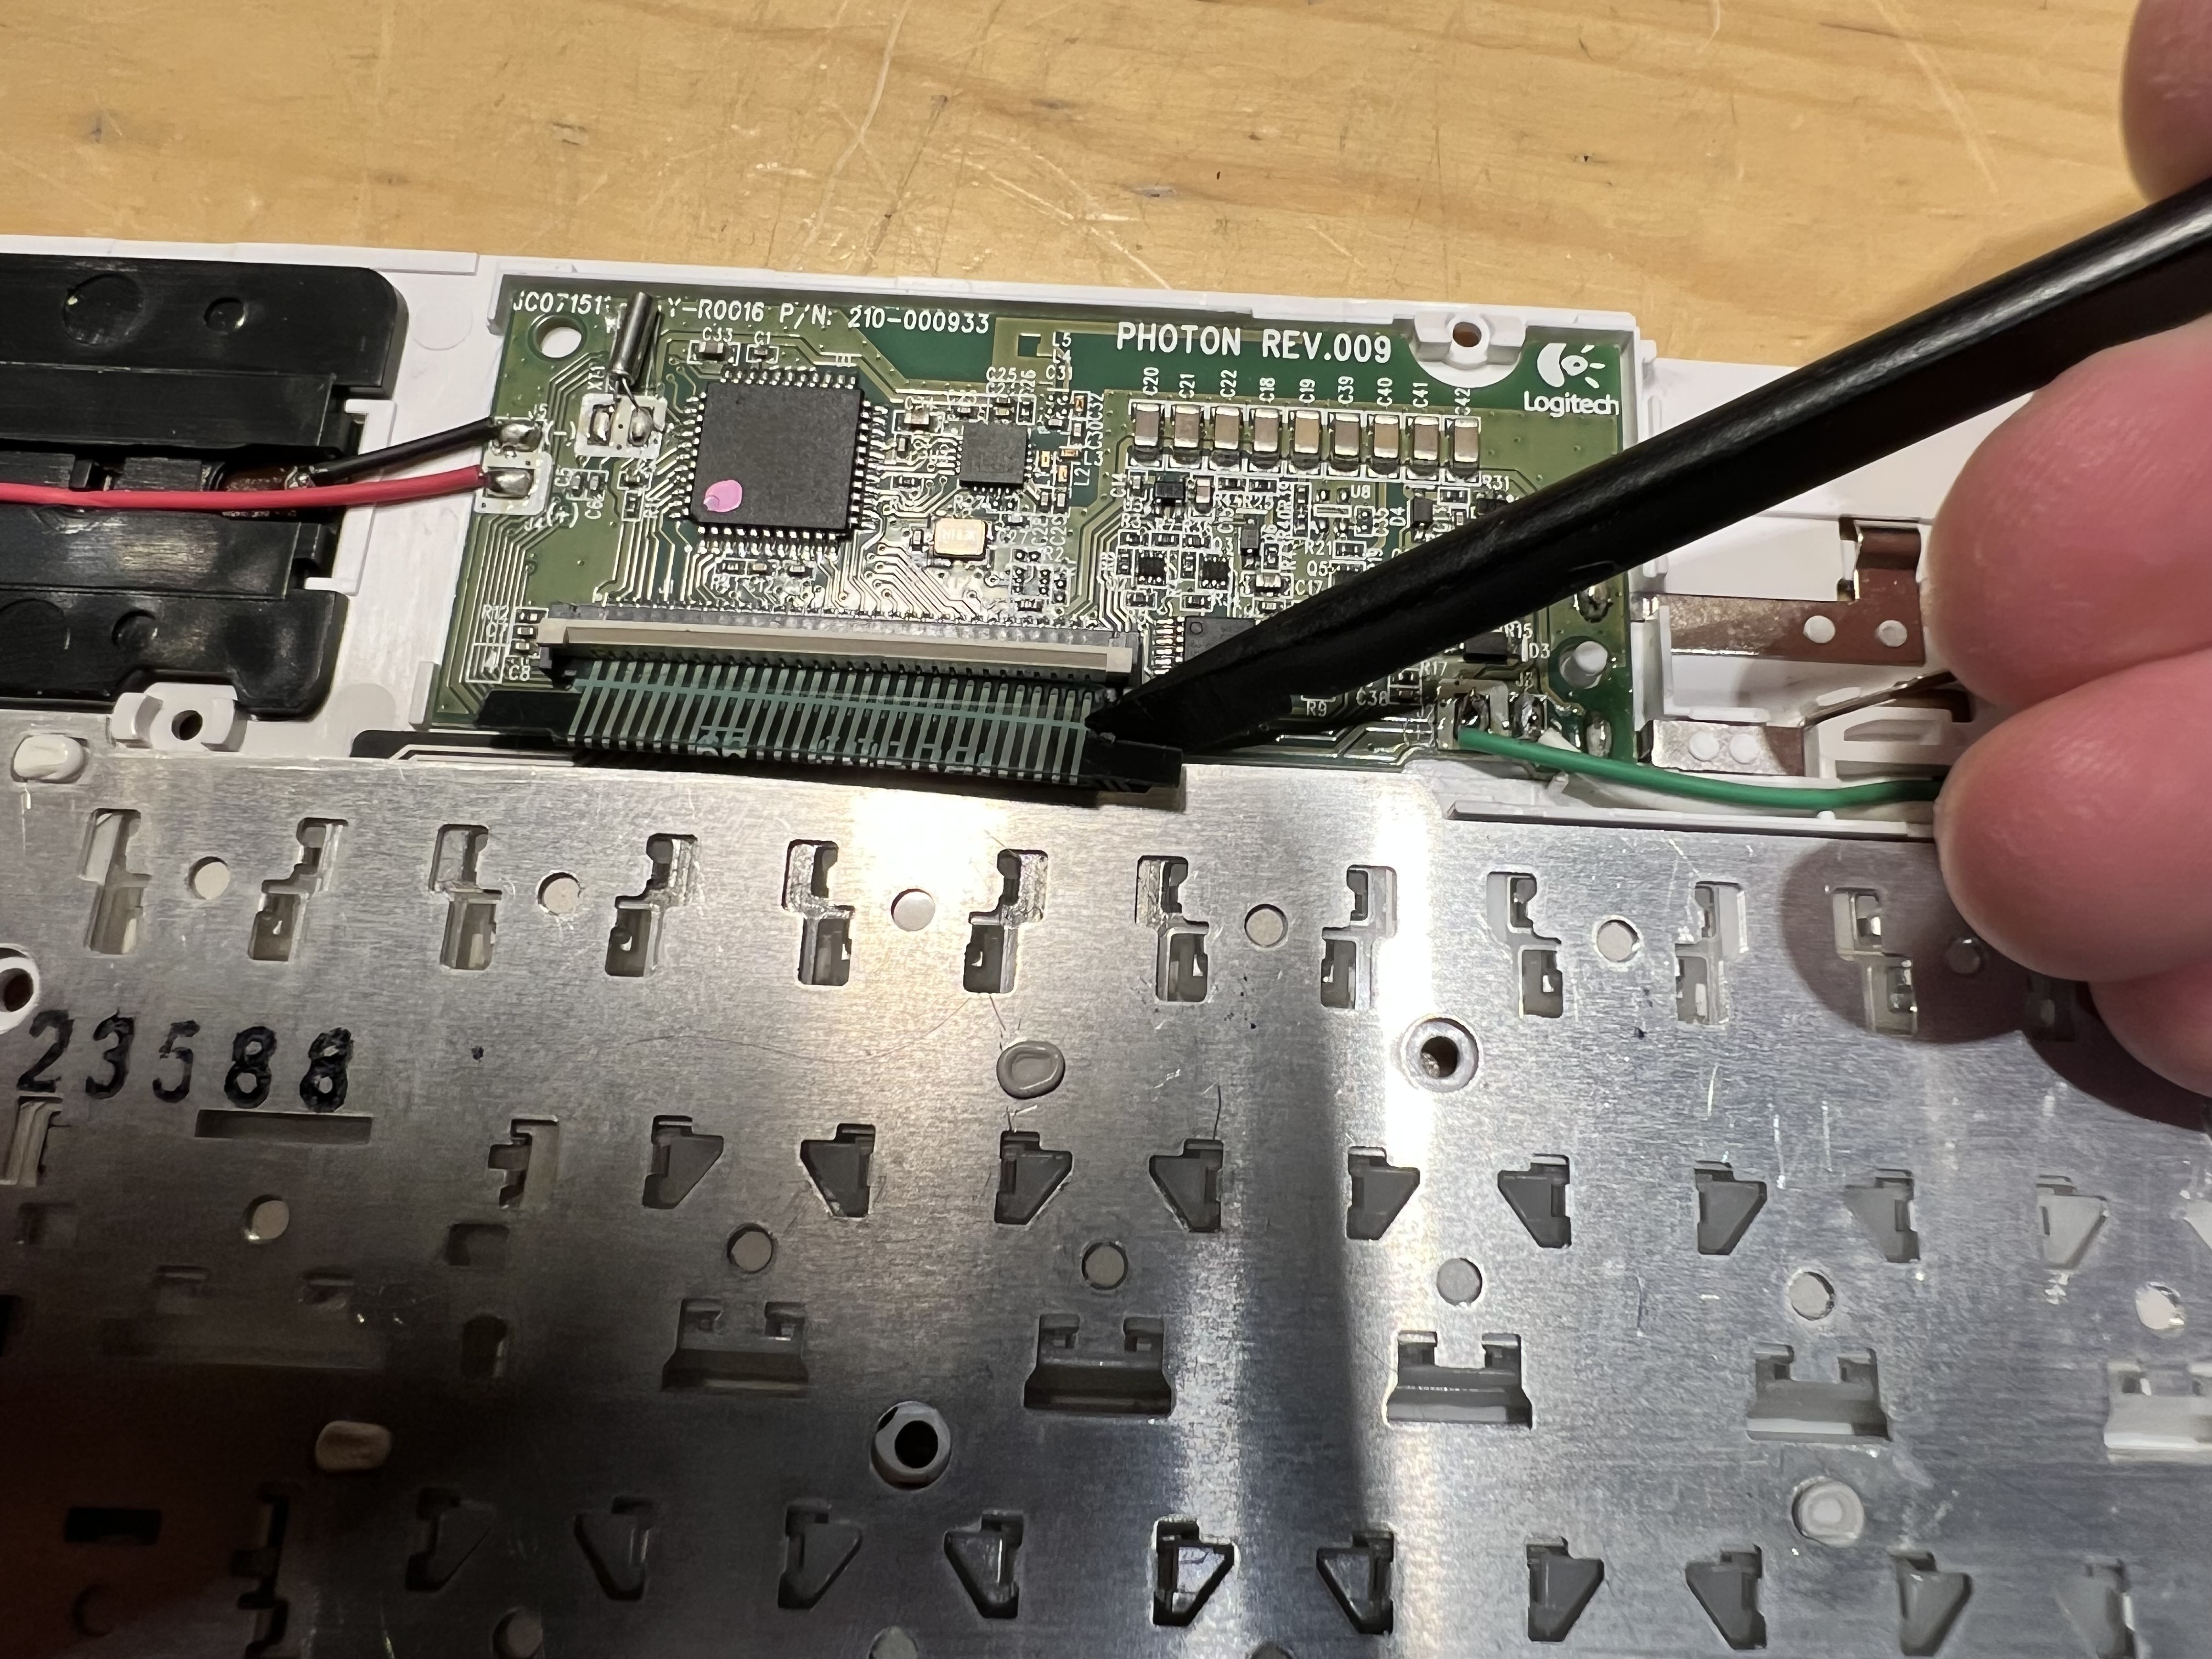
- Disconnect the logic board by flipping the tan portion of the connector up.
- Remove screw holding the switch in place.
![](/download/attachments/75530299/IMG_1705.jpeg?version=1&modificationDate=1674607978000&api=v2)
![](/download/attachments/75530299/IMG_1706.jpeg?version=1&modificationDate=1674607978000&api=v2)
- Using a heat gun, heat the white plastic melted parts and slowly peal the the metal section
![](/download/attachments/75530299/IMG_1708.jpeg?version=2&modificationDate=1674607978000&api=v2)
- Clean all parts with isopropyl alcohol and reassemble. Cut off any plastic melty parts that don't fit back through their holes.
![](/download/attachments/75530299/IMG_1709.jpeg?version=2&modificationDate=1674607978000&api=v2)
- Add two-sided tape and re-apply the cover.
![](/download/attachments/75530299/IMG_1722.jpeg?version=2&modificationDate=1674607978000&api=v2)
![](/download/attachments/75530299/IMG_1723.jpeg?version=2&modificationDate=1674607978000&api=v2)
{"serverDuration": 390, "requestCorrelationId": "9746a82b34eeb78e"}