...
Repairs
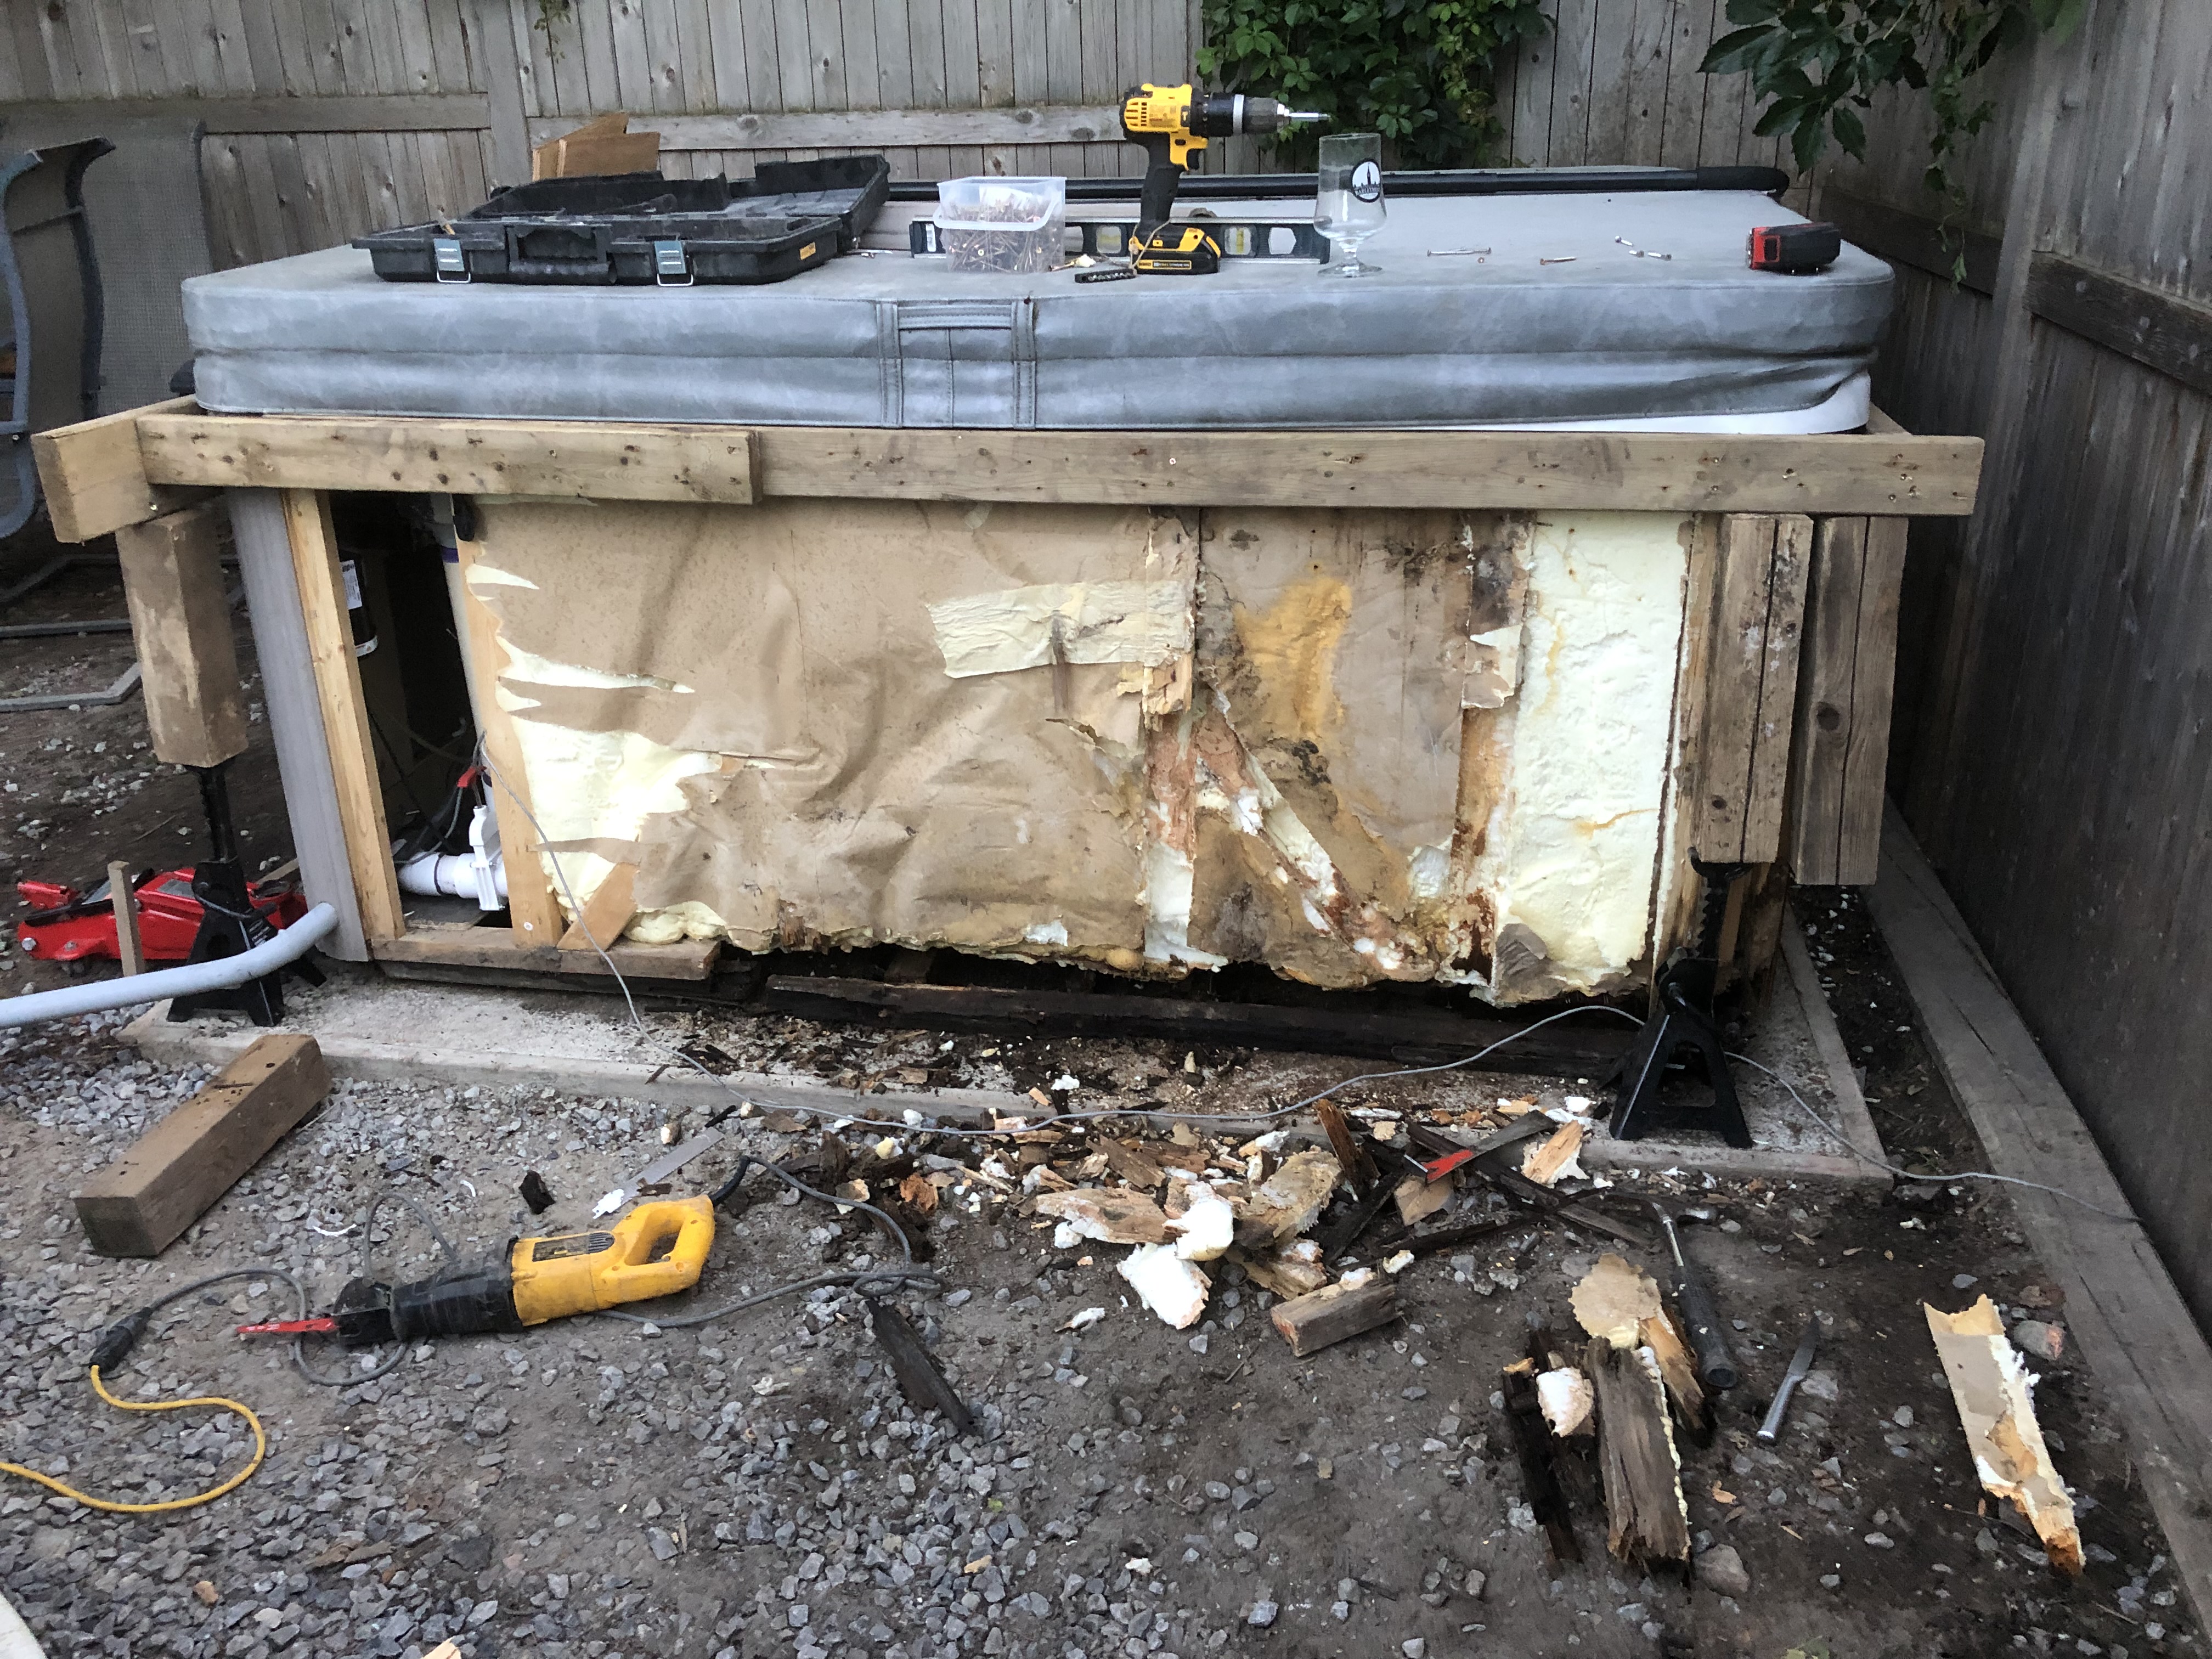
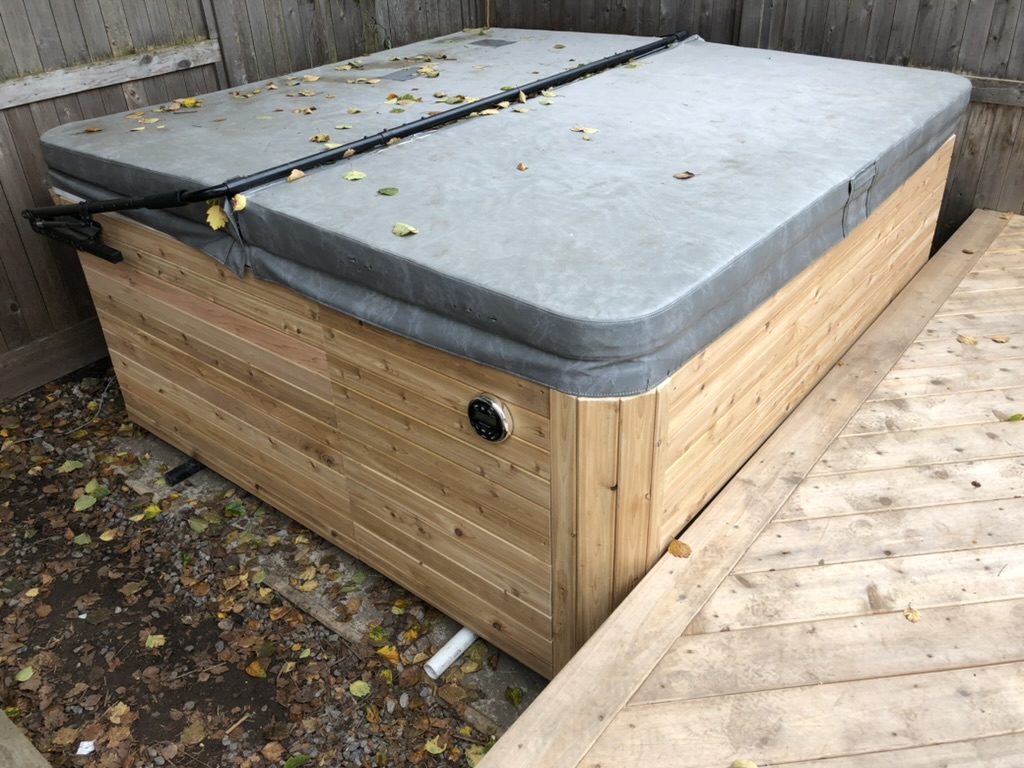
Structure Repair
Replaced rotten wood with pressure treated 2x4s. Also clad the hot tub in pressure treated plywood.

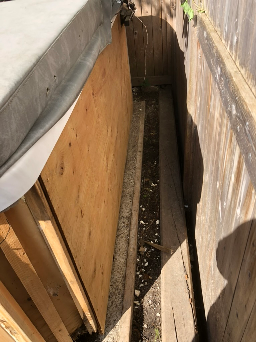
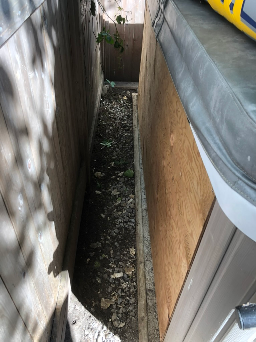
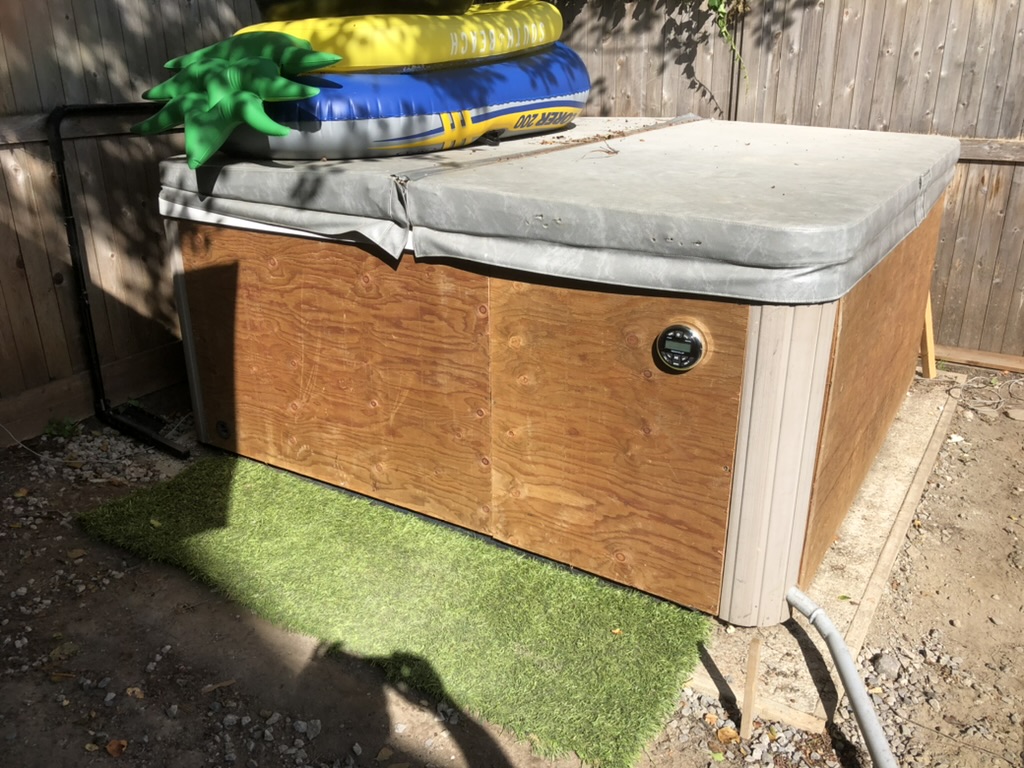
Siding Replacement
Leak Repair (Diverter Valve)
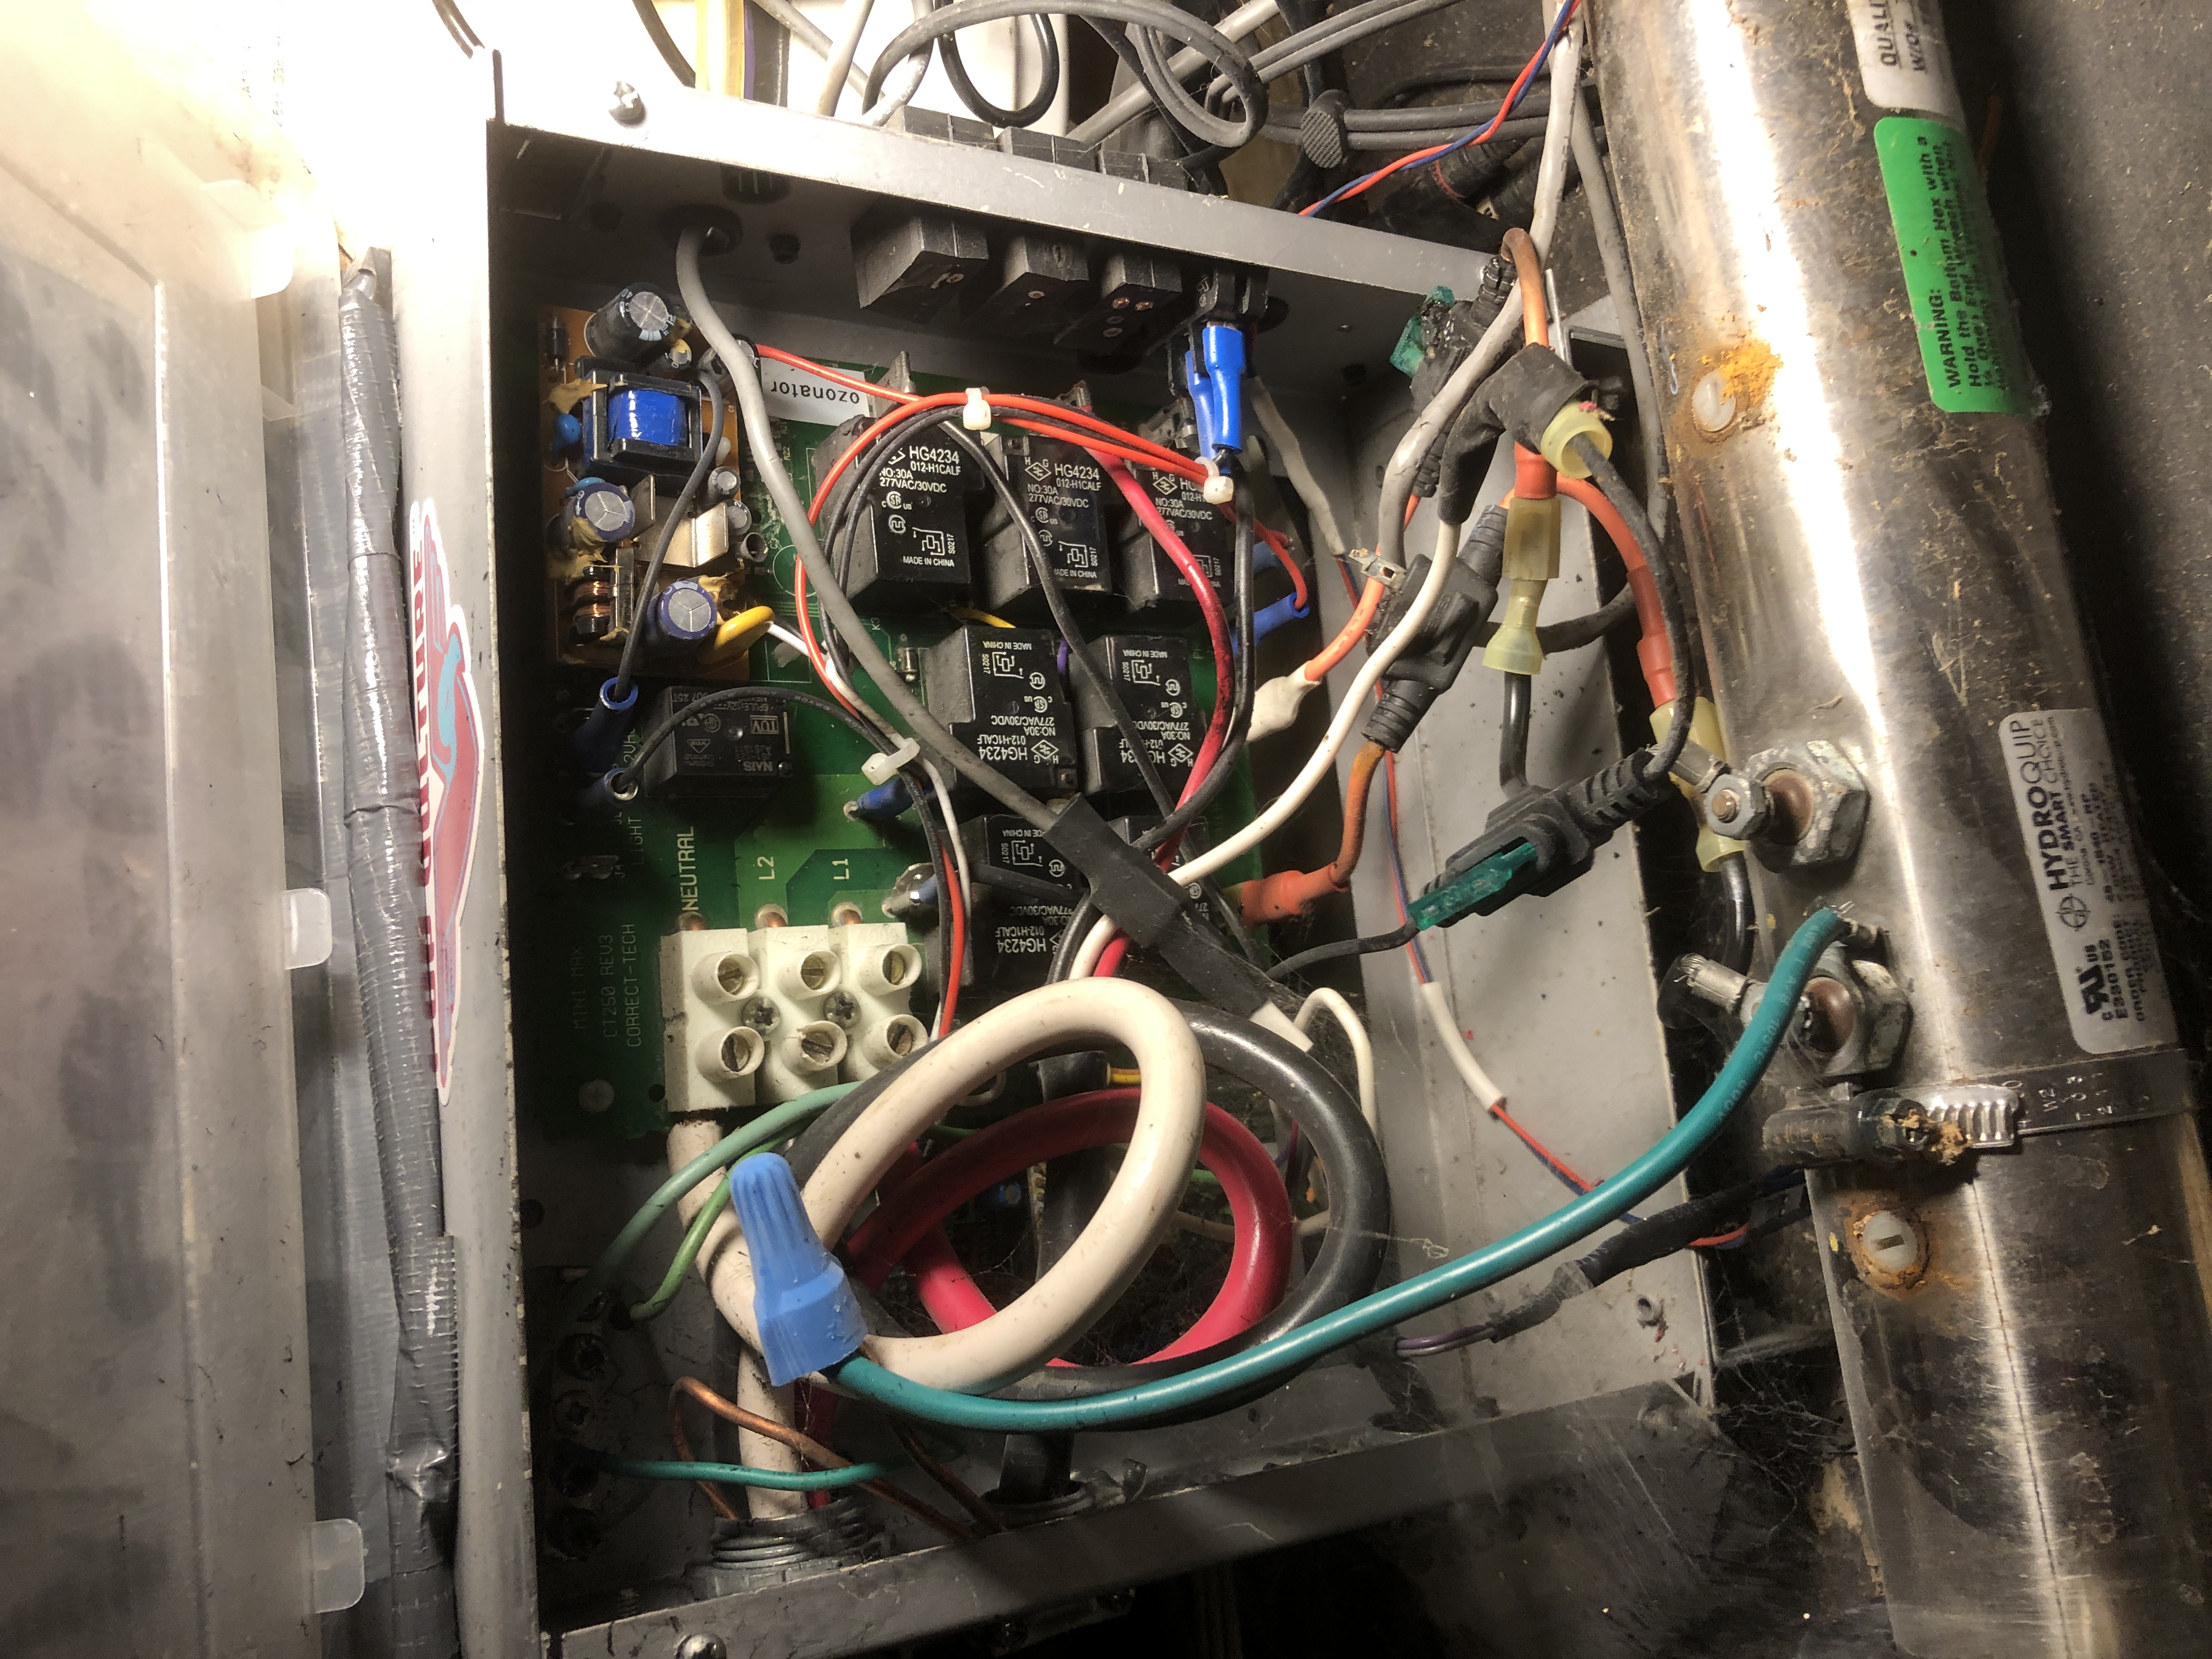
Problem
I noticed that the hot tub temperature was low (80F) so I went to check on it. I then discovered that the water level was below half way. The pump was still trying to move the water around.
...
An inspection of the electrical revealed that the fuses for the heater had blown.
Fix
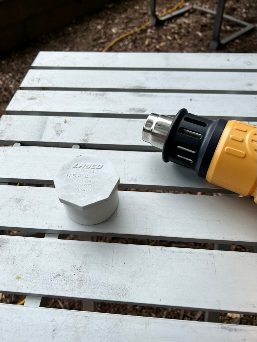
Doing a valve replacement for this particular valve would be tricky since it multiple pieces all glued together. So, since it is winter, the fix will be to use a 2" (size 12) plug. And done!
...
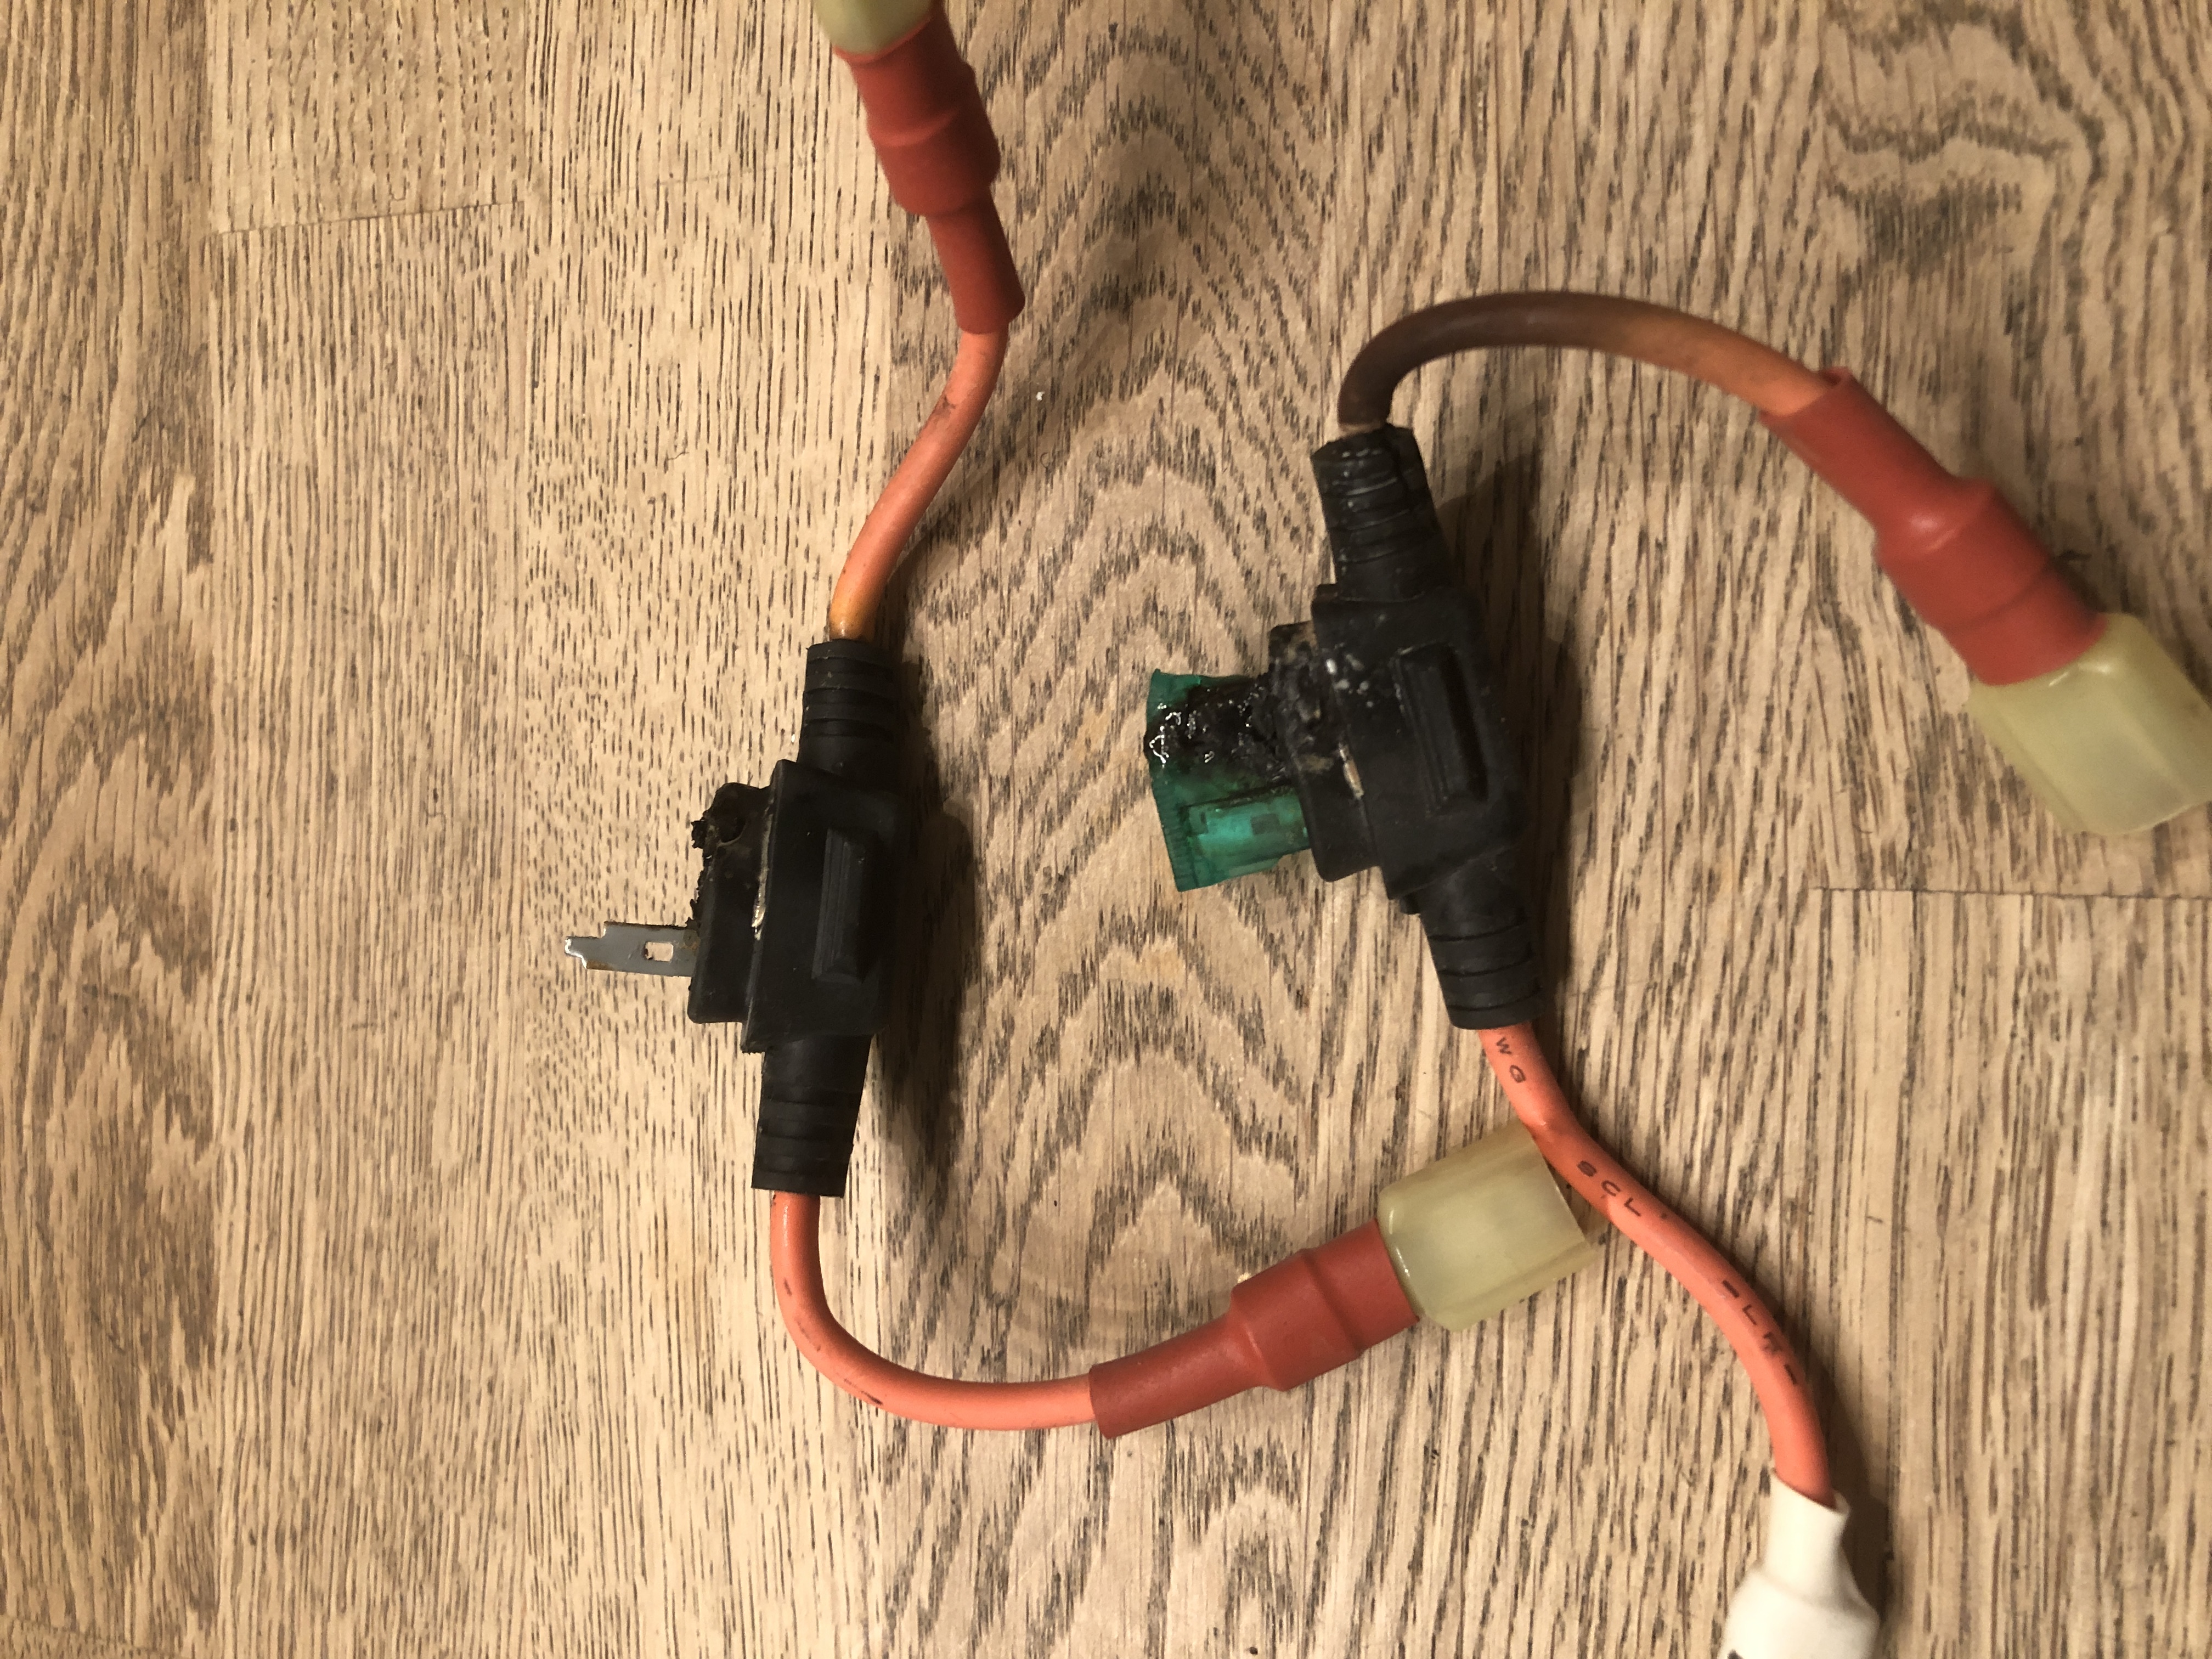
Since the old fused jumper cables were kinda melted, I made new ones.
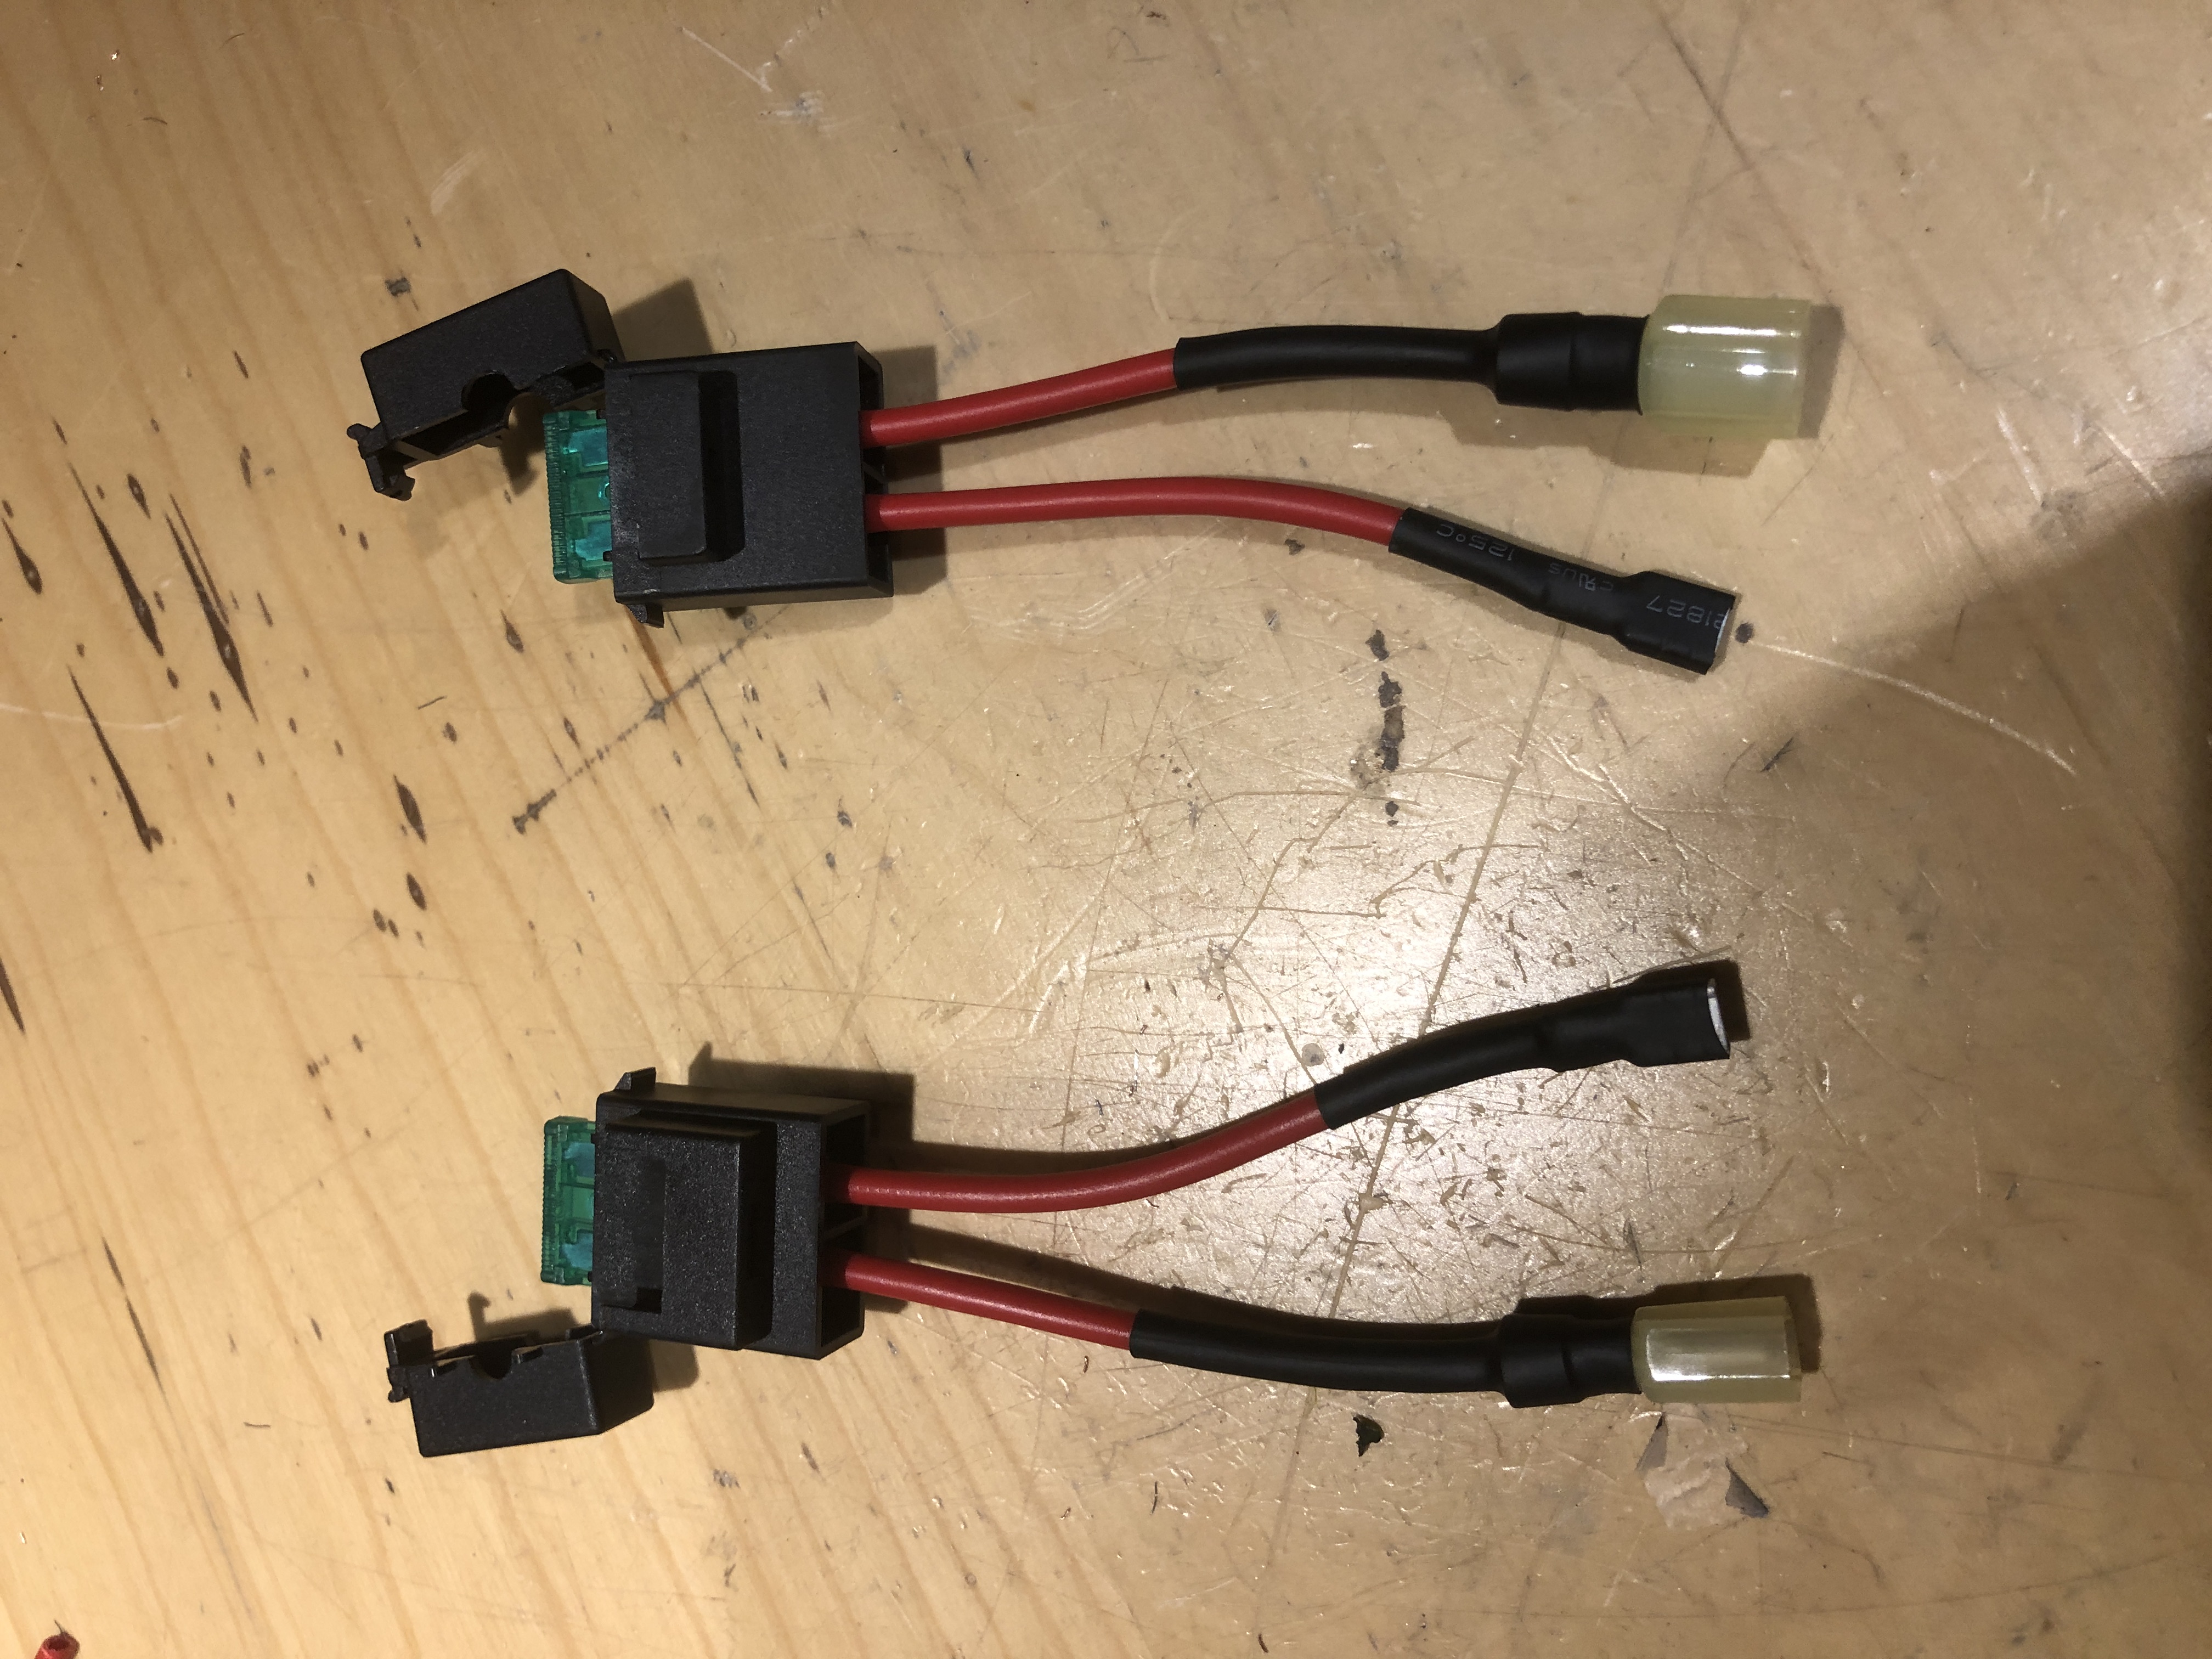
Done!
Revised Fix
So, after the winter, I noticed rust from the above plug so I decided a more permanent solution was required. I had purchased a 2" plug but it was a bit too big for the hole. I will need to resize it.
Using a heat gun, I applied heat to the perimeter of the plug for about 2 mins while rotating the plug. After that, I pushed the plug into the hole in order to get it to resize itself to the diameter of the hole. Once cooled, I removed the newly formed plug and applied primer and glue and secured in place.

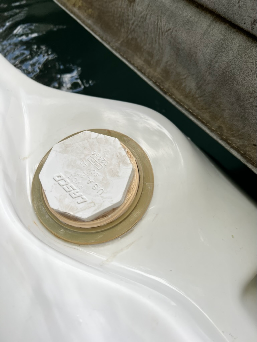
No more leak. Done.
Wired Remote Removal
The stereo's wired remote had become an eyesore so it was removed. Covered with a 3d printed 65" cover and siliconed in place.
...