Installation
Disable Systemd-Resolved
In order to free up port 53, you may need to disable systemd-resolved.
sudo su
systemctl stop systemd-resolved
systemctl disable systemd-resolved
Update resolv.conf
vi /etc/resolv.conf
nameserver 127.0.0.1
options edns0
search home
Create Docker-Compose
vi docker-compose.yaml
version: '2'

services:
  pihole:
    container_name: pihole
    image: pihole/pihole:latest
    hostname: pihole
    domainname: xxx.com             		# <-- Update
    mac_address: d0:ca:ab:cd:ef:01
    cap_add:
      - NET_ADMIN
    networks:
      pihole_network:
        ipv4_address: 192.168.1.51   		# <-- Update
    dns:
      - 127.0.0.1
      - 8.8.8.8
    ports:
      - 443/tcp
      - 53/tcp
      - 53/udp
      - 67/udp
      - 80/tcp
    environment:
      ServerIP: 192.168.1.51         		# <-- Update (match ipv4_address)
      VIRTUAL_HOST: pihole.xxx.com  		# <-- Update (match hostname + domainname)
      WEBPASSWORD: "xxx"            		# <-- Add password (if required)
    restart: unless-stopped

networks:
  pihole_network:
    driver: macvlan
    driver_opts:
      parent: enp0s25						# <-- Update
    ipam:
      config:
        - subnet: 192.168.1.0/24            # <-- Update
          gateway: 192.168.1.1              # <-- Update
          ip_range: 192.168.1.51/32        	# <-- Update
The above docker-compose.yaml should be updated to reflect your network. In the above, we have selected an IP address of 192.168.1.51 for our pi-hole server.
To determine the driver_opts-parent, find your network interface by issuing the following command:
ifconfig
docker0: flags=4163<UP,BROADCAST,RUNNING,MULTICAST>  mtu 1500
        inet 172.17.0.1  netmask 255.255.0.0  broadcast 172.17.255.255
        inet6 fe80::42:39ff:fee0:8824  prefixlen 64  scopeid 0x20<link>
        ether 02:42:39:e0:88:24  txqueuelen 0  (Ethernet)
        RX packets 22090446  bytes 17561003375 (17.5 GB)
        RX errors 0  dropped 0  overruns 0  frame 0
        TX packets 35895245  bytes 36905486143 (36.9 GB)
        TX errors 0  dropped 0 overruns 0  carrier 0  collisions 0

enp0s25: flags=4163<UP,BROADCAST,RUNNING,MULTICAST>  mtu 1500
        inet 192.168.1.50  netmask 255.255.255.0  broadcast 192.168.1.255
        inet6 fe80::6e3b:e5ff:fe41:582b  prefixlen 64  scopeid 0x20<link>
        ether 6c:3b:e5:41:58:2b  txqueuelen 1000  (Ethernet)
        RX packets 51776847  bytes 42493278283 (42.4 GB)
        RX errors 0  dropped 86061  overruns 0  frame 0
        TX packets 170936347  bytes 227205458701 (227.2 GB)
        TX errors 0  dropped 0 overruns 0  carrier 0  collisions 0
        device interrupt 20  memory 0xf7f00000-f7f20000

lo: flags=73<UP,LOOPBACK,RUNNING>  mtu 65536
...
Setup
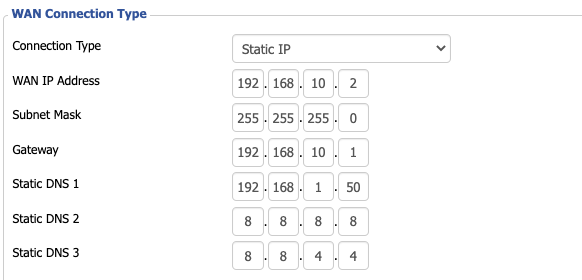
Configure Router to use pi-hole DNS server
Specify the pi-hole IP address in the list of DNS servers on your router.
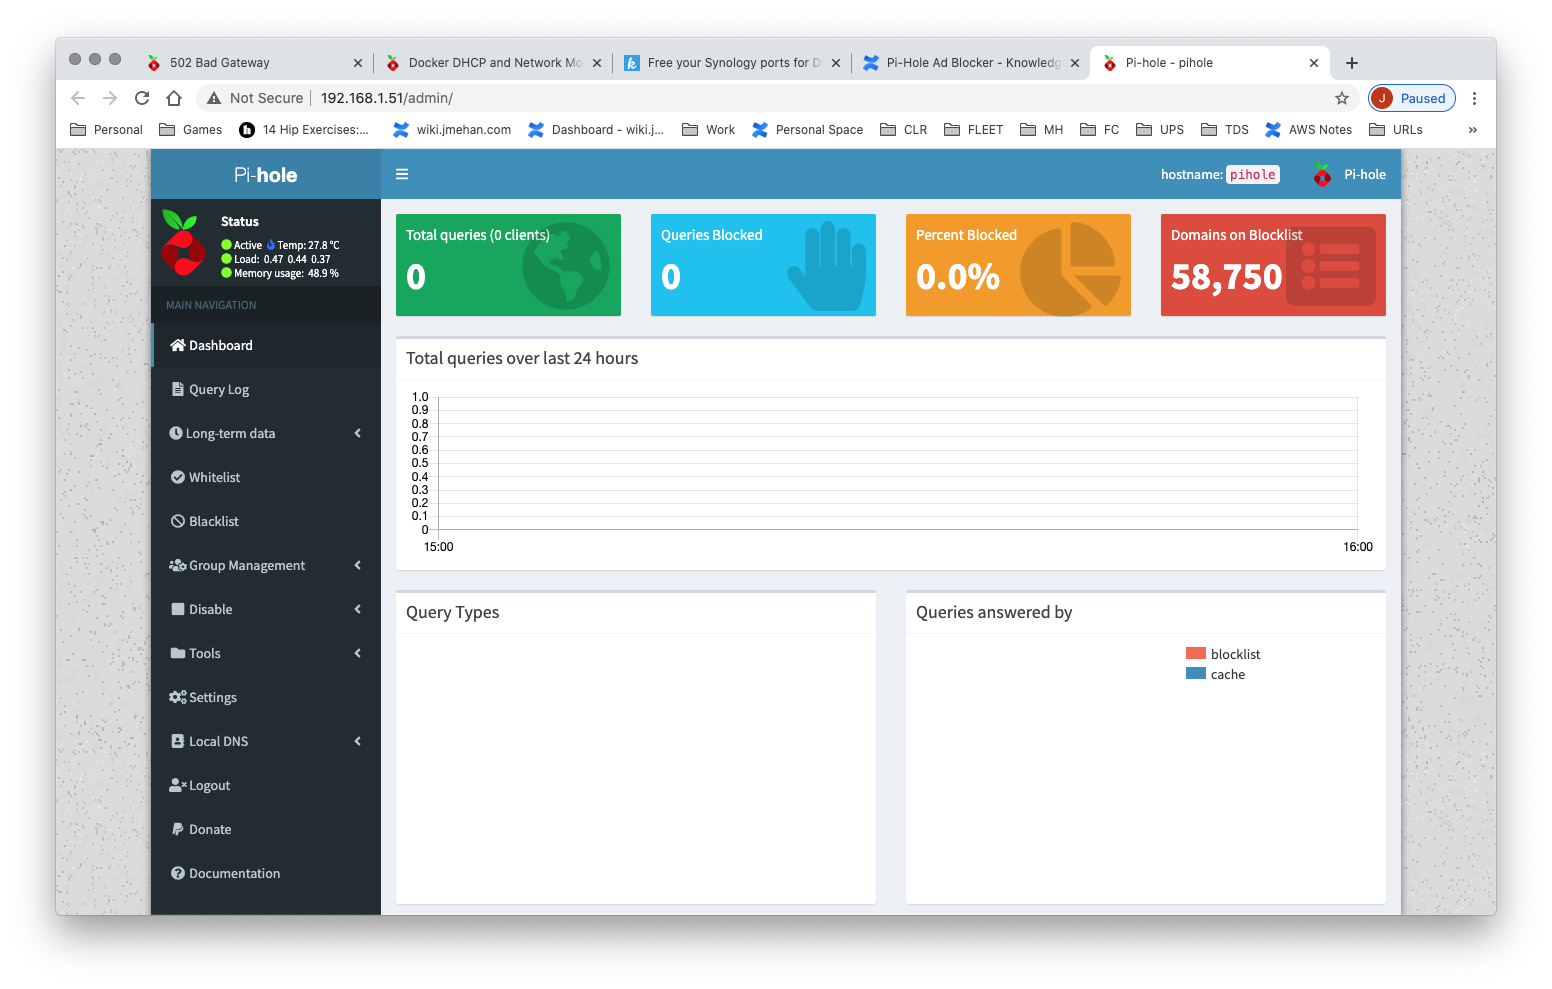
Monitoring
Connecting to the Web UI:
Enabling DHCP
Go to Settings → DHCP
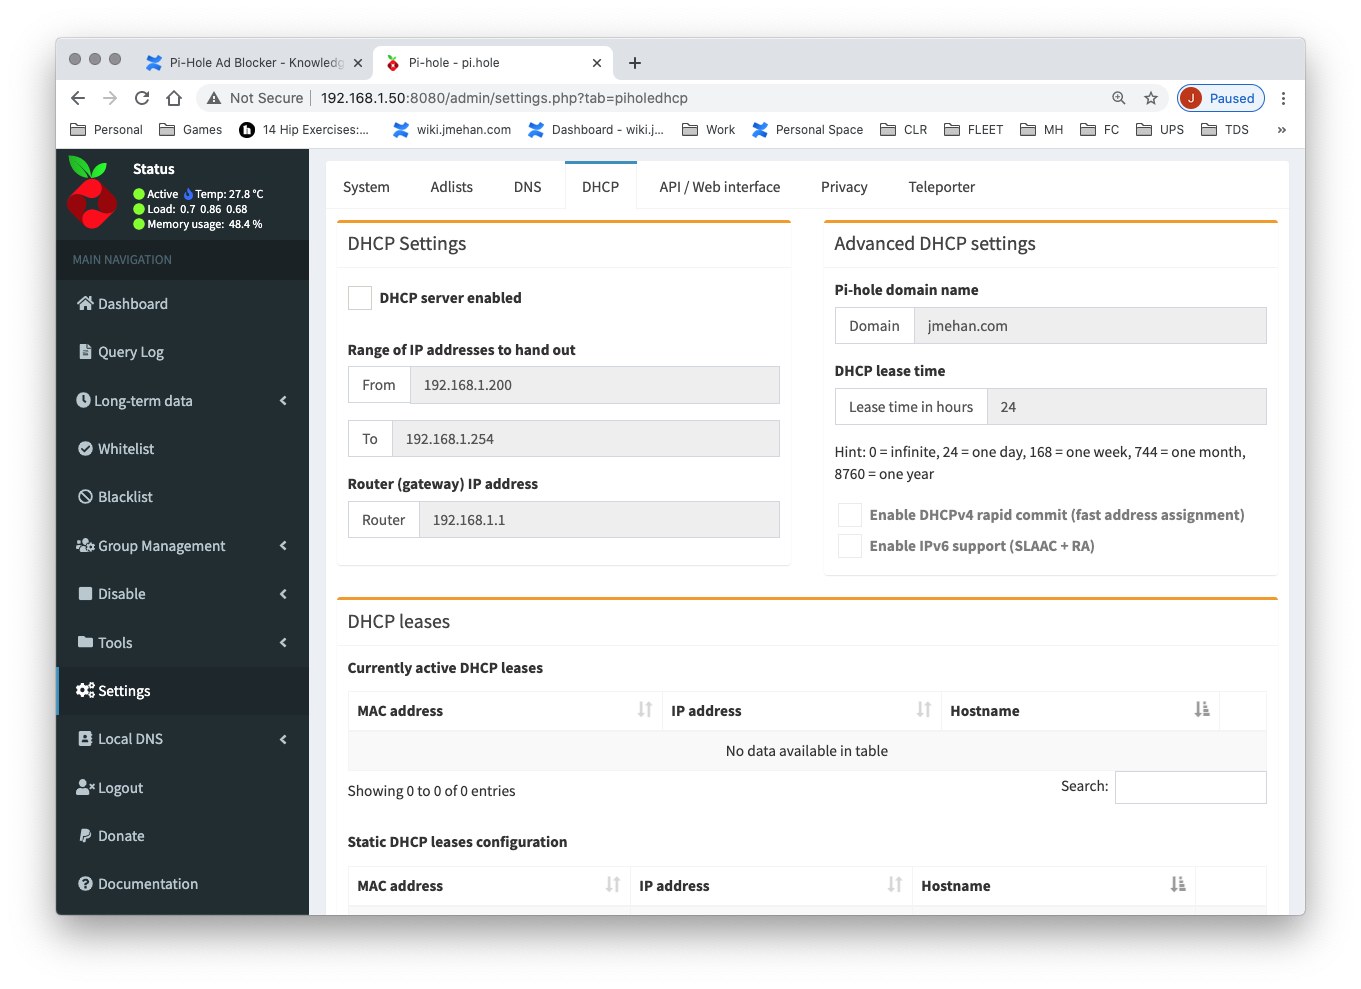
Here you can enable DHCP and specify static leases.
Testing DHCP Service
sudo nmap --script broadcast-dhcp-discover -e en0
Sample Output:
Password:
Starting Nmap 7.91 ( https://nmap.org ) at 2020-12-27 12:35 EST
Pre-scan script results:
| broadcast-dhcp-discover:
|   Response 1 of 1:
|     Interface: en0
|     IP Offered: 192.168.1.249
|     DHCP Message Type: DHCPOFFER
|     Server Identifier: 192.168.1.1
|     IP Address Lease Time: 2m00s
|     Renewal Time Value: 1m00s
|     Rebinding Time Value: 1m45s
|     Subnet Mask: 255.255.255.0
|     Broadcast Address: 192.168.1.255
|     Domain Name: home
|     Domain Name Server: 192.168.1.50, 8.8.8.8, 8.8.4.4
|_    Router: 192.168.1.1
WARNING: No targets were specified, so 0 hosts scanned.
Nmap done: 0 IP addresses (0 hosts up) scanned in 10.23 seconds
References
| Reference | URL |
|---|---|
| Free your Synology ports for Docker | http://tonylawrence.com/posts/unix/synology/free-your-synology-ports/ |
| Docker DHCP and Network Modes | https://docs.pi-hole.net/docker/DHCP/ |