You are viewing an old version of this page. View the current version.
Compare with Current
View Page History
« Previous
Version 3
Next »
![](/download/thumbnails/59114506/image2022-3-24_10-36-16.png?version=1&modificationDate=1648132576000&api=v2)
Steps
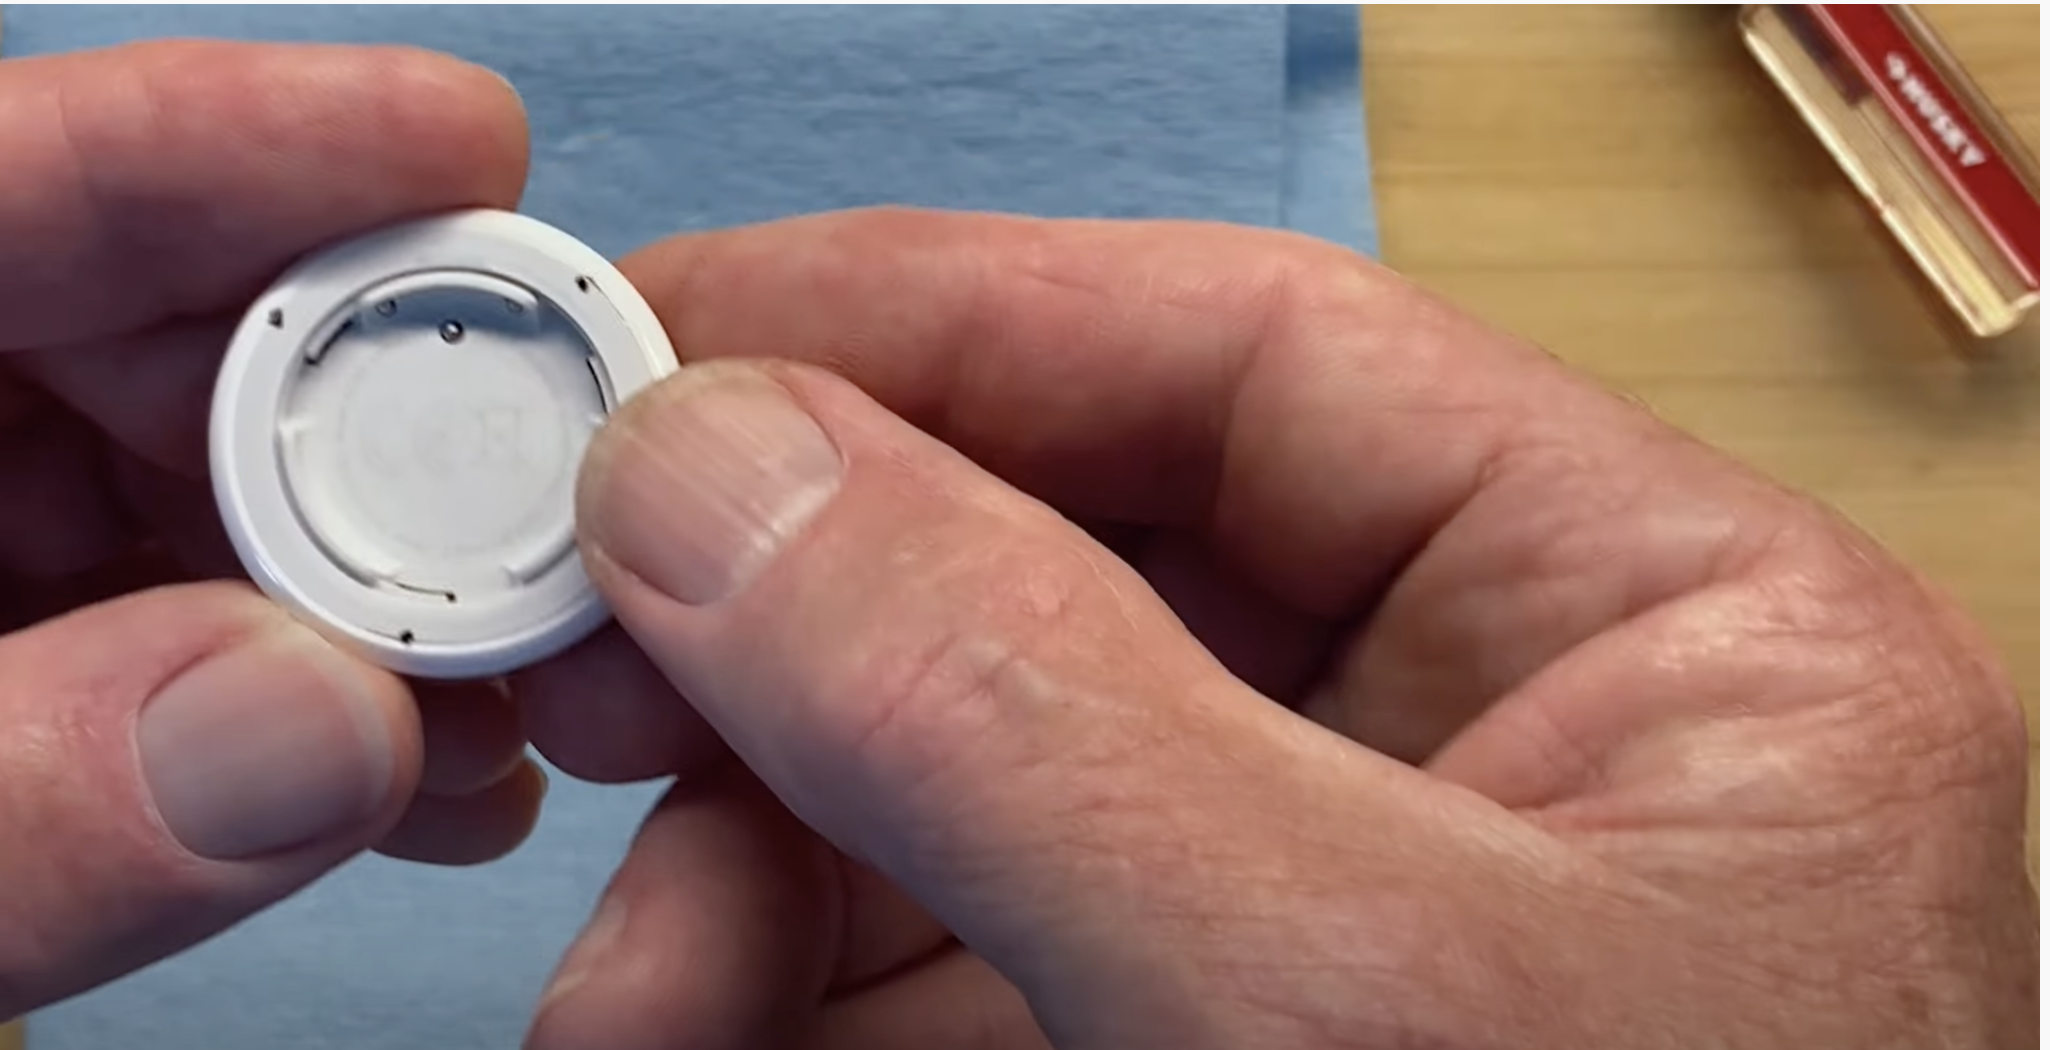
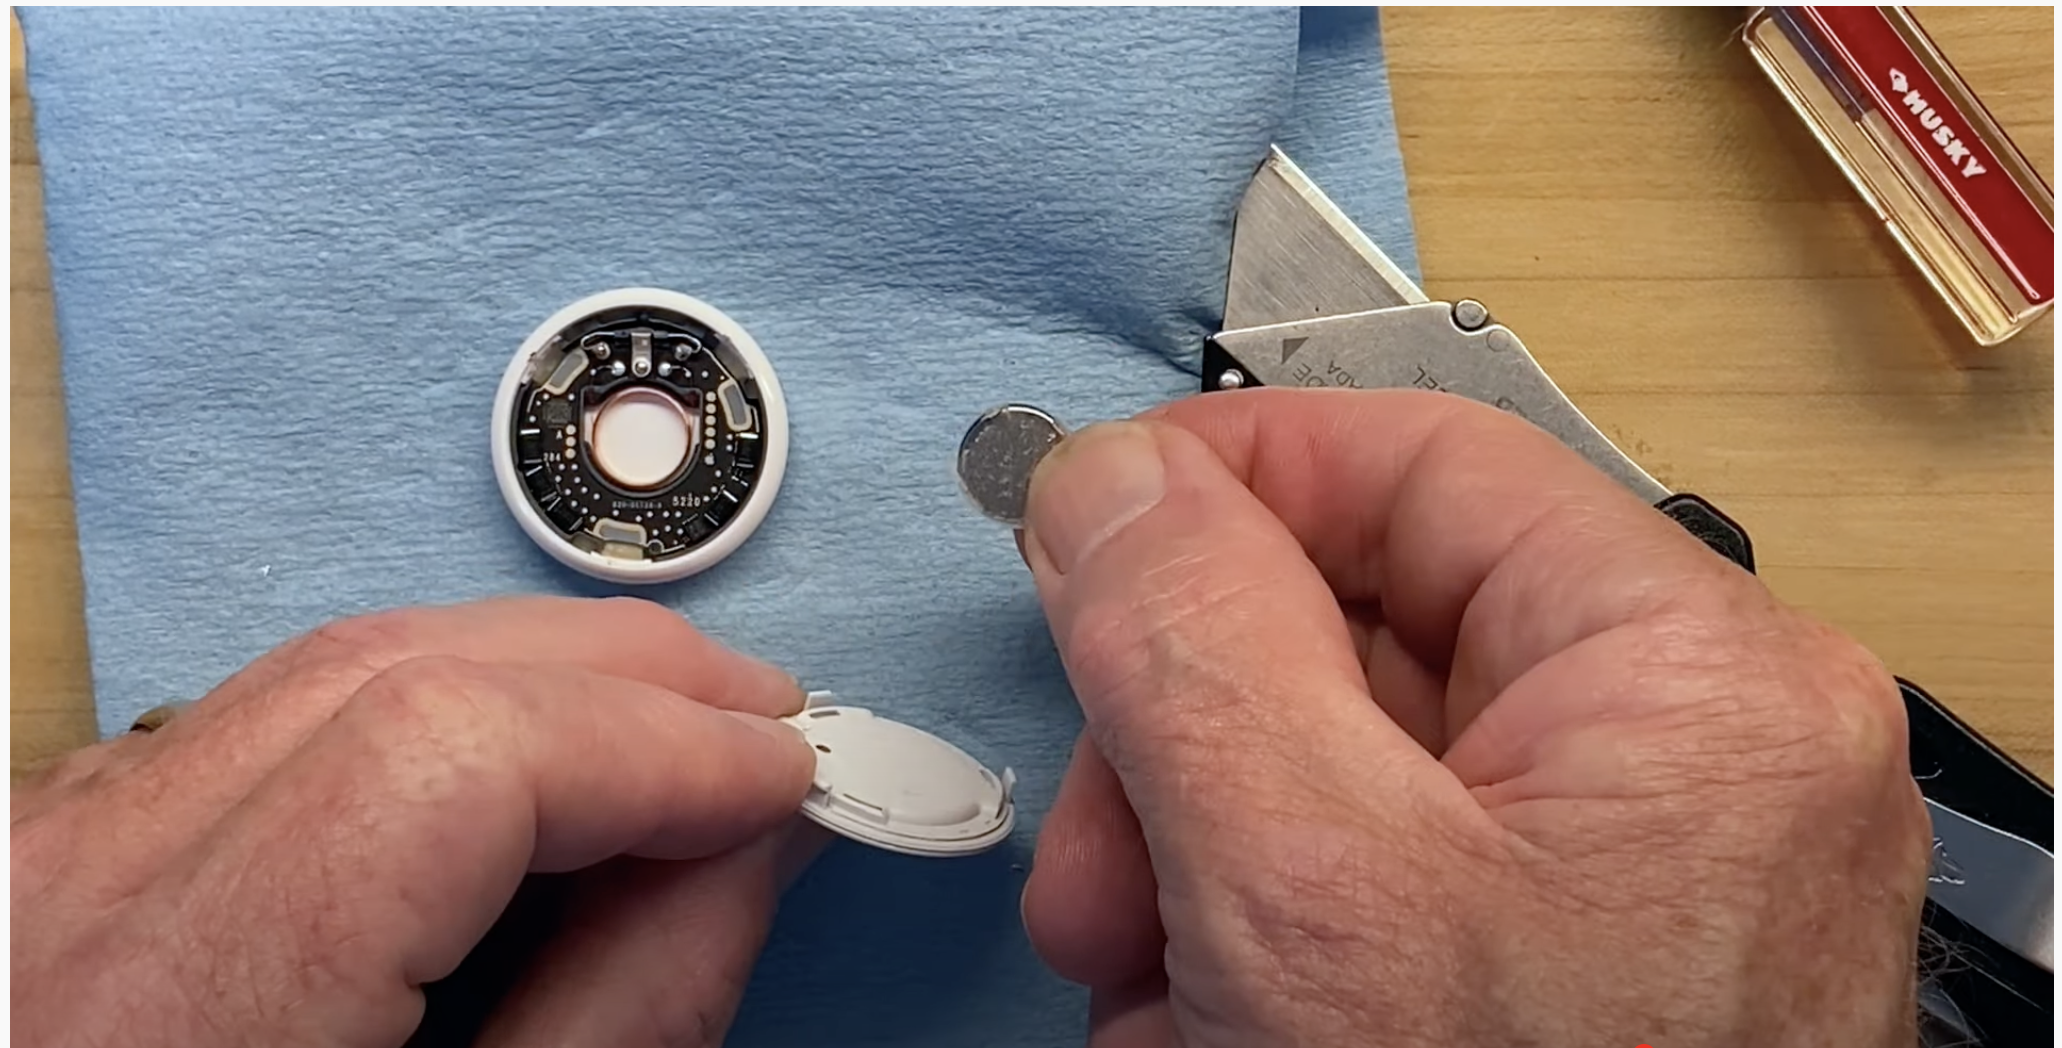
- Remove back and battery.
- Mark position of tabs using the photo.
- If we do this right, we won't break any of our tabs and won't have to glue these parts back together.
![](/download/attachments/59114506/image2022-3-24_10-40-51.png?version=1&modificationDate=1648132852000&api=v2)
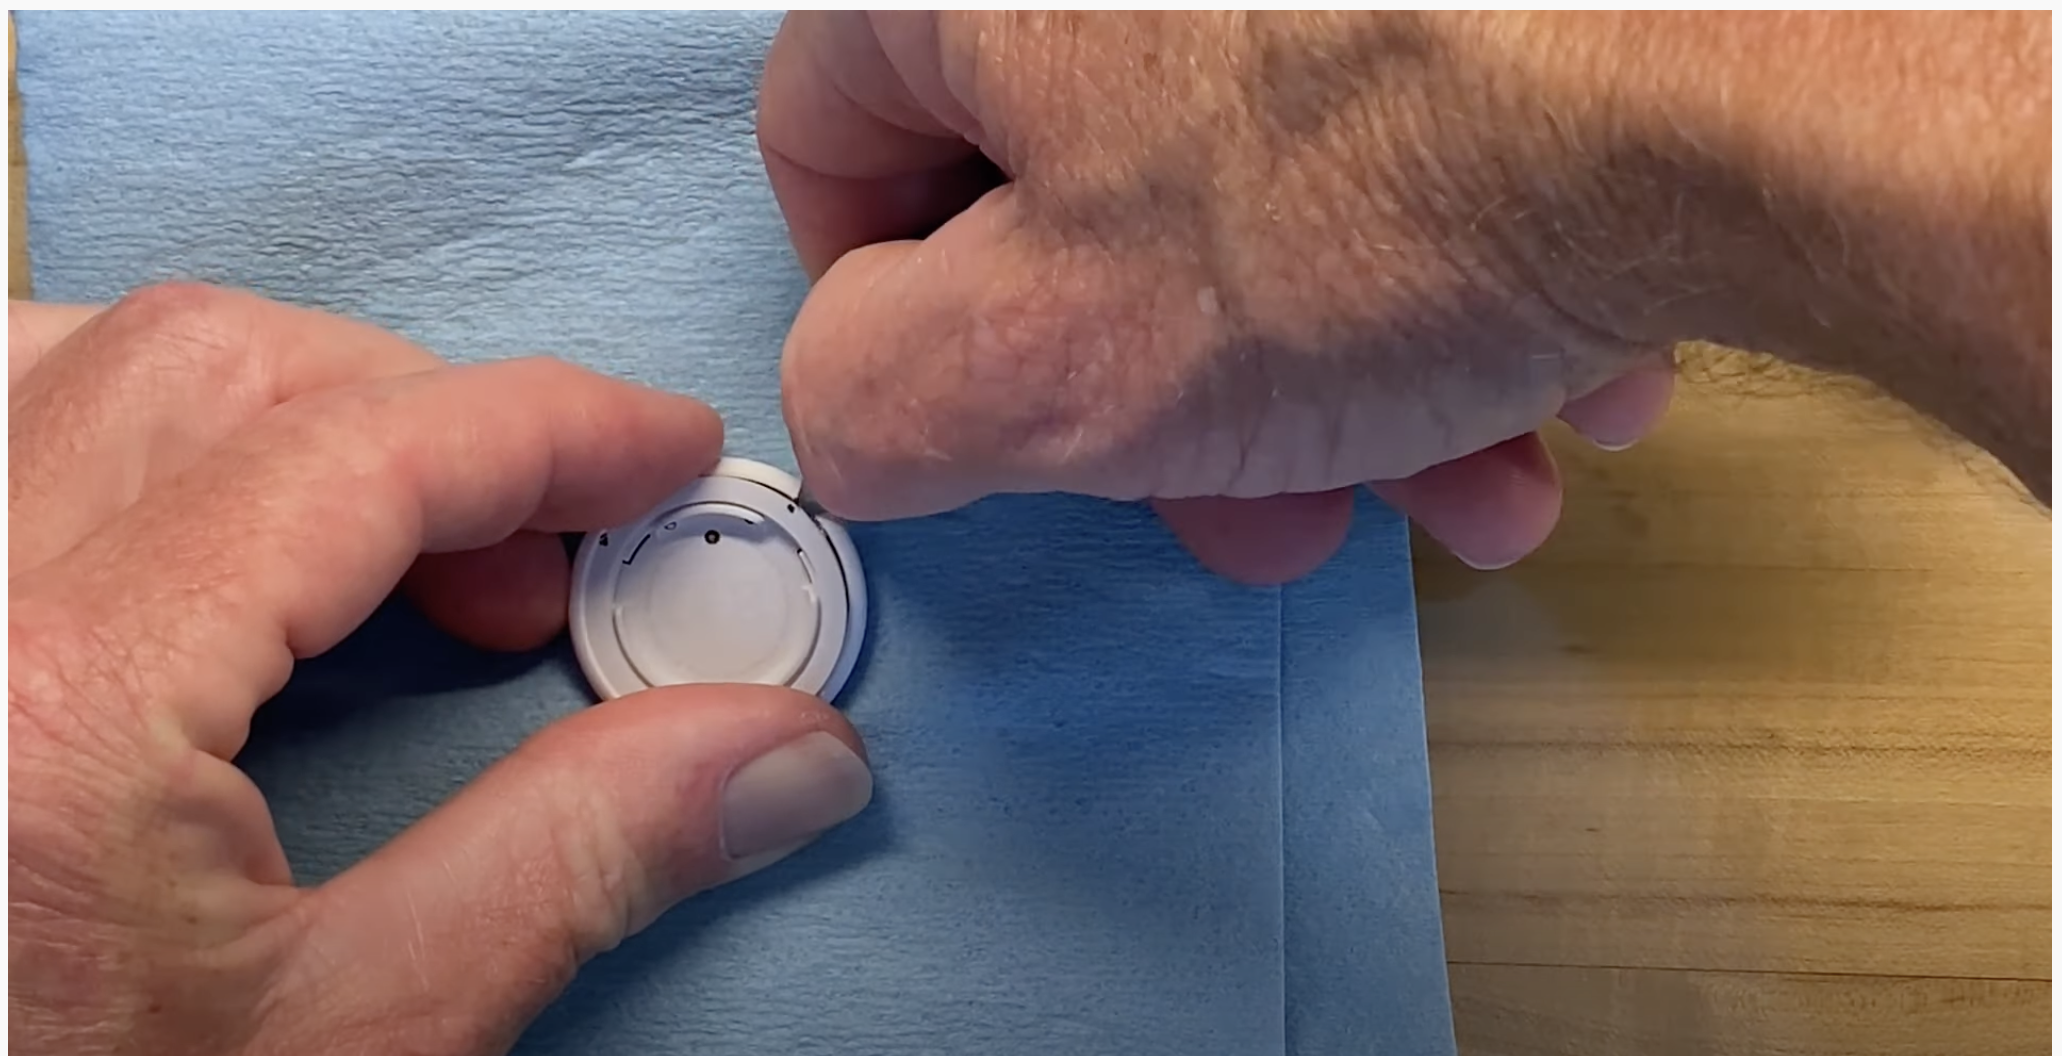
- Using a utility knife, pry at locations marked.
![](/download/attachments/59114506/image2022-3-24_10-38-26.png?version=1&modificationDate=1648132706000&api=v2)
- Separate pieces. The speaker may be attached to either side of the AirTag.
![](/download/attachments/59114506/image2022-3-24_10-39-9.png?version=1&modificationDate=1648132749000&api=v2)
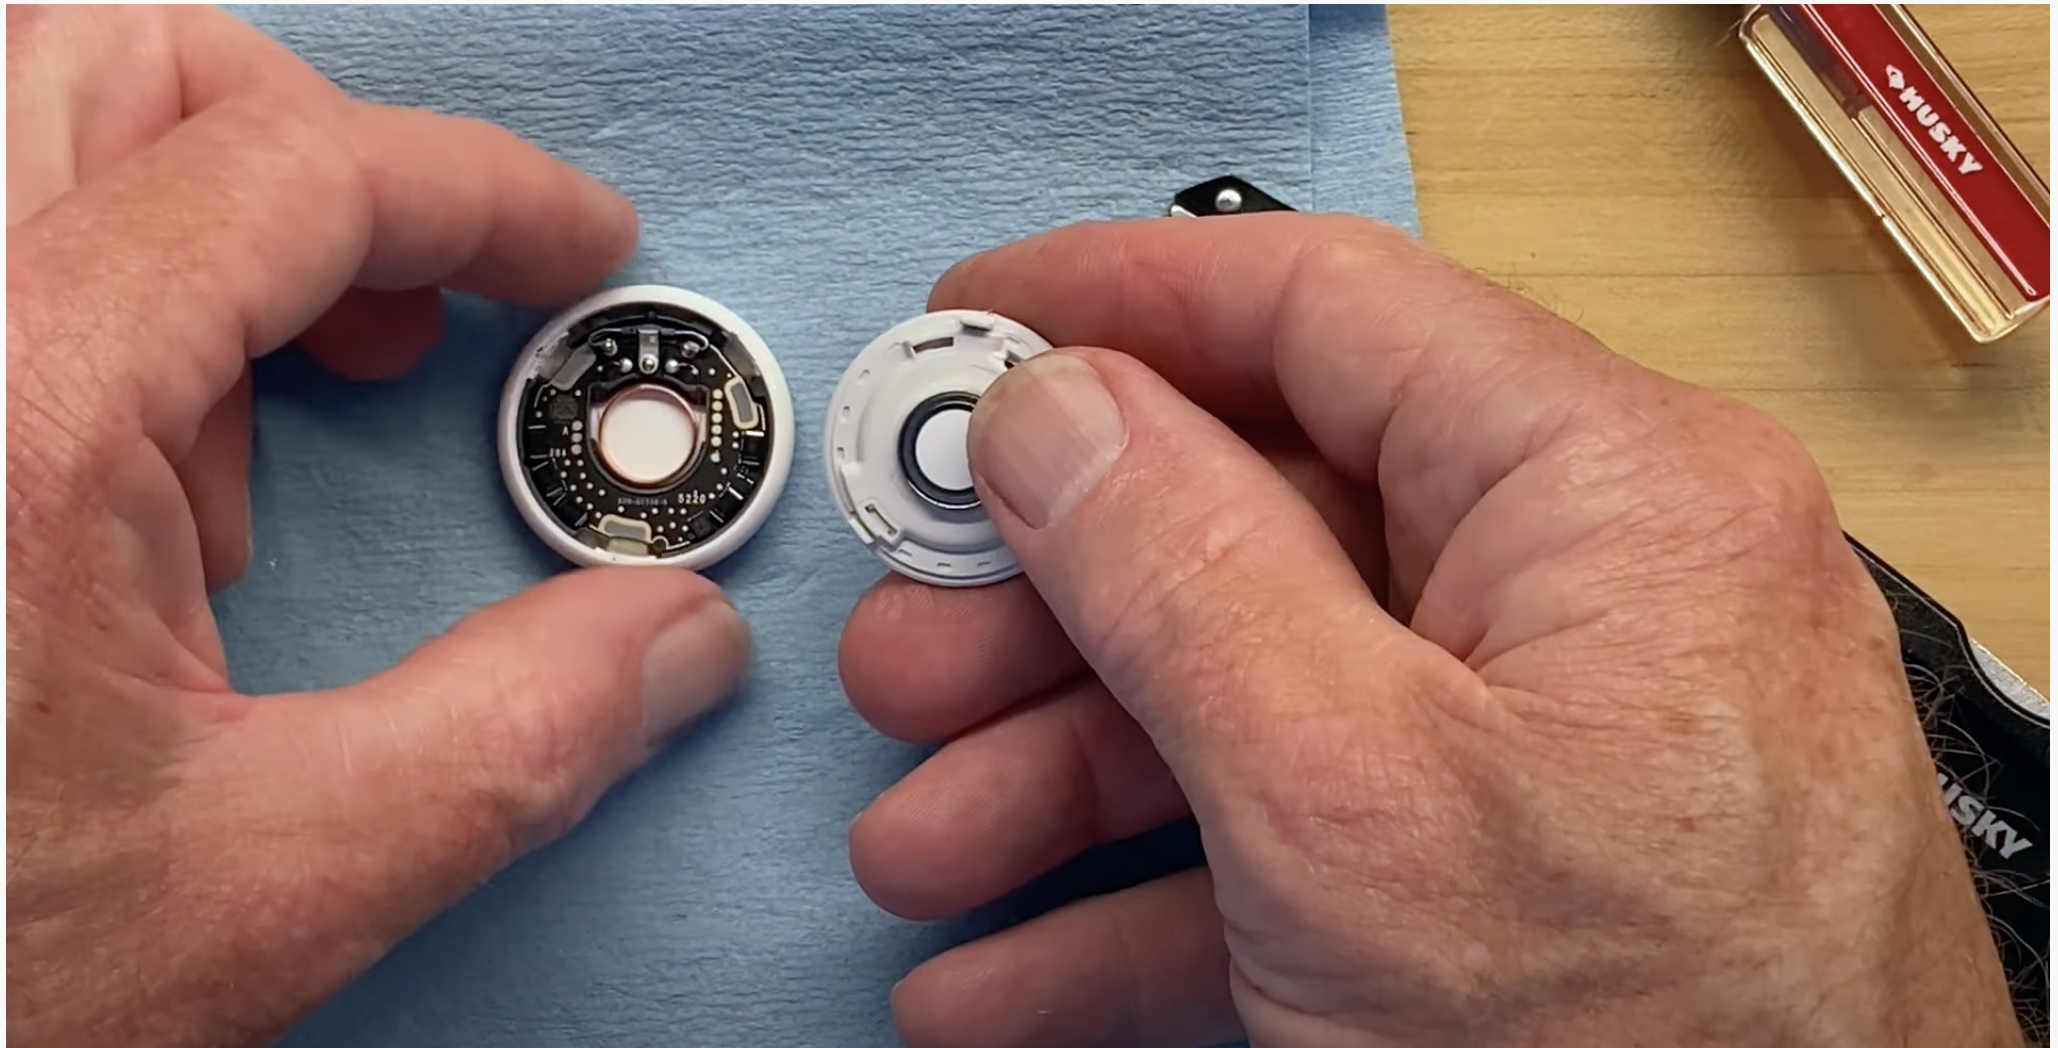
- Pry the speaker from the AirTagusing a utility knife or small screw driver.
![](/download/attachments/59114506/image2022-3-24_10-39-53.png?version=1&modificationDate=1648132794000&api=v2)
References